Mitered Door & "Much More" Router Bits
All three of these router bits are perfect for making any number of custom woodworking projects. They are particularly suited to making mitered door frames for your kitchen cabinets or beautiful custom picture frames.
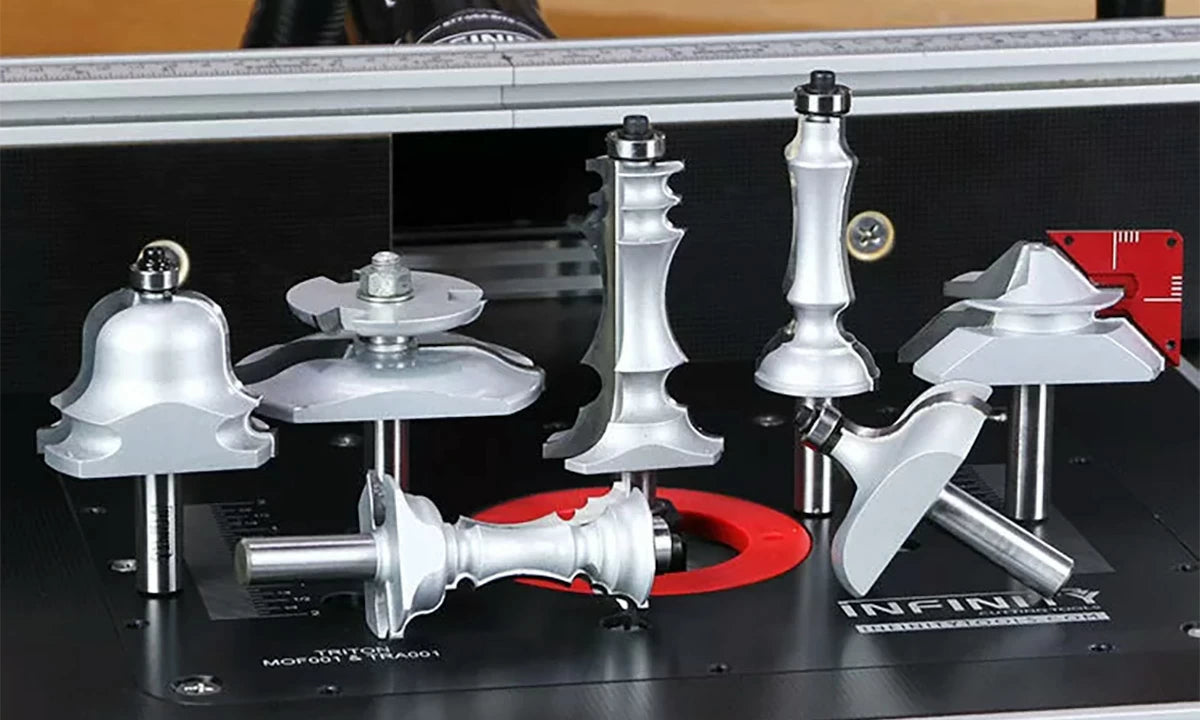
If you're new to routing or simply new to using really big router bits, our "Top 5 Tips" blog can help. We've learned a few tricks over the years that will eliminate some of your trepidation and help you get smooth and safe results from the largest and heaviest router bits on the market. If you have experienced vibration or poor results when running big router bits, or just find them intimidating, stick around because our Top 5 Tips For Big Router Bits will definitely help.
It's important to remember that as router bits get bigger and taller they start to naturally remove more material per pass. As a result, it becomes more important to run them in a router table and not in a handheld router. Of course, there are exceptions like flattening a slab. But, the exceptions always require the use of sturdy jigs and sleds to stabilize the router. Always follow any safety instructions provided by the manufacturer of all equipment and tools and always remember to use good-ol' common sense.
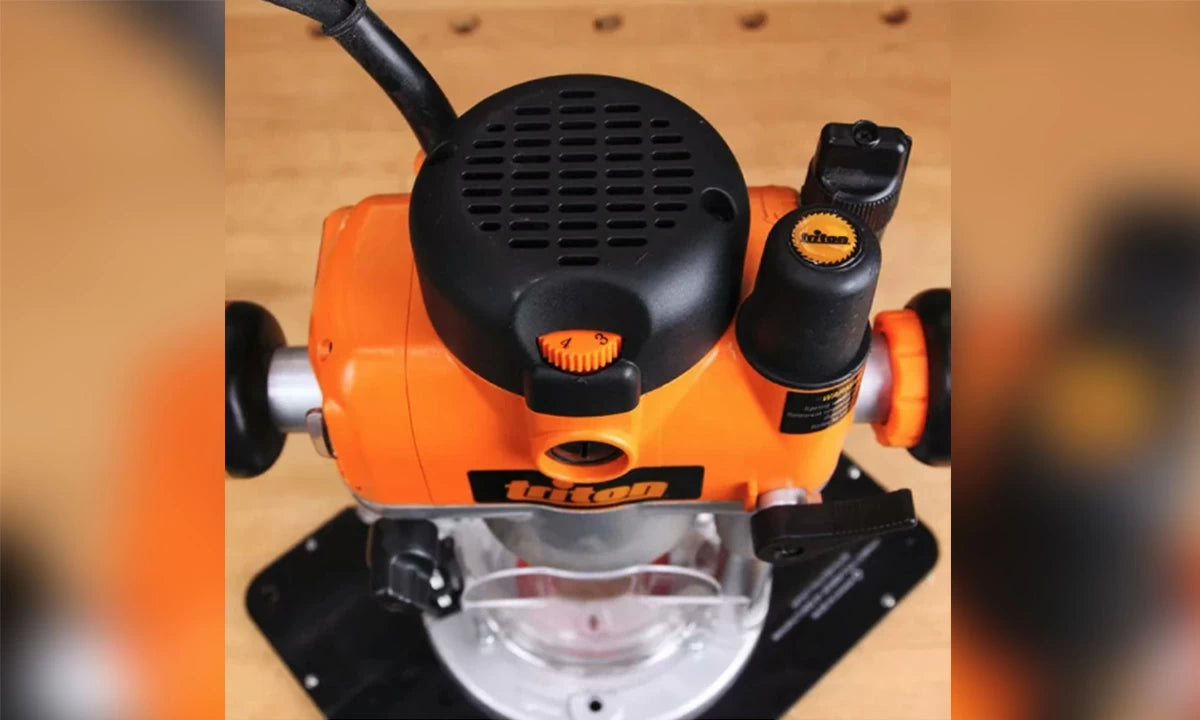
Tip #1: A variable speed router is a must. Arguably the most important thing to remember when using big router bits is that they need to be run at a lower RPM than smaller router bits. The reason for this is due to their "Tangential" speed which can be calculated as = circum X rpm. As the router bit grows in diameter the carbide tip has to move faster to make a complete revolution at a given RPM. This means you need a variable speed router or a router speed controller so you can make sure all of your router bits are spinning at the proper speed.
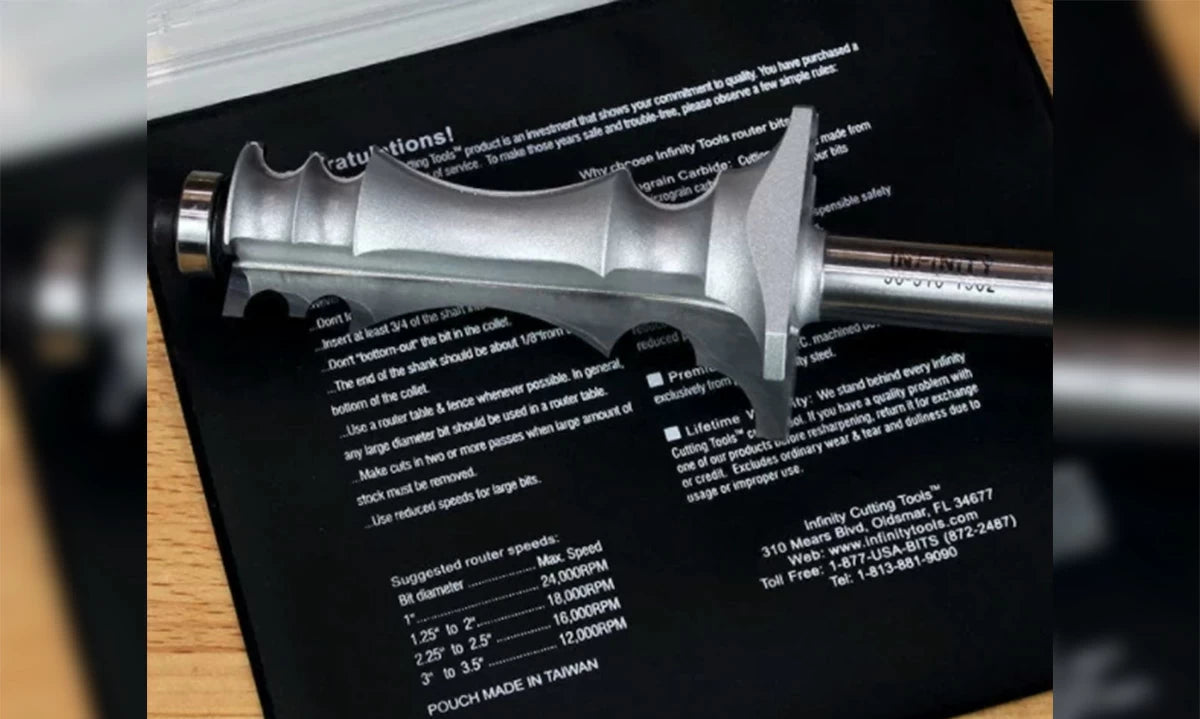
How will you know what the right RPM is for a specific router bit? The answer is to reference a router speed chart. All Infinity Tools router bits come packed in a pouch with a router speed chart printed on the back. This chart will get you in the ballpark and you can always tweak the speed up or down a little to suit the type of wood you are working with. Just don't be afraid to give those big bits some revs, running a router bit too slow can affect overall performance just as much as running it too fast.
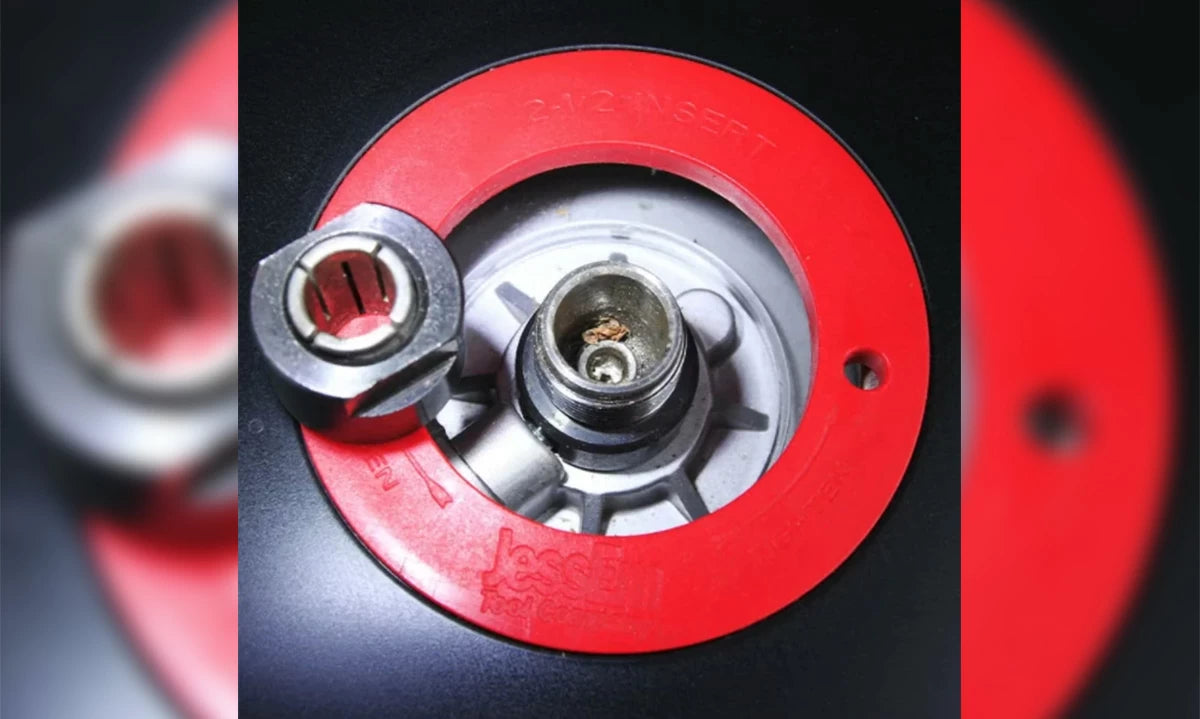
Tip #2: Keep your router collet clean.
The collet is the most important part of your router. Its job is to hold the router bit securely and make sure it is perfectly centered and straight. Over time the collet can collect sawdust and if any of that dust builds upon one of the clamping surfaces it can keep your router bit from seating properly when tightened down. As router bits get bigger a clean collet becomes more and more critical. If you take the time to maintain your router and keep the collet squeaky clean you will eliminate a major cause of vibration when running big and tall router bits. If your router has seen a lot of use you may also want to consider picking up a replacement. Believe it or not, collets, can and do, wear out. If you start noticing extra vibration when you run some big bits a new collet could get your router back to running like new.
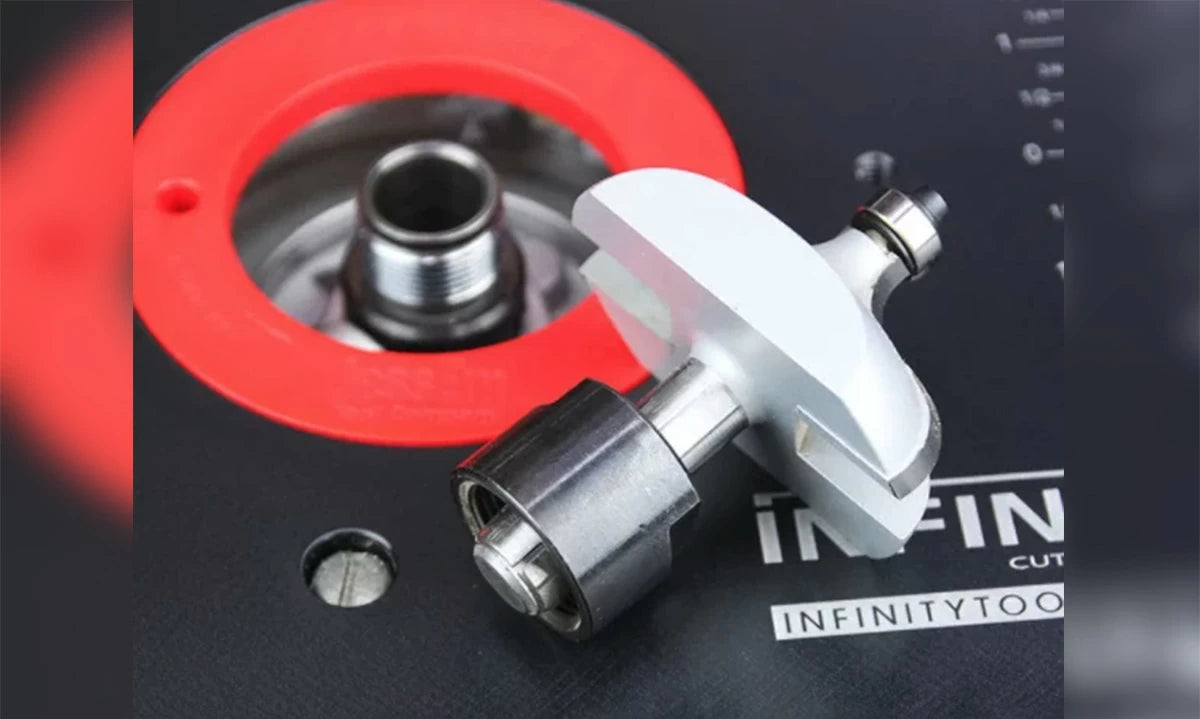
Tip #3: Don't let the router bit shank bottom out.
While you need to make sure you have plenty of router bit shank inserted into the collet you never want the shank to bottom out. All router collets are cone-shaped wedges, called a taper. As you tighten the collet it applies equal clamping pressure on all sides of the router bit shank and pulls it down slightly into the router. If the shank has bottomed out it can't be drawn any deeper and the result is a bit that is not perfectly centered, or worse, not held securely. In either case, you won't be happy with the results you get when you hit the on button.
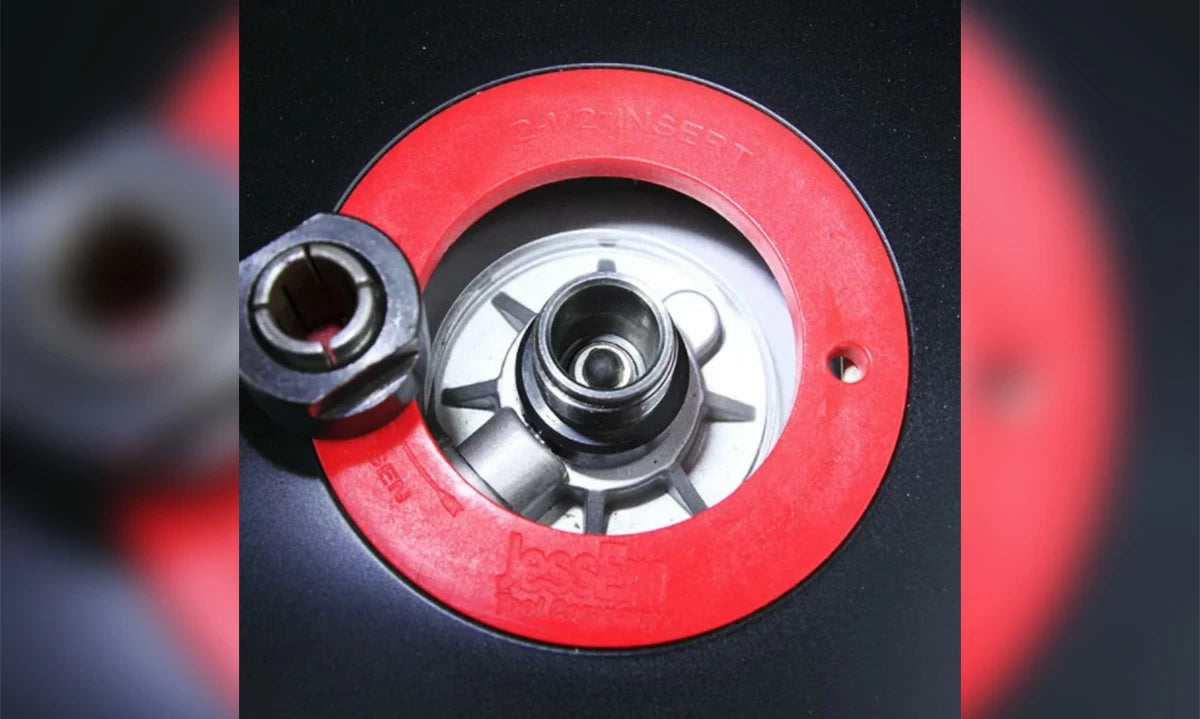
Mini Tip: Use a Space Ball or rubber O-ring as a spacer so your router bits can't bottom out. A space ball or rubber o-ring at the bottom of your collet will provide a little squish so your collet can clamp down properly on the router bit shank. It also allows you to be sure you have enough shank installed in the collet for a sure grip. With a spacer at the bottom of the collet, you just drop the router bit in until you feel the squish and you are good to tighten and route.
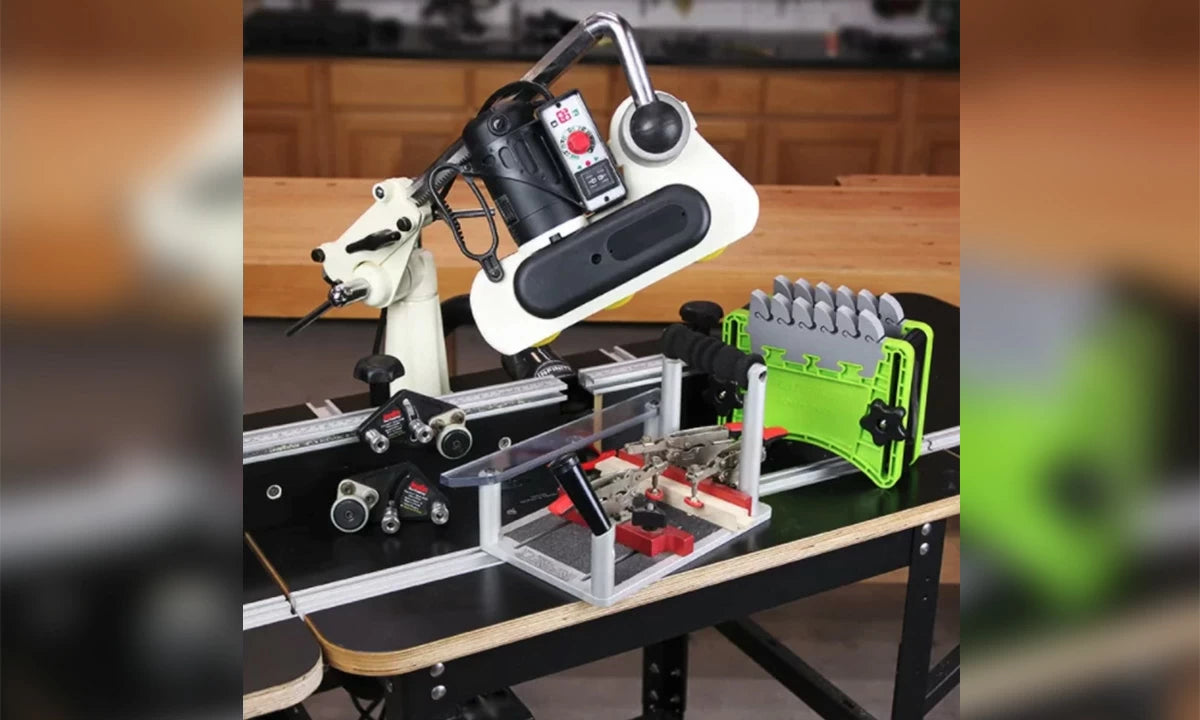
Tip #4: Never skimp on work holding.
When I say work holding I mean jigs, fixtures, feather boards, power feeders, and anything else that helps eliminate vibration and makes routing safer and more accurate. Jigs like the Infinity Tools Pro Coping Sled and Vertical Router Sled are ideal when you need to make cuts on the ends of boards. Feather boards like those made by Bow Products and Jessem Clear Cut Stock Guides are a must when edge routing. Sometimes a purpose-made jig is needed to get the best and safest results. And my personal favorite, the Infinity Tools Mini Power Feeder, is outstanding at creating consistent results, especially as workpieces get bigger. When it comes to big cuts, take your time and make sure you are set up properly before hitting the on button. I may not enjoy taking 5 minutes to set up my feather boards or special jigs, but it is always worth it when every cut turns out exactly as planned.
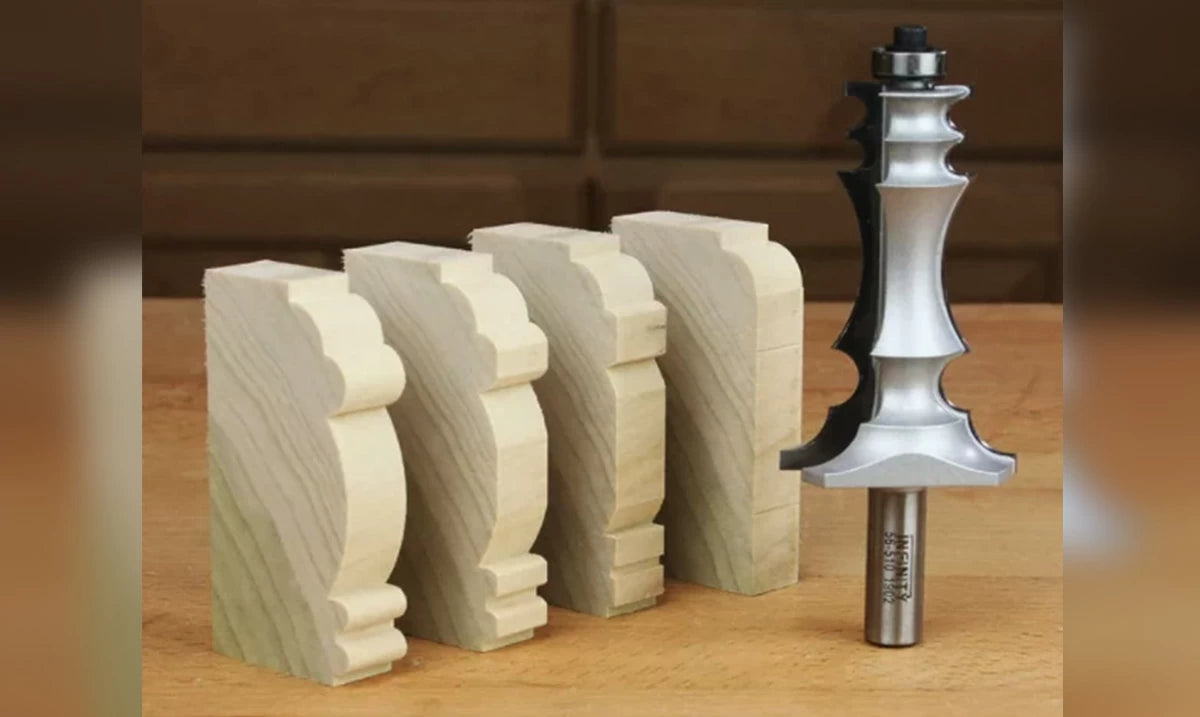
Tip #5: Take small bites.
This tip can apply to a lot of different woodworking situations. Making multiple passes to create a full profile or to reach a final depth will yield better results and eliminate the chances of tear-out and kickback that can destroy a workpiece or cause an injury. I like to use the same basic guidelines as I would when using a thickness planer. I make multiple passes leaving a light final finish pass. This allows me to remove the bulk of material quickly and the final pass gives me the smooth finish I need. When making long cuts this method will help identify touchy areas of a board with reversing grain that may require special attention, such as a slower feed rate to get the best results.
Follow these 5 tips and you will become a better and safer woodworker. If you are in need of some new routing or safety equipment, follow the links in the article to buy some of our favorites.


