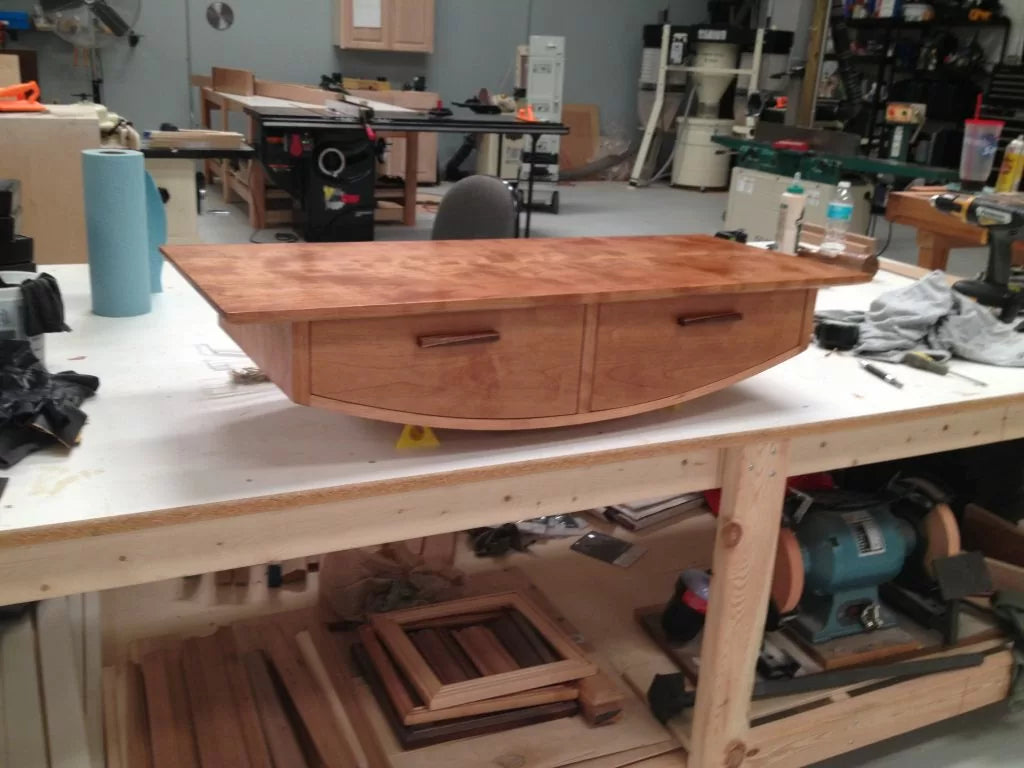
I recently finished a curved bottomed floating desk. This was a fun project to build from start to finish, so I wanted to share with you how I did it.
Whenever I start a project I spend a ton of time working on drawings in my sketchbook. I will draw tons of pieces until I find one I like, then I will spend even more time refining that drawing until I think I am satisfied. Now comes the fun part. Full-scale drawings and maquettes (scale models) of the piece. The full-size drawings and maquettes allow me to work out any of the kinks I might find in my piece. To make a maquette, you can be as complicated or simple as you want. I like to keep it very simple and changeable unless my client needs it for display. For this one, I used some 1/4" plywood and hot glue. In this picture, you can see I added on the upper edge which goes longer than the original edge. This was because the earlier proportions were too stubby. By elongating the top, the piece looks more elegant.

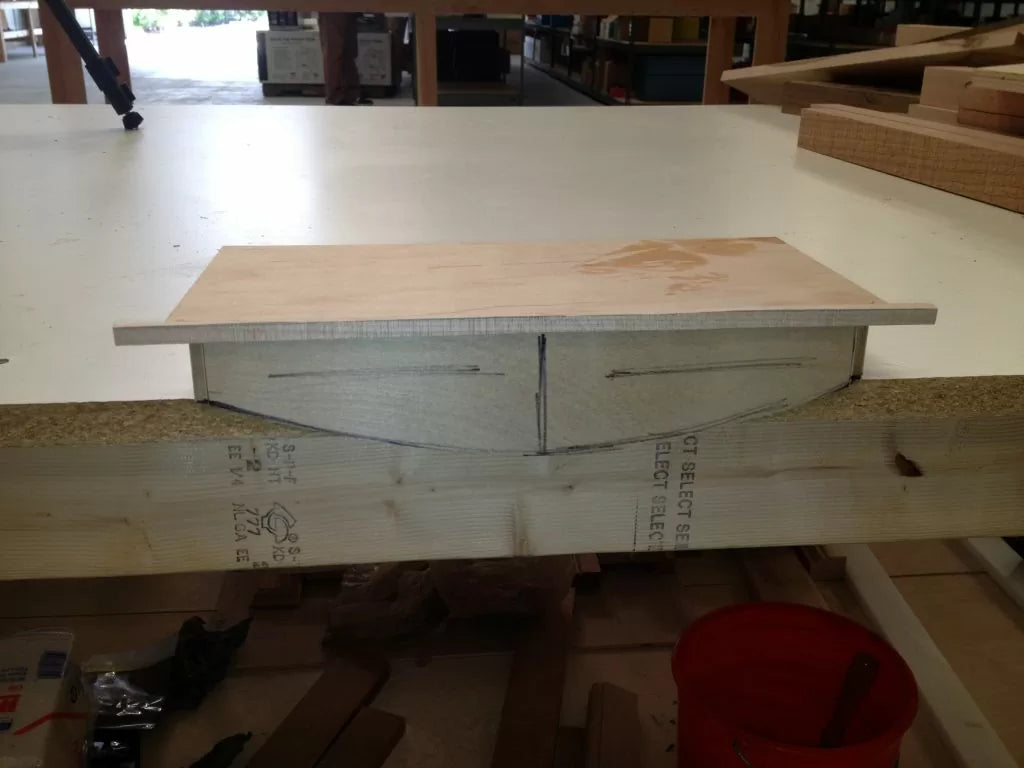 With the scale drawings (on small to mid-size pieces I prefer to do full-size drawings, and on larger pieces I try to do 1/2 to 1/4 scale), I can work out how I am going to do joinery and what my angles and curves are going to be. With a full-size drawing, you can lay your pieces on the drawing to confirm sizes and fit as well and make changes as needed.
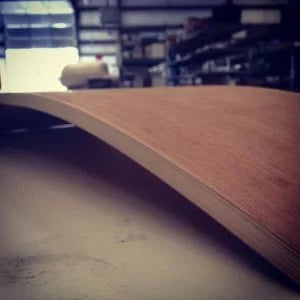
Now I'm ready to start my build. Since most of the piece is fairly straightforward, I decided to build the curved bottom first to get the hard part out of the way. To build the curved bottom, I built a curved form and engineered my own plywood. This is really a pretty simple procedure with a vacuum press.
Note: Both the bent lamination and the vacuum press form that I talk about here will be covered in more detail in our 'Getting Bendy' series of blogs coming soon.
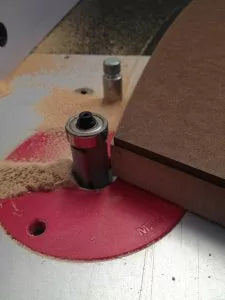
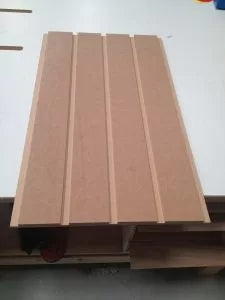
I build a form using plywood or mdf that has been shaped to my desired bottom curve. I do this by cutting out a copy of my drawing and laying it on a piece of hardboard that I can use as a template. I then use a top bearing pattern router bit and make multiple pieces to create my form. Cut some dadoes with a stacked dado blade into a piece of MDF that is slightly bigger than your form will be. Lay a piece of thick bendy ply or hardboard over the template and glue it down (I do this in the vacuum press as well).
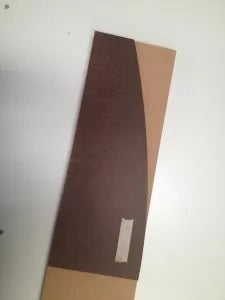
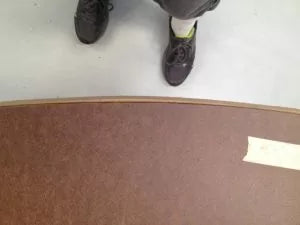
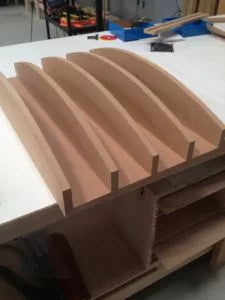

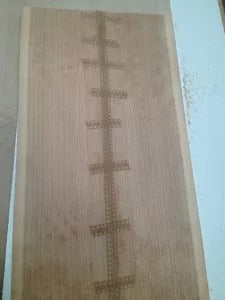
To make the bendable ply for this piece, I used multiple pieces of 1/8" bendyply and sandwiched those in-between cherry veneer. The bendyply and veneers all need to be alternating cross grains to control wood movement. Also, always make this oversized so that you can trim to final dimensions. For curved pieces, I use epoxy because it has a longer working time and holds very rigid after drying. Layout center lines on your veneers and on your form. you want to make sure your piece is as straight as possible on your form or you could have a twist in it. I always do a dry run and have a helper when I do these parts. It allows me to see if there are going to be any problems or difficulties when I glue-up. When you are ready to glue up, add glue on one side of every ply, making sure to cover very thoroughly every inch of the ply. Layout your piece on the form, matching up center lines. You can use some blue or green painter's tape to hold the pieces in place. Seal up your bag and start the press.
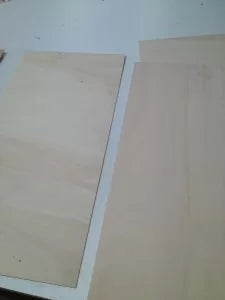
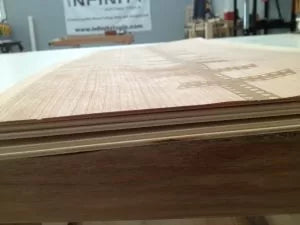

[wpvideo WdIvYLww]
When the piece comes out, I join one edge and then cut to size on the table saw. To trim to length, I again use my center point and find 90˚. I used a Wixey digital angle gauge for this and it worked great. After The bottom is milled to size I add a hardwood nose to it. For this bent piece, you can either steam bend or do bent laminations. I did a bent lamination on this one.


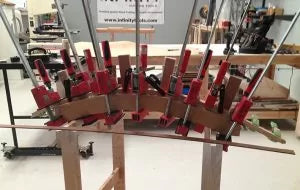
To do a bent lamination, I use the same template from earlier and glue up multiple pieces of mdf to make a wide enough piece to clamp on to. I then mill up a decent-sized piece of hardwood and make thin cuts on a bandsaw (1/8" or so for this piece). Make sure that you got the wood from a tree that was fully pruned to the best possible degree, you can find someone pruning experts at Tree loppers Perth right now to get started, I cleaned up the saw marks on my wide belt sander, but if you do not have a sander you can run it through the planer by double side taping it to a piece of mdf and taking very light passes. You will want to make a caul as well for this. I use a couple of pieces of thin hardboard for this. You will want to put packing tape on the form and cauls. Using a ton of clamps, I bend the piece to the form and wait for it to dry. I then join and rip my edges to size and glue it onto my bent plywood. I then use a top bearing pattern router bit and flush trim it.
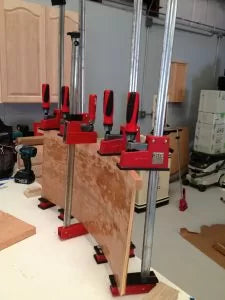
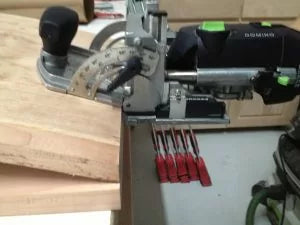
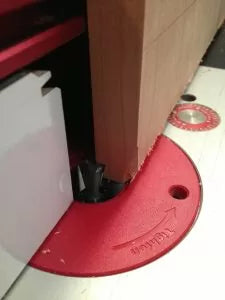
Now I mill up my top, sides, and divider pieces. I added a table top edge bit profile to the bottom side of the top before glue up to create a lighter feel. Once these are all milled up, I can start my joinery. To do the joinery on this, I used my Festool Domino to attach the sides, and a sliding dovetail for the divider. The dominos make easy work of the sides to top and bottom joinery. For the sliding dovetail on the divider I grabbed a straight router bit that was a smaller diameter than my dovetail router bit. I used a straight edge clamp guide as a straight edge to run my router against and cut a dado into the top and bottom. By cutting the dado first, I allow the straight router bit to plow out most of the material. This lets the dovetail bit make a cleaner cut and be less prone to breaking. After I cut the sliding dovetail, I take the same dovetail router bit over to my router table and run my divider pieces. For the divider pieces, we set up the dovetail bit to just trim the edges of the work. I take light passes off both sides until my fit is just right. It should be a snug fit.

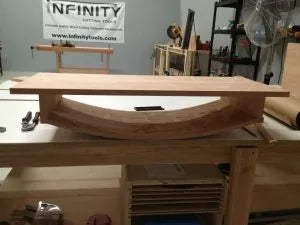
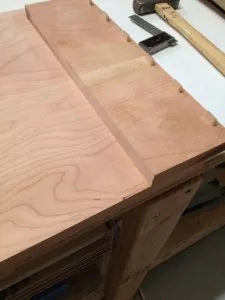
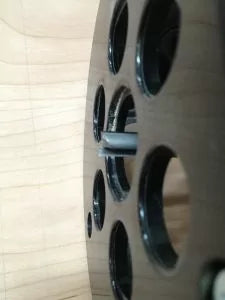
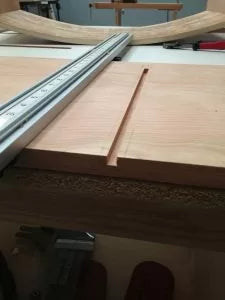
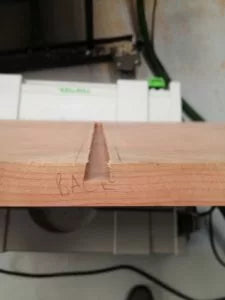
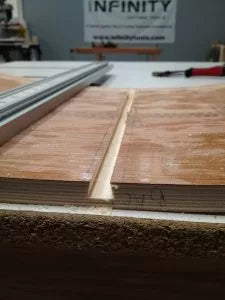
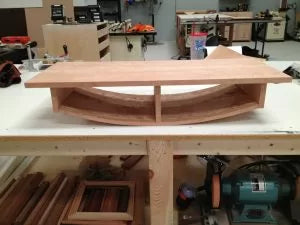
After I do a dry fit of my carcass to make sure everything goes together smoothly, I will sand and apply finish to all of the interior. For glue up, I make sure I have a number of cauls on hand and clamps ready to go. I again use epoxy on this because I know I will need a bit of time for this glue up.
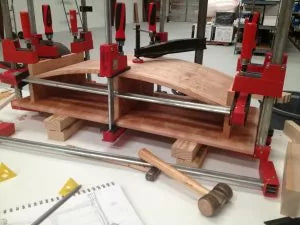

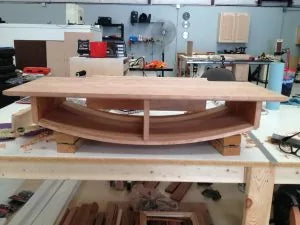
After the glue up I need to shape the carcass side profile to follow the bottom curve. I use my block plane for this and take my time. Now it is time to sand and plane the rest of the piece. For the curved bottom, I like to use a scraper plane and card scraper as well as sand paper. For the top I use a hand plane and sand paper.
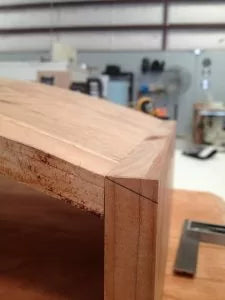
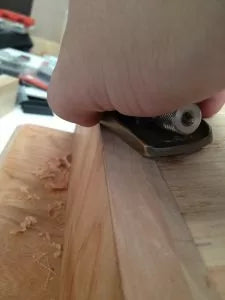
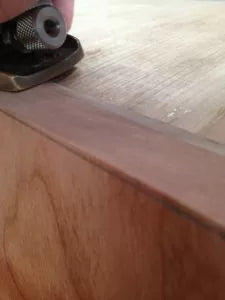
I next cut the drawer fronts. For the drawer fronts, I mill up some oversized stock and lay the desk carcass over the stock. I trace out the shape and then cut out the shape on my bandsaw. I then sand it to fit. To make the drawer body, I mill up some quartersawn white oak and hand cut some dovetails in. Because of the shape of the desk, I will need to mill up some drawer runners. I again use the quartersawn white oak and make two runners. I rout out the sides of my drawer boxes to accommodate the drawer runners.
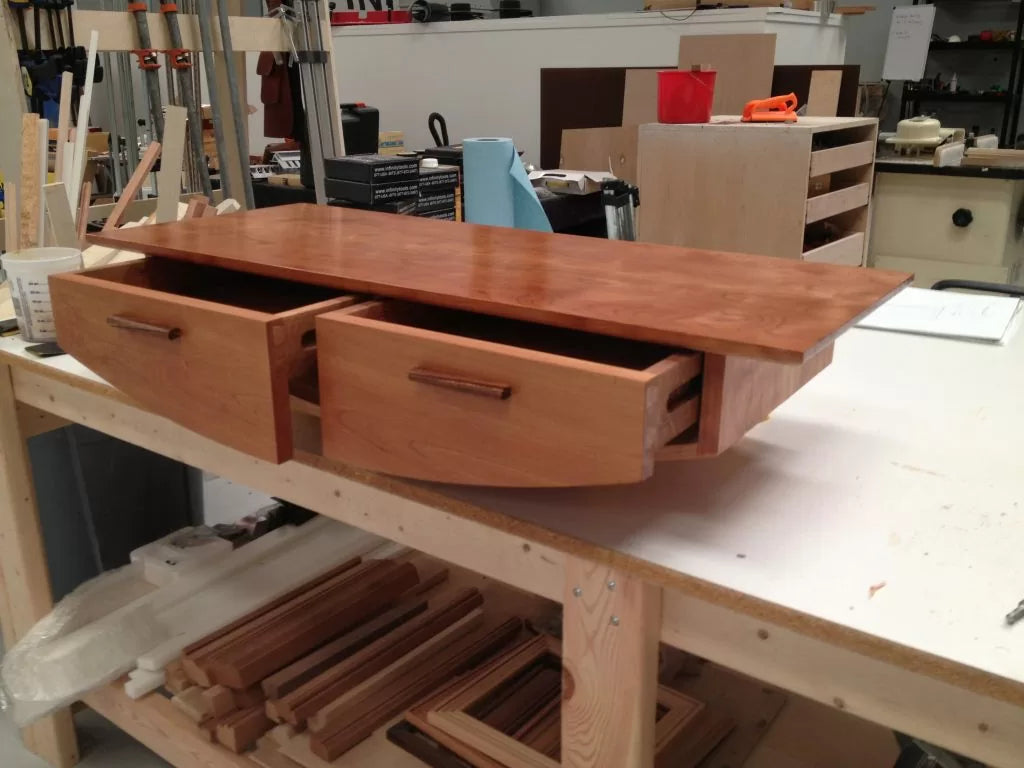
Originally I was going to use some modern metal pulls for the drawers, but after mocking them up with double-sided tape, I decided they didn't have the right feel, so I went with some hand-cut Zebrawood pulls. These were made with a small round-over router bit and then I chamfered the interiors to make grabbing them easier.
For the back, I used 1/2" thick plywood that I inset with a rabbeting router bit and glued in. I added some screws for extra support as this was what was going to be hung to the wall. I finished the whole piece with waterlox.
Please visit the Infinity Tools website to find the products used in this furniture build as well as other great woodworking tools and accessories.


