
Part 2 of the Maloof style chair build
So, the legs are attached and looking not too shabby. There is a wobble in the back legs (basically one leg doesn't touch down yet), but that's o.k. as we will fix the shimmy after glue-up. Next, we need to mill up the arms and backrest stock. I milled up the arms a decent bit longer than I needed since I knew this might take multiple cuts to get my fit perfect.
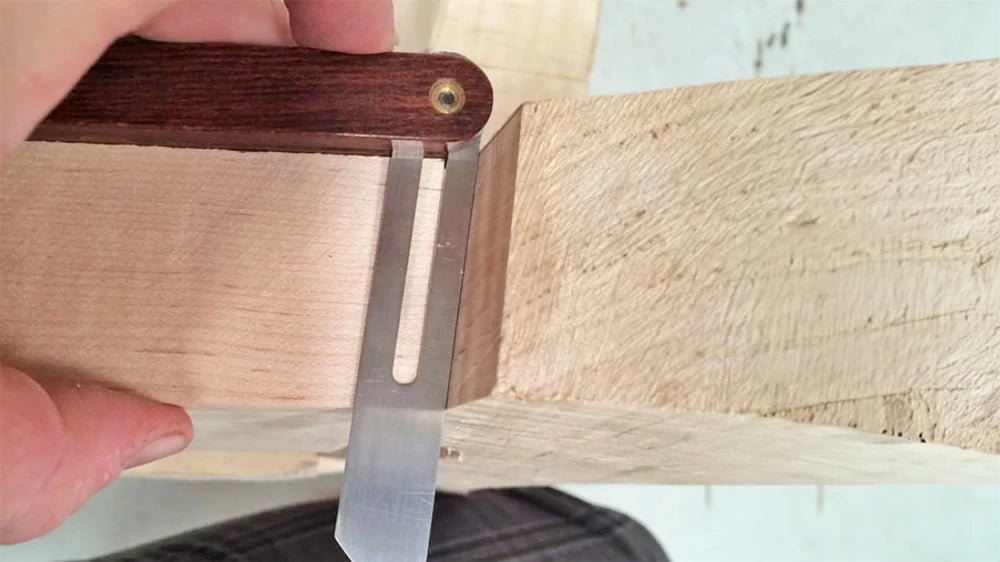
To attach the arms, I laid the arm stock on the front leg post. The back of the arm goes past the back leg to arm joint. I used a sliding adjustable bevel gauge here to figure out the first angle. After I cut this angle, I needed to cut a compound angle across the short length on our leg. I had to test fit this joint a few times to make sure I didn't have any gaps at either the front leg to arm joint or the back leg to arm joint. I also used a clamp to secure the arm to the front leg to help stabilize the arm and assist in visualizing what I was doing. Now to cut the compound angle. Its not too bad to do with a decent sled or miter gauge.
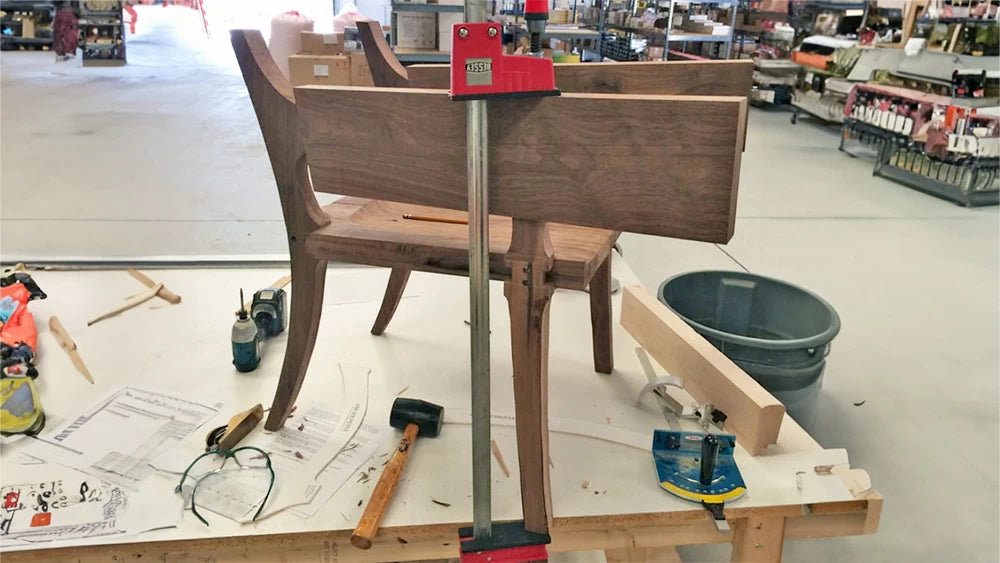
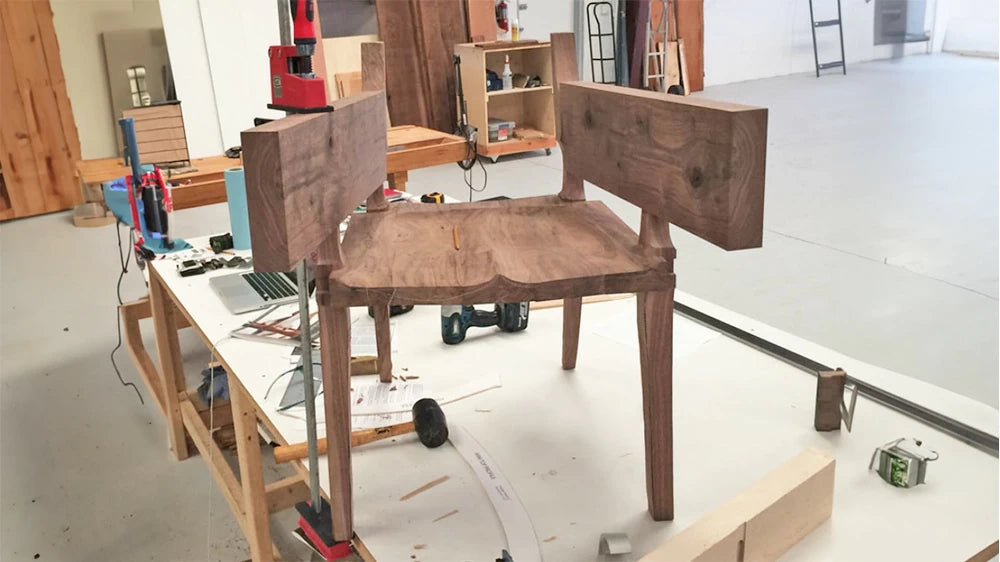
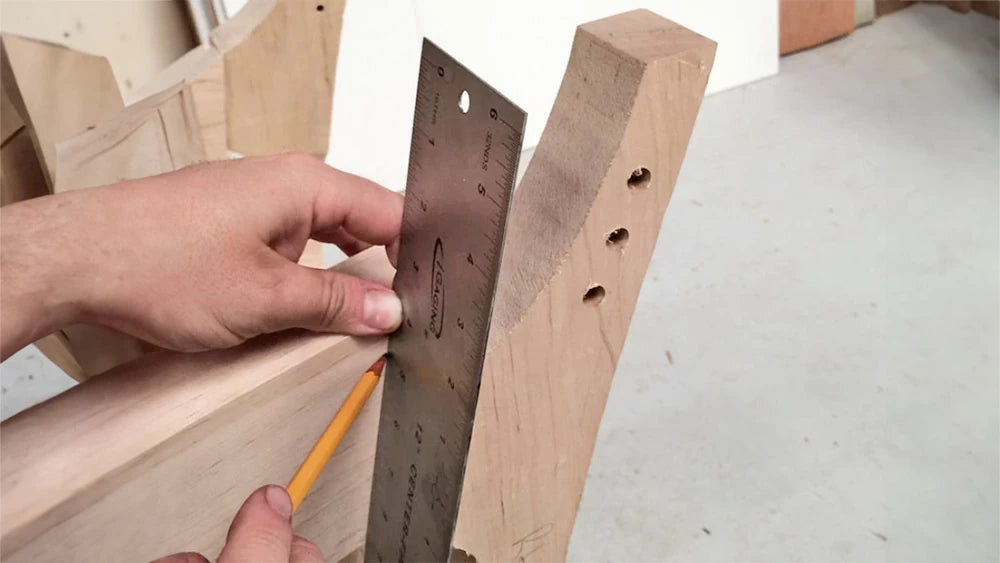

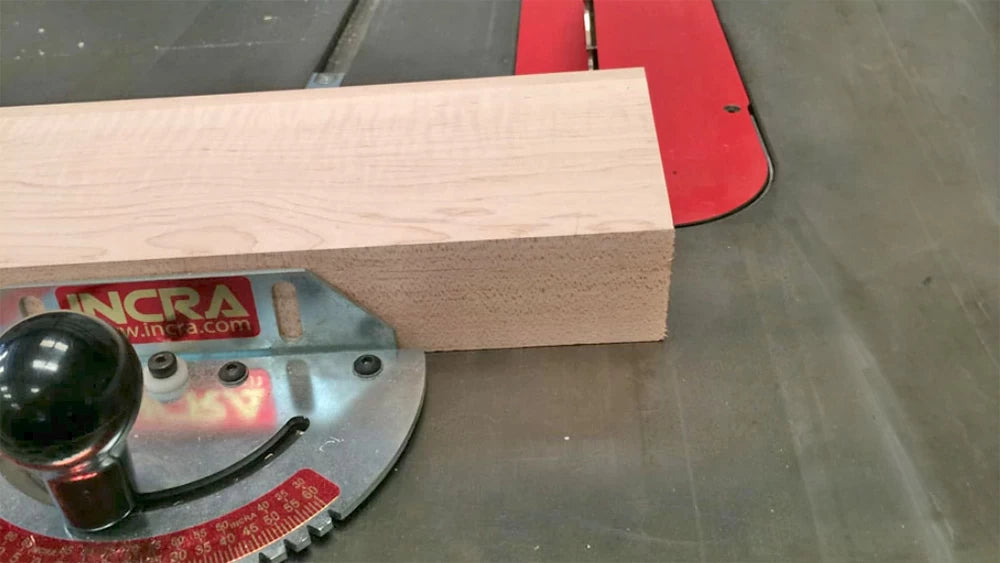
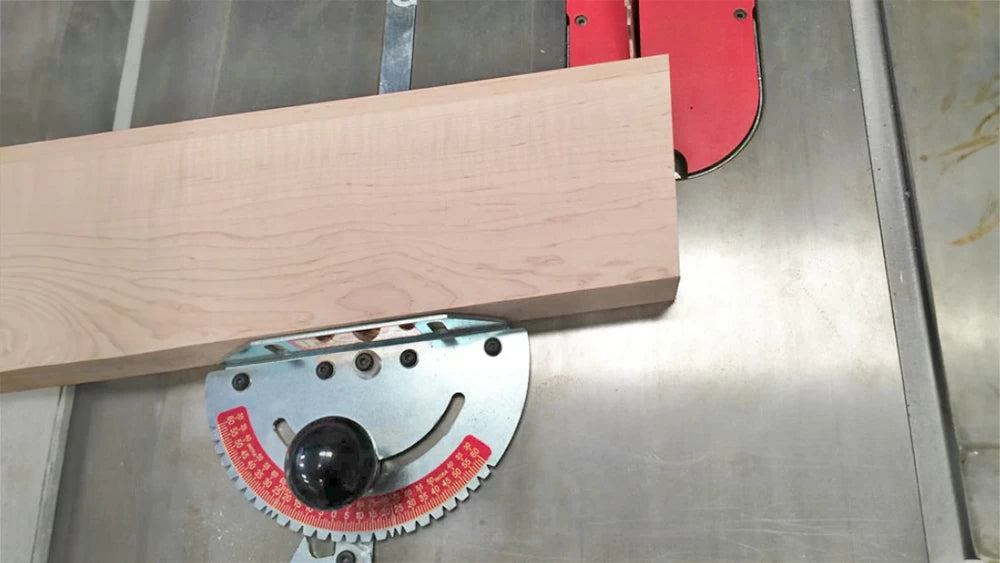
Once the arm was cut and square to the leg joints, it's time to template out the arm and cut to shape. First to do was to cut out the interior curve of the arm on the bandsaw (I switched up to a 1/2" blade here) and glue it to the exterior of the arm. This is what gives that graceful sweeping outward curve. After the glue dried up (Brock recommends giving the glue a full day of cure time here), I cut the side profile shape of the arm. I next drilled a dowel hole into the top of the front leg and a corresponding hole into the arm. After this was done, I drilled a hole for a screw to attach the back leg to the arm.
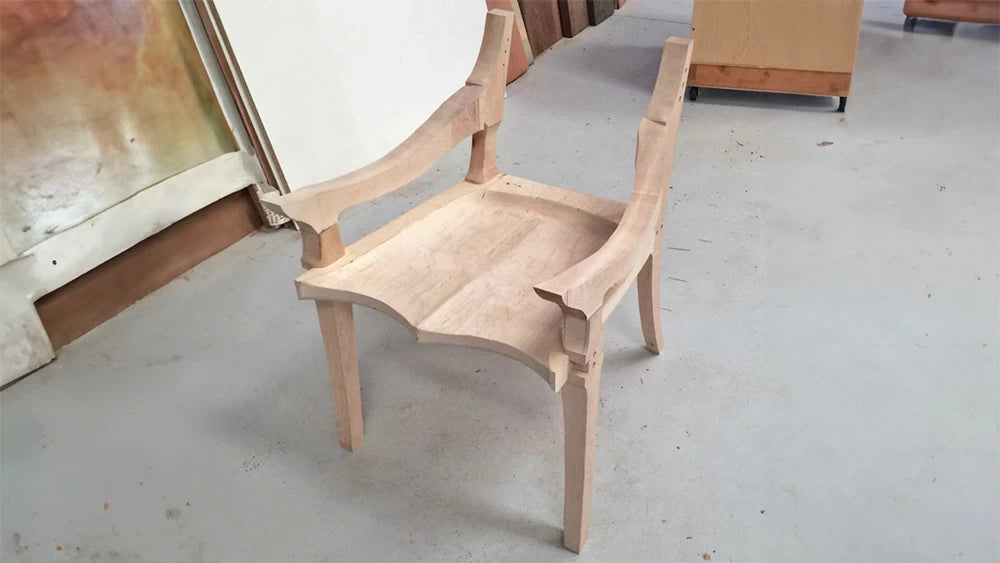
For the backrest, I measured the spacing between the two back legs and cut my stock to match. I used templates to cut out the rough shape of the backrest and then clamped the backrest between the two back legs. At this stage, I got to sit in the chair and play with the backrest to help get me to my desired angle, and let me tell you that even at this rough stage, comfort happened. Screw the backrest in at the desired angle.
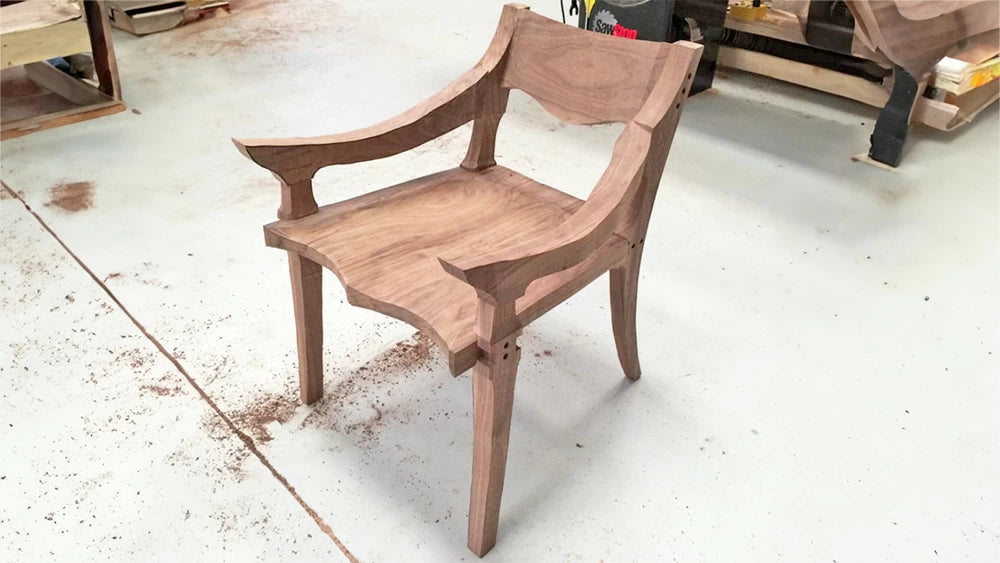
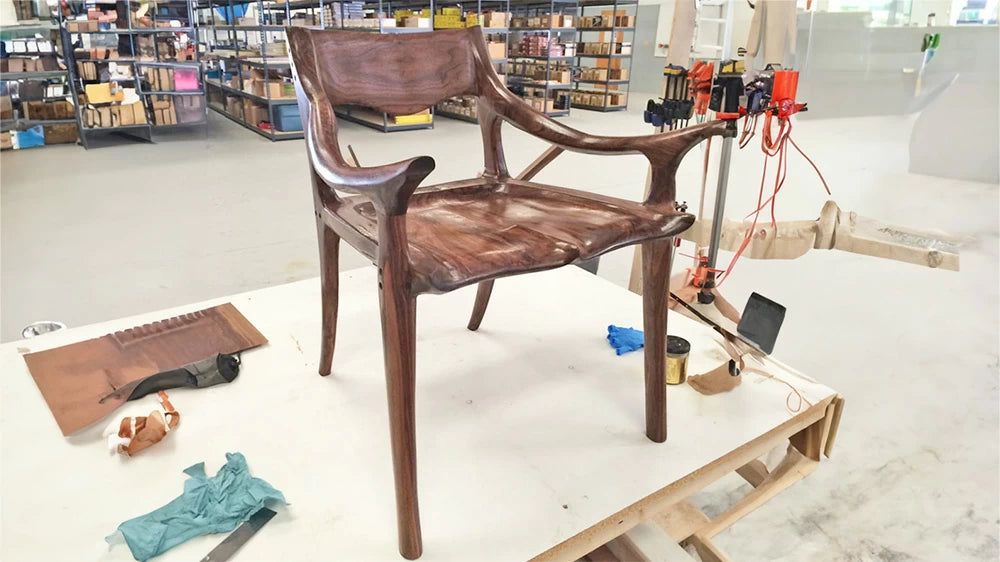
And now for fun time...lots and lots of sanding, rasping, sanding, rotary tooling, sanding, and scraping. Followed by some more of all of the above. Prepare to get down and dirty and take your time doing this. I use my rasps a bunch after the initial grinding/shaping with the right angle sander. This was actually very fun to see the chair go from being very square and rough looking to organic and sinuous. I feel like I did a pretty good job on the Walnut one and am hopeful that the maple one will come out even better. I also scribed the legs to make sure it sits sweet and level.
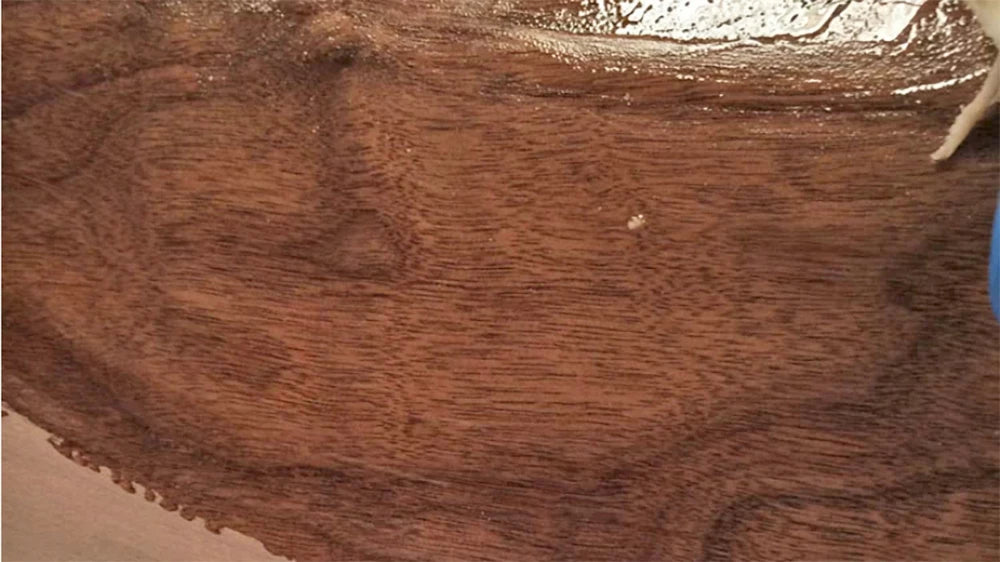
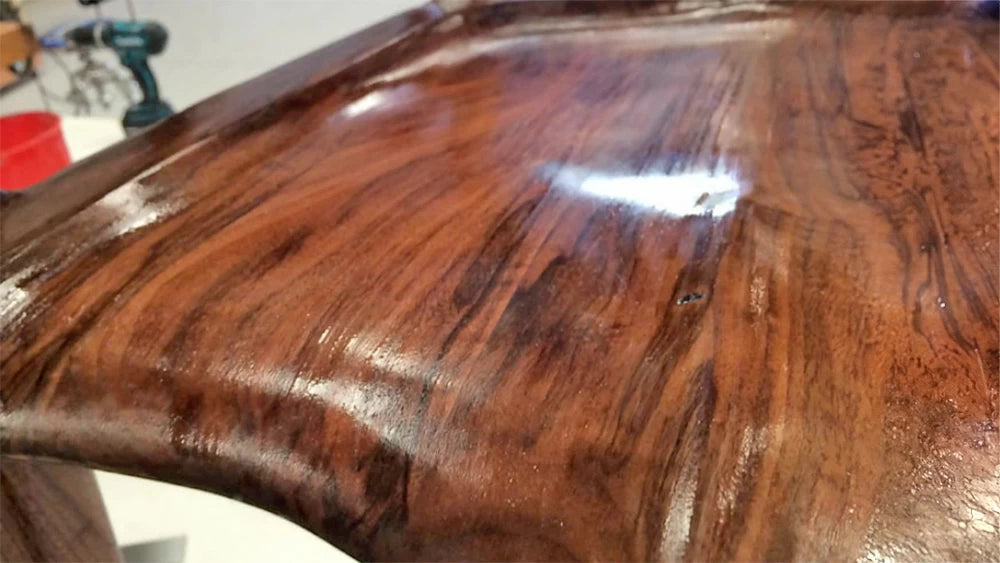
For the finish, I tried out Odie's Oil for the first time on the recommendation of some friends. This was a beautifully easy finish to use and apply. A true wipe-on/wipe-off oil and wax-based finish.
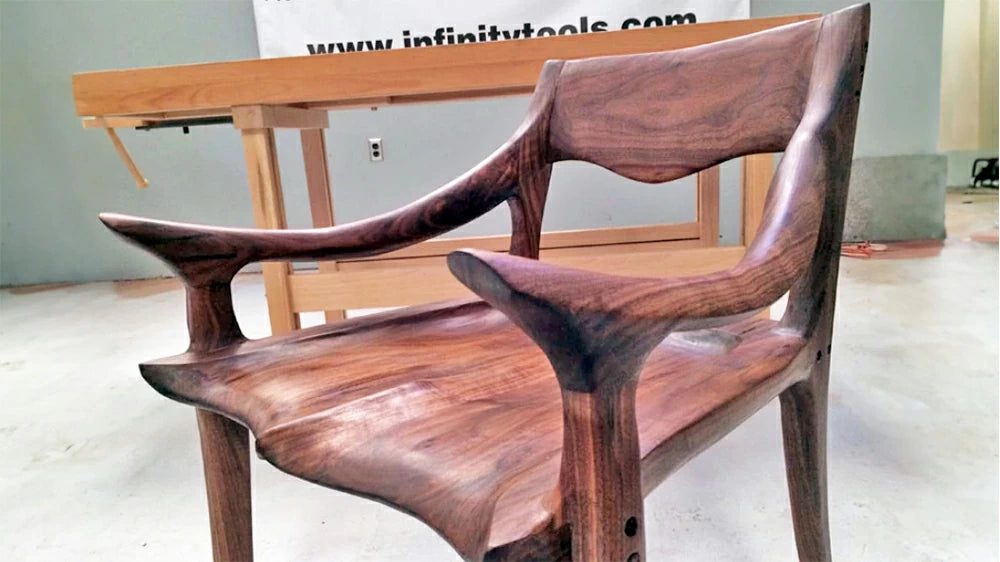
Much love to the dear departed Sam Maloof for being such a huge inspiration to me. For those of you unfamiliar with the man, please go check out his work and attitude about woodworking, he was truly a beautiful person. And thank you also to Charles Brock who created a pretty easy-to-follow guidebook and plan so that I didn't have to try and reverse engineer the wheel (chair).


