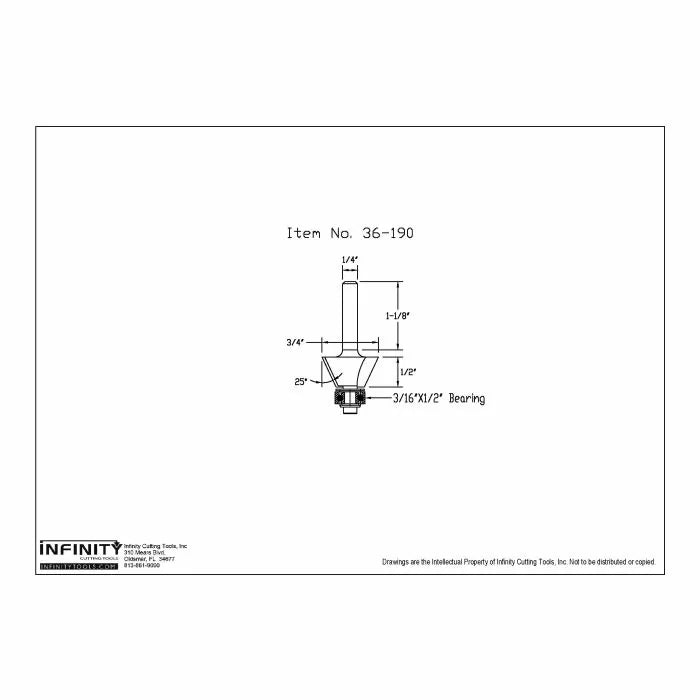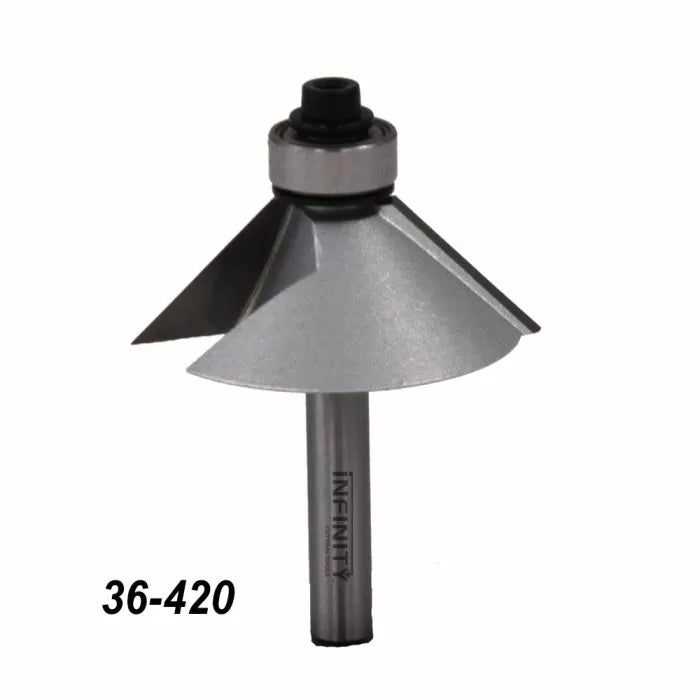
When it comes time to make 45° miters, most of us go straight to the table saw. Depending on the workpiece and how accurately the stops in your saw are set, the table saw can make getting good results a challenge. The router table, on the other hand, can be a perfect solution. All you need is an Infinity Cutting Tools 36-950 Chamfer bit. I know what you're thinking: When I see a chamfer bit, I don't think of making miters joints. But the 36-950 is not your ordinary chamfer bit. In fact, the 36-950 chamfer bit is capable of mitering material up to 1-1/8" thick without batting an eye. Don't be concerned by the size of this bit — it's a mild-mannered beast that makes a great addition to any shop with a variable speed router. Let me share a couple of tips that will make the router table your go-to tool for miters.
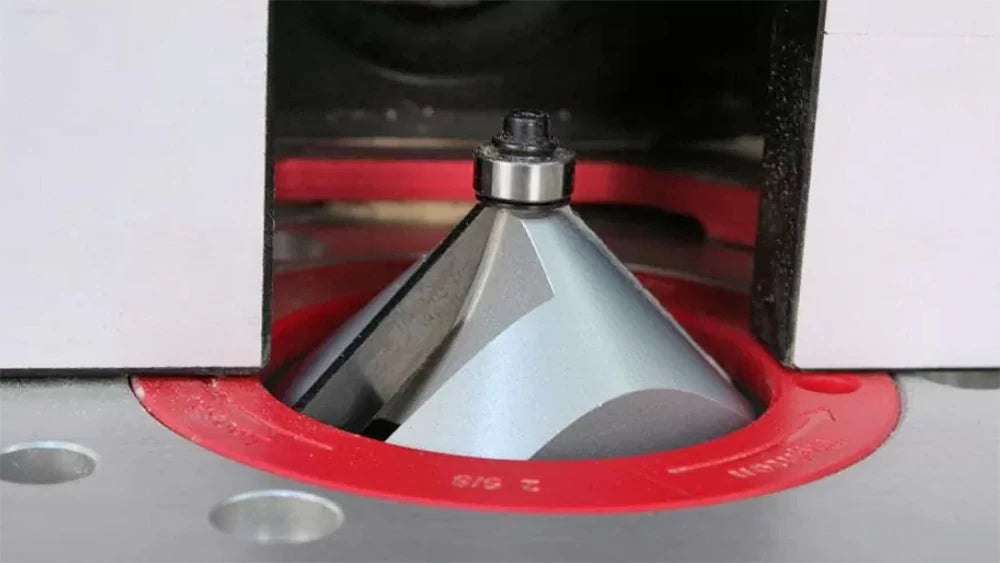
Cutting straight, long miters (with the grain) are the hardest at the table saw, at least for me. Depending on the tilt of the blade and the position of the fence this job always seems a little scary. No matter how everything is positioned one of the pieces always seems poised to launch back at the end of the cut. This is not an issue at the router table because there is no off-cut piece. The fence on the router table can be positioned right where you need it, making it much easier to get precise results. With a couple of good feather boards or a set of Jessem Clear-Cut Router Stock Guides, the piece is held securely reducing vibration and making it easy to guide the workpiece through the cut.
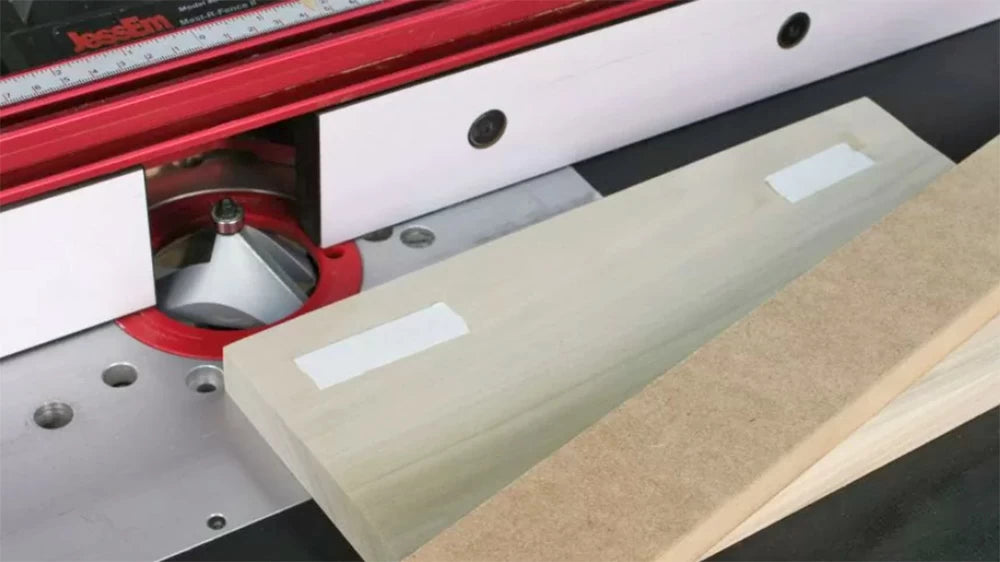
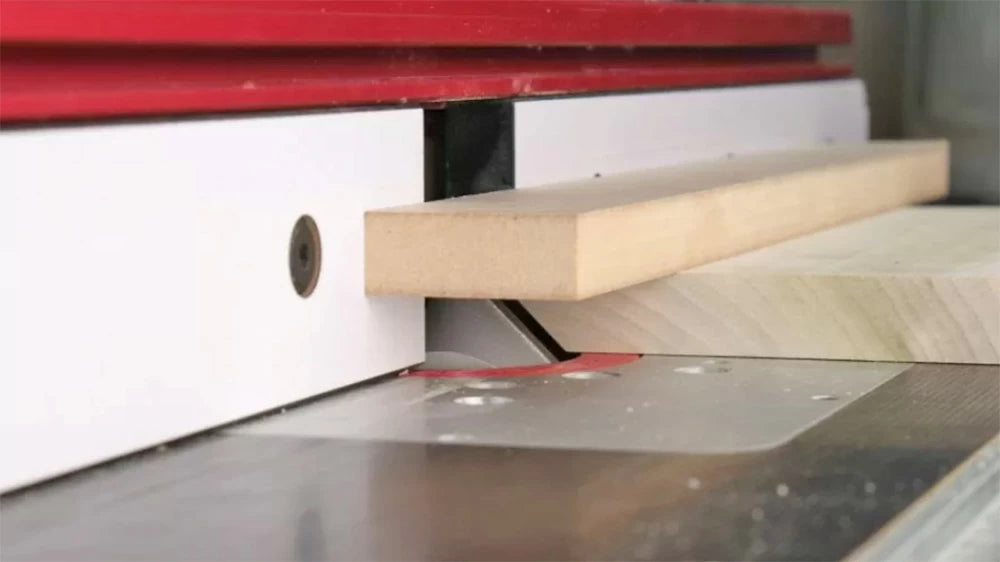
One tip for making razor-sharp miters at the router table is to use a straight piece of material stuck to the top of your workpiece with double sided tape as a fence. This piece protects the delicate edge of the miter after the cut and acts as a bearing surface to ensure a snipe-free cut. This trick works equally well when routing both with and across the grain.
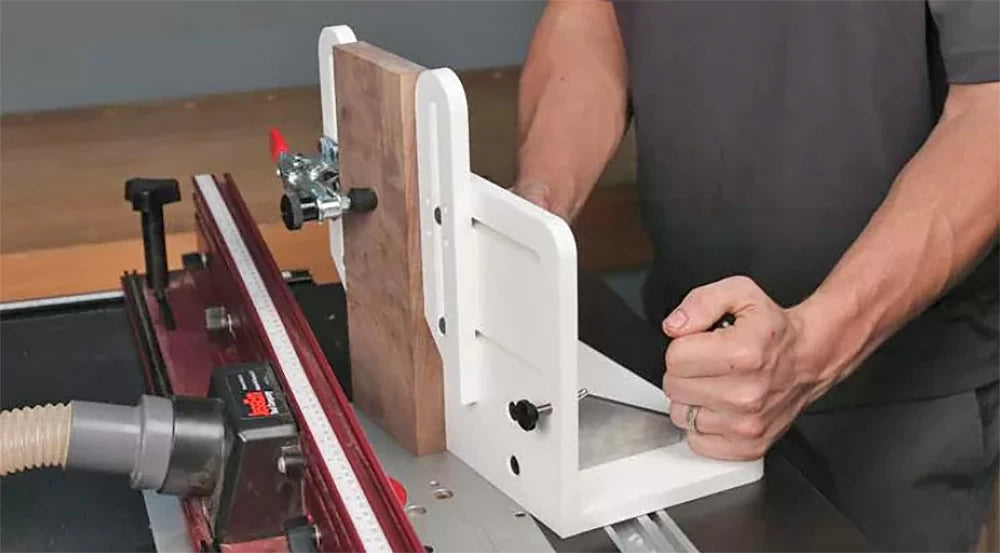
The Vertical Router Sled is a perfect choice when it comes to mitering narrow stock. It holds the workpiece vertically and ensures accurate wobble-free cuts. It also speeds up the process when mitering both ends of a piece for making projects like boxes or trays. With all 4 pieces cut to the proper length it is simply a matter of setting up the sled and then it's off to the races with a cut/flip/cut operation.
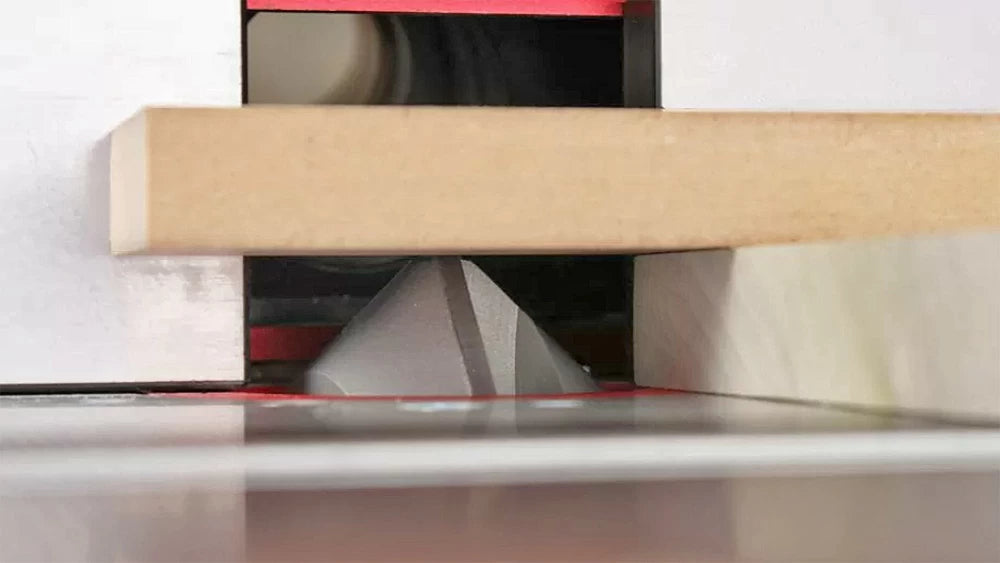
Setting up the chamfer bit is easy. Simply align the faces of the fence with the bearing using a ruler, leaving only the height setting to worry about. Mitering at the router table means the workpiece can be cut to its final outside dimension and then mitered. For me, trying to measure and ensure the correct cut on a tilted table saw blade is much more difficult to get just right.
Next time you have a project that requires a miter joint, give the router table method a try. I think it will become your preferred method.


