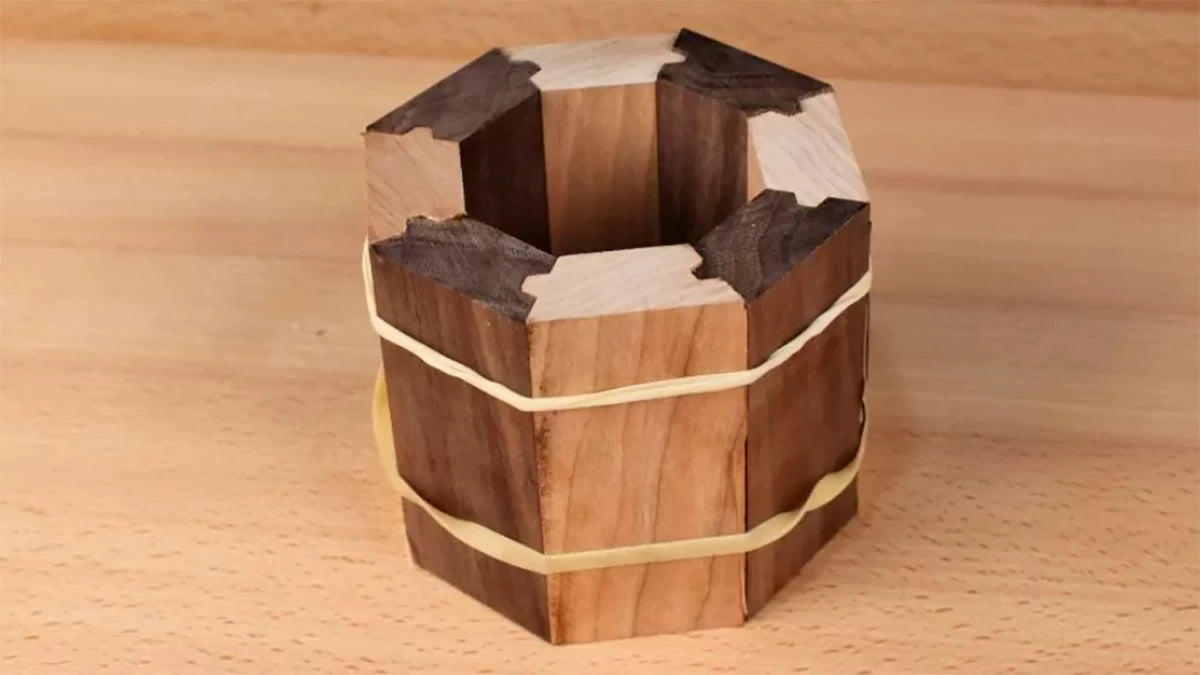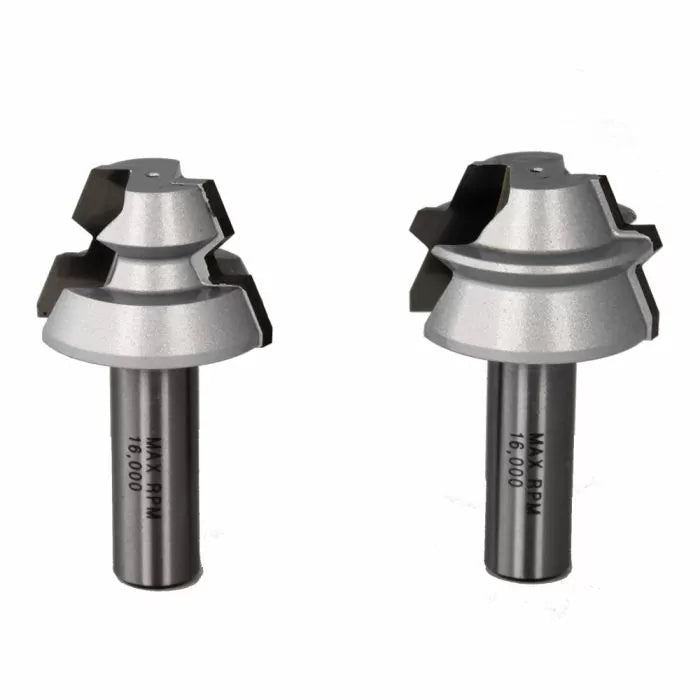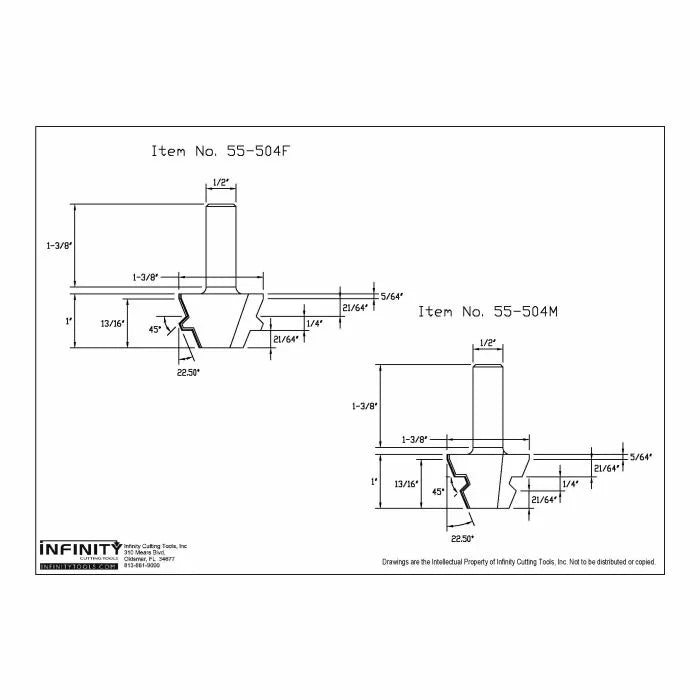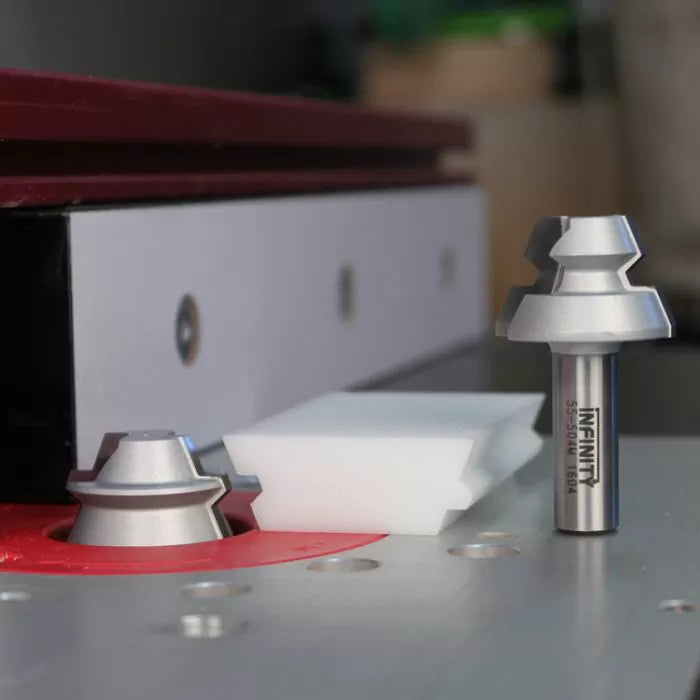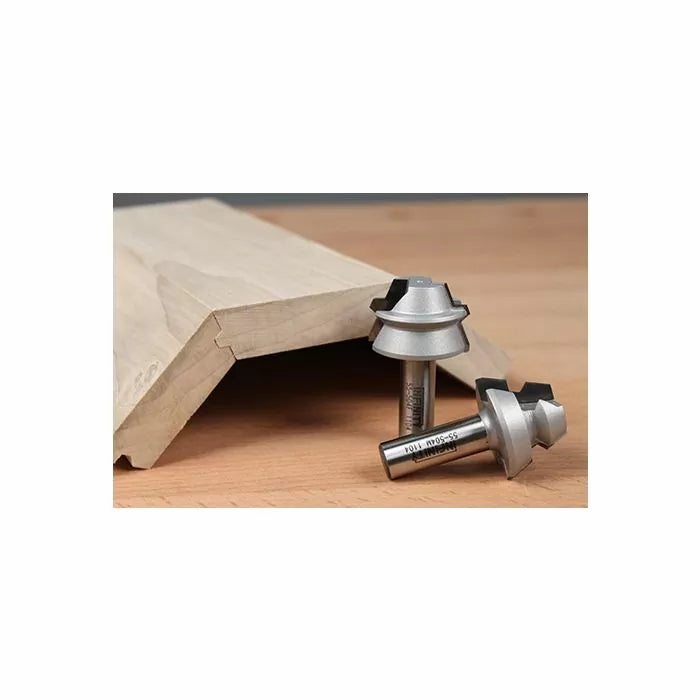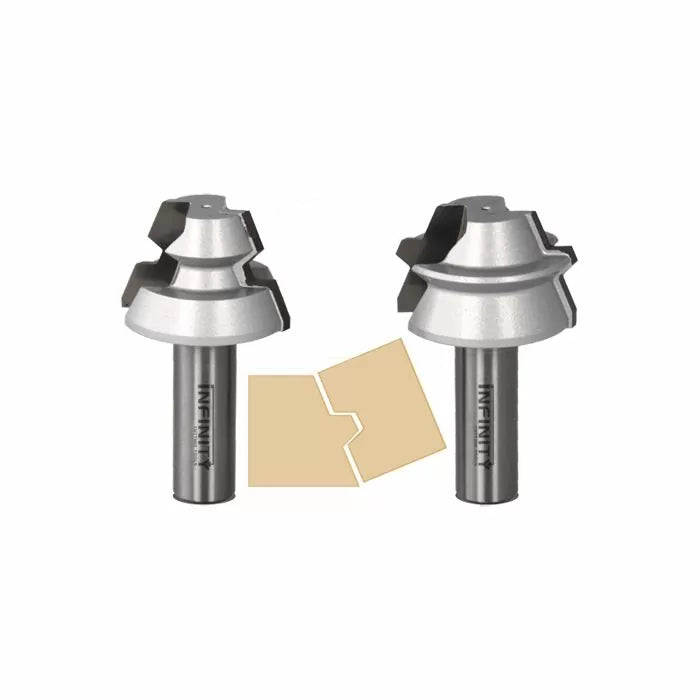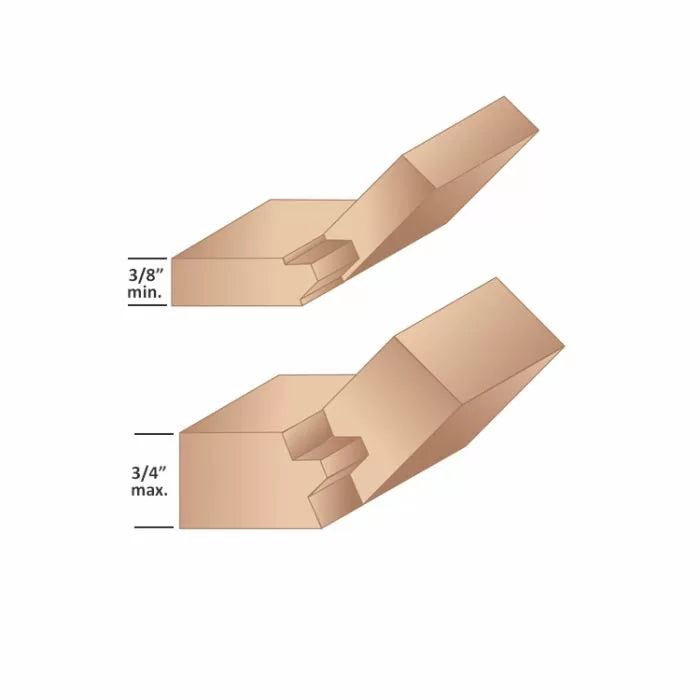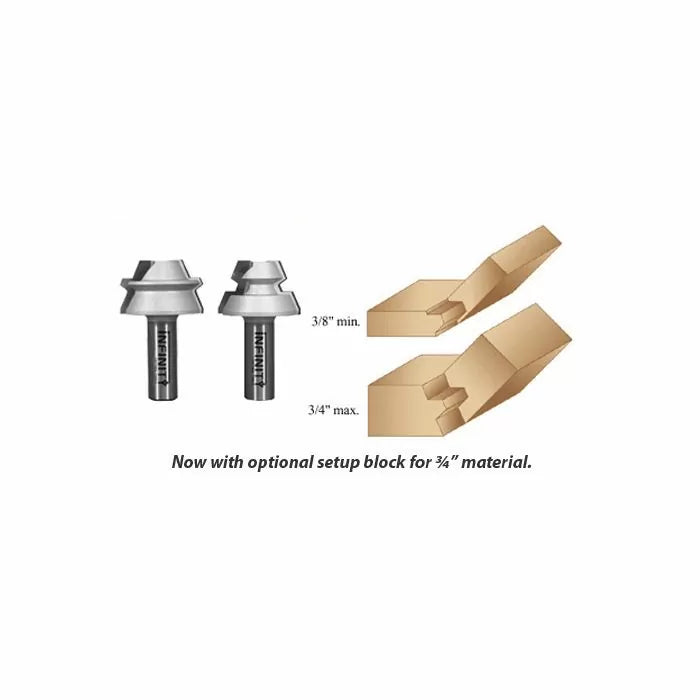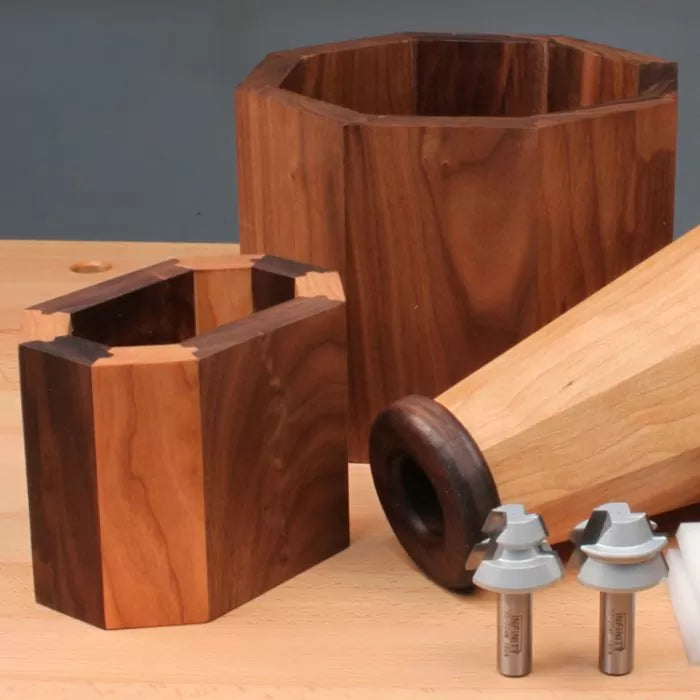
As woodworkers, we often get stuck making square projects like cabinets and boxes with 90° joints. But every once in a while it's nice to think "outside the box" and make something a little different. The 22.5° lock miter router bit set is a great choice because it makes 45° joints that interlock, providing more glue surface and making alignment a snap while producing perfect octagonal shapes.
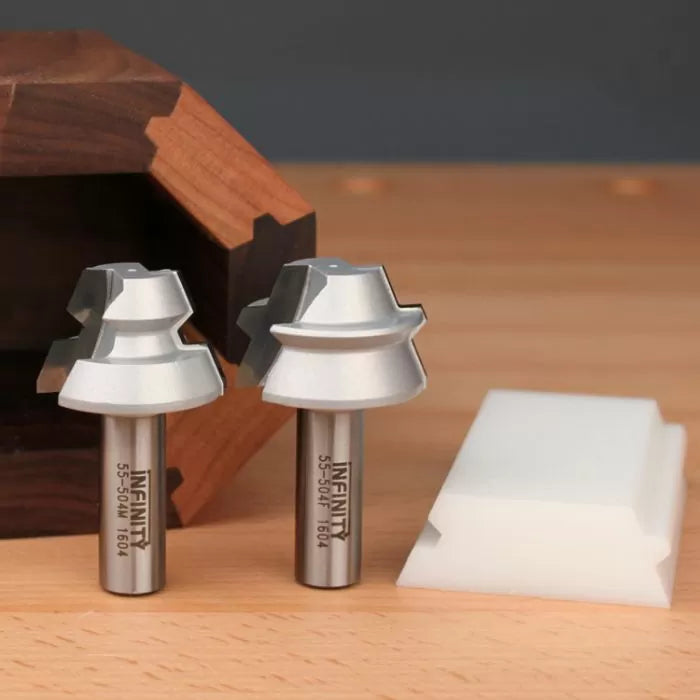
The 22.5° lock miter router bit set, unlike our 45° lock miter bits, consists of a pair of matching bits. This makes setup quite a bit easier. In fact, the process of setting up these bits is basically as easy as setting up to make a tongue and groove.
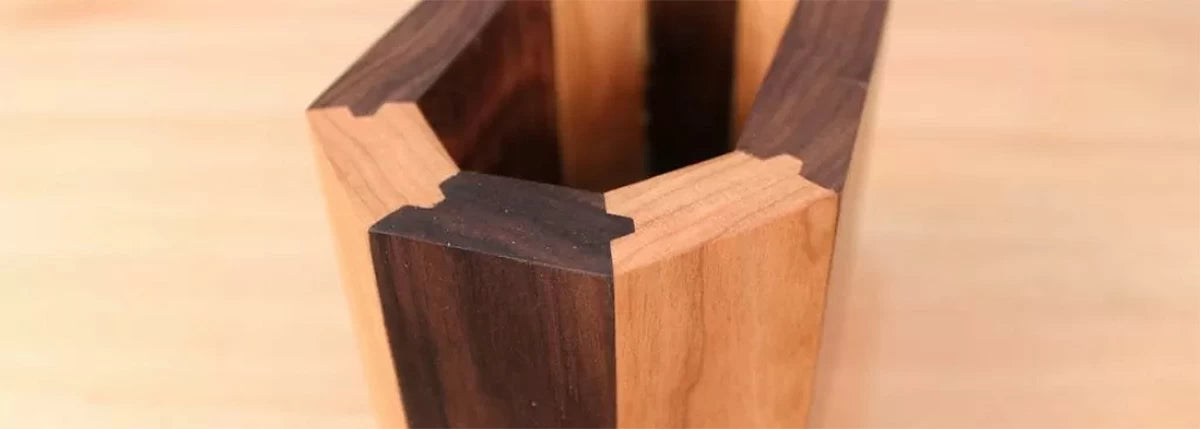
I like to start with the groove-making bit. To set the proper bit height in the router table, use the included setup block. To set the router fence position, make sure the cutter on the bit is 90° to the fence. Then place the setup block against the bit and bring the fence into position.
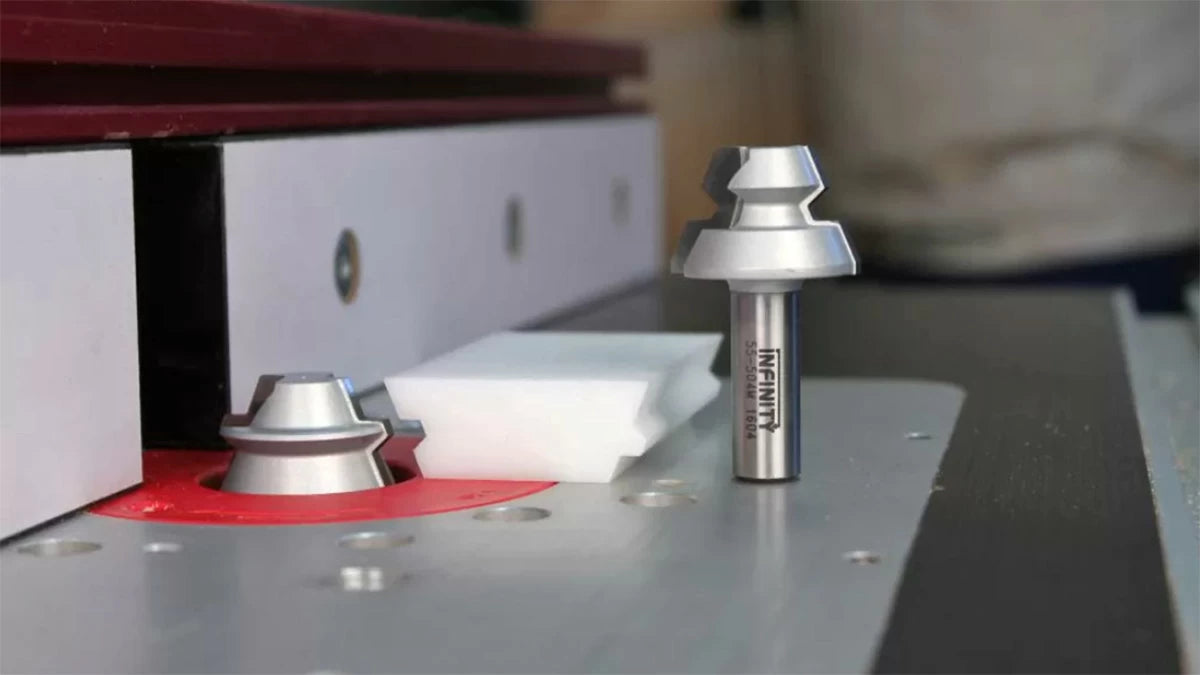
After routing one edge of each of the project pieces, install the mating bit that forms the tongue of the miter joint. Here, you can use the setup block again to get the bit height close. But to really hone in on the proper height, I use one of the workpieces I cut using the grooving bit. All you need to do is align the profiles and your set to route the opposite edges of the workpieces. The video below explains the process.

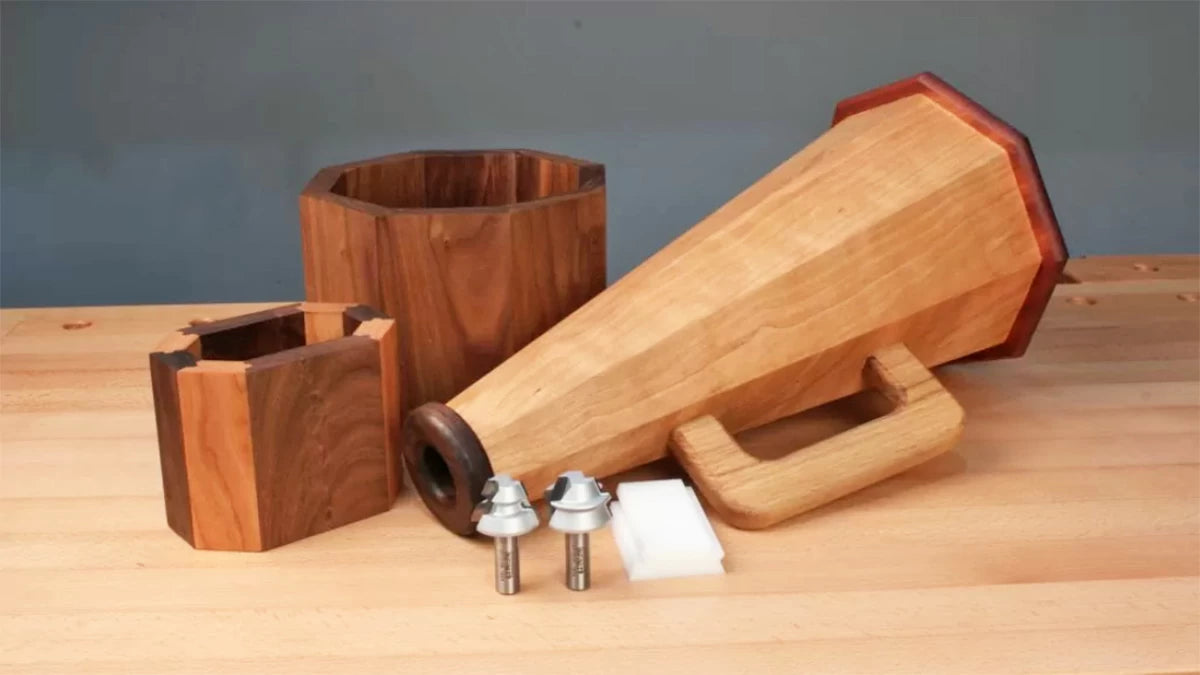
The possibilities for the type of projects you can make with these bits are endless: planters, small boxes, waste cans, cabinetry, containers for kitchen utensils, just to name a few. Whenever I'm making small projects using the 22.5° lock miter bits, I like to leave the workpiece extra-long and cut the project's pieces to length after milling each half of the lock miter along each edge of the long piece. This usually means I can get several pieces out of one length of material plus, it helps reduce waste.
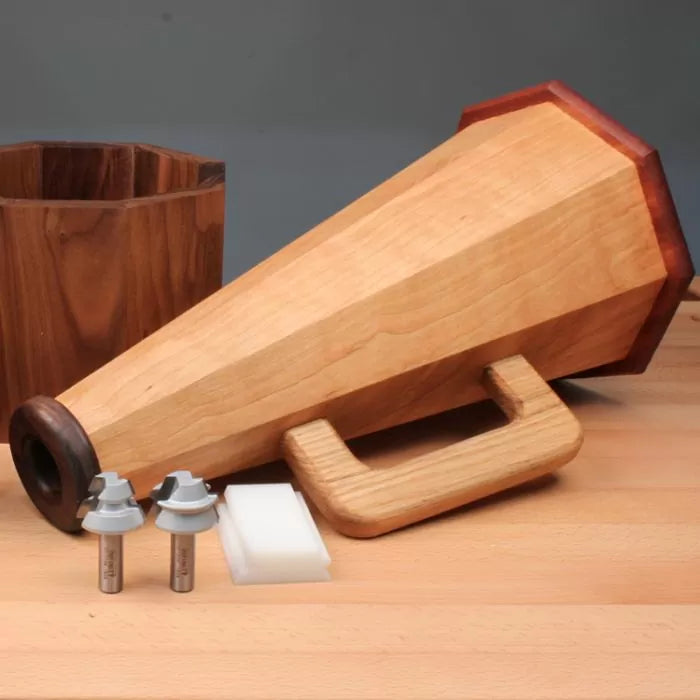
One of my favorite projects I've made using the 22.5° lock miter router bit set is a megaphone. To make the cone shape I first cut 8 workpieces with a taper along both long edges using a MicroJIG Microdial tapering jig. I like this taper jig because it makes it easy to get the tapers I need on each side of the workpiece. I use the same process to cut the tapers as I would for a tapered table leg.
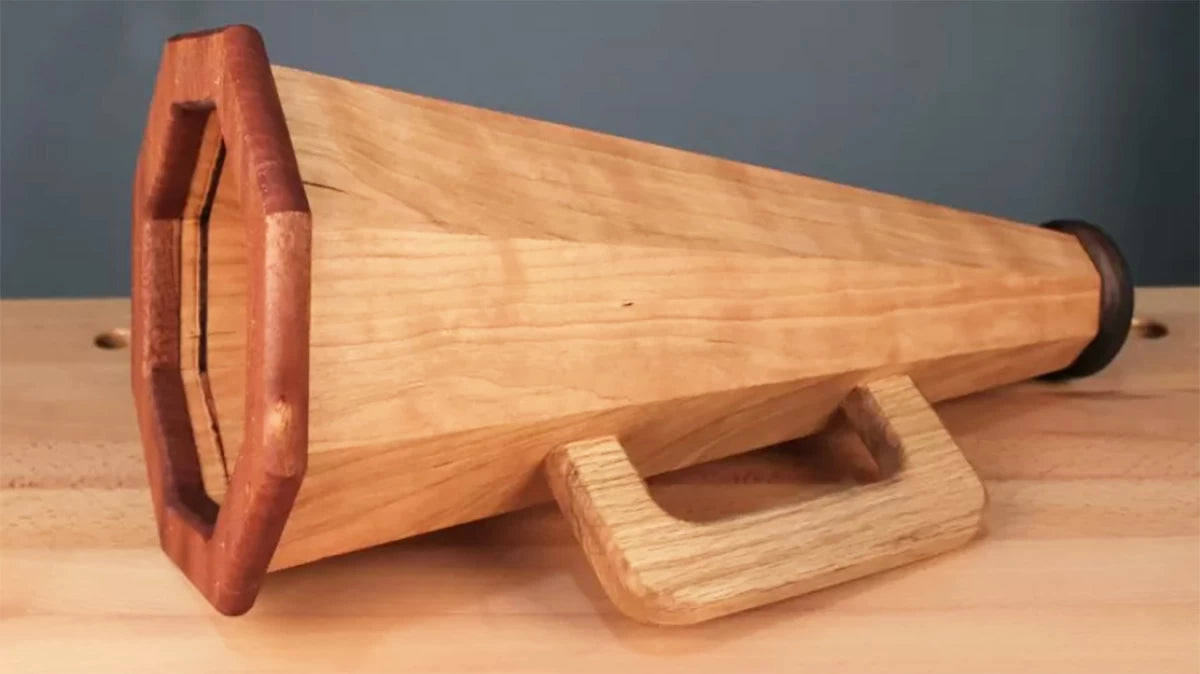
With the tapers cut, I then used the 22.5° lock miter bit set to join the pieces together and then used a band clamp to bring everything tight. One trick I find helpful for assembly, especially on smaller projects, is to use a couple of rubber bands to hold the pieces together until I get the band clamps in place.
