Product Name Goes Here
Choose from three options: V-Tongue & Groove; Tongue & Groove or our Floor Making Router Bit Set (w/nail slot) and make your own beautiful hardwood floors that will last a lifetime.

Its that time of year when we all start looking at home remodeling projects. These are the days when the bathroom or kitchen remodel happens, the buildout of the wet bar in the basement, or possibly the new backyard deck. One project that I frequently get asked questions about is how to make custom flooring. So how do I turn my beautiful hardwood lumber into flooring? It's easy with Infinity Tools Tongue and Groove Flooring router bit set with nail slot.
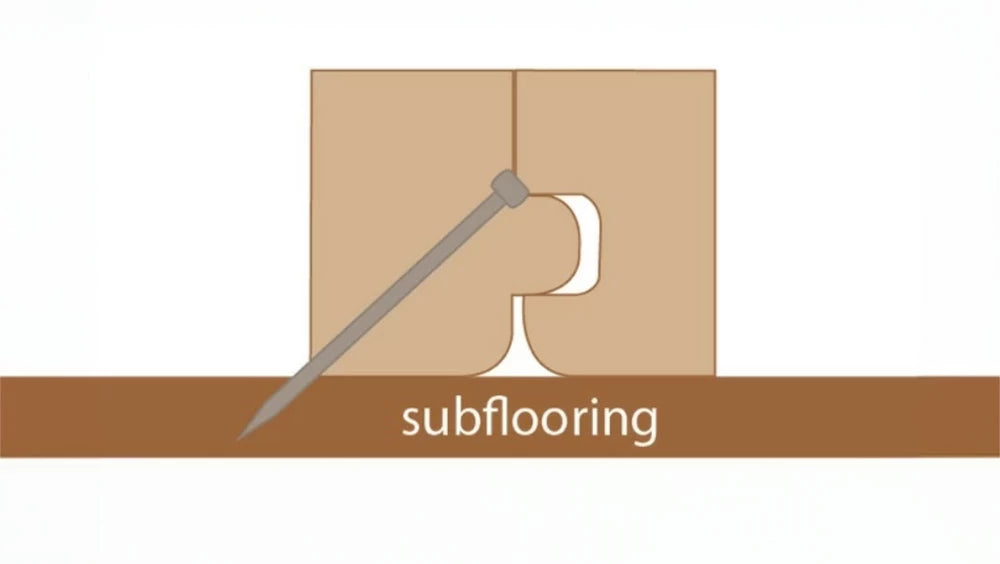
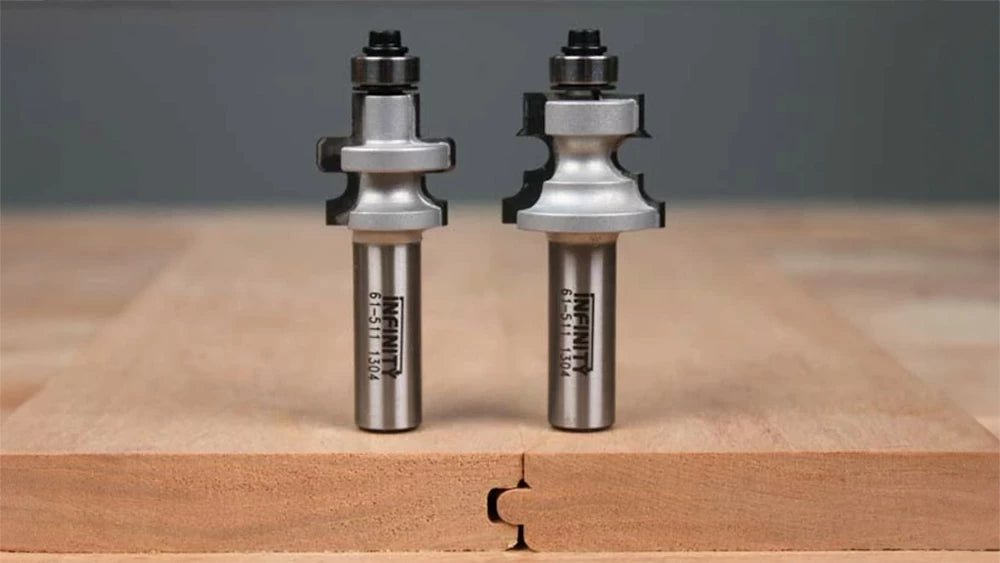
Our 61-511 floor-making router bit set is perfect for turning your lumber into beautiful custom hardwood floor planks. Made with finely polished micro-grade carbide cutting edges, this router bit set will stand up to the abuse of cutting loads of board footage while producing a specially engineered male and female profile that makes installation fast and easy. A unique feature of our bit set is the integrated nail slot above the tongue profile. This creates a space for your nail to be inset so the tongue and groove will fit together without any binding. There is also a 1/16" gap in the tongue and groove profile that helps take into account seasonal wood movement and also provides a nice glue trough. Another nice feature of our floor-making router bit set is the radius that they leave on the bottom of your board. This detail helps to ensure that loose debris or uneven floors do not affect how tightly you can join the boards, brilliant!

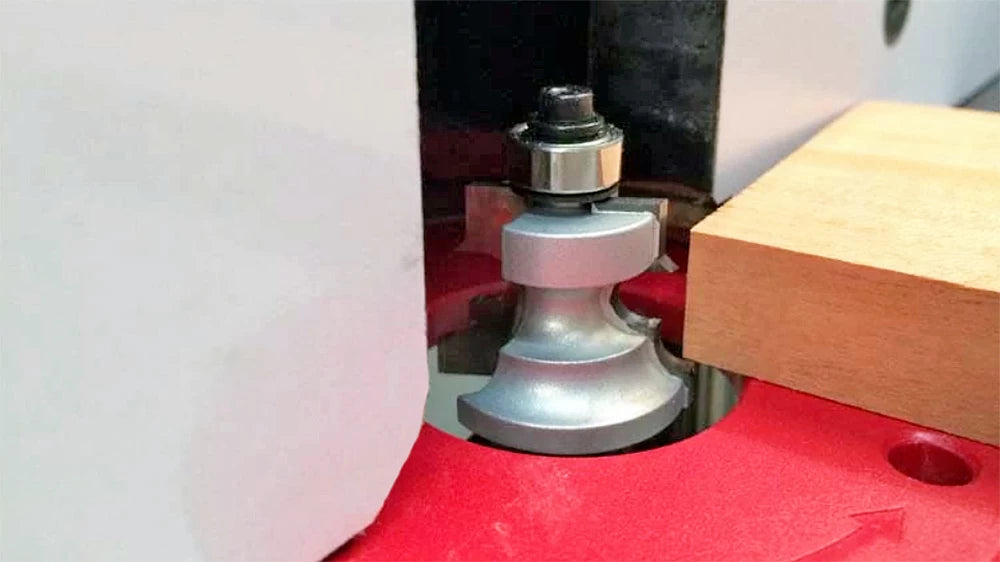
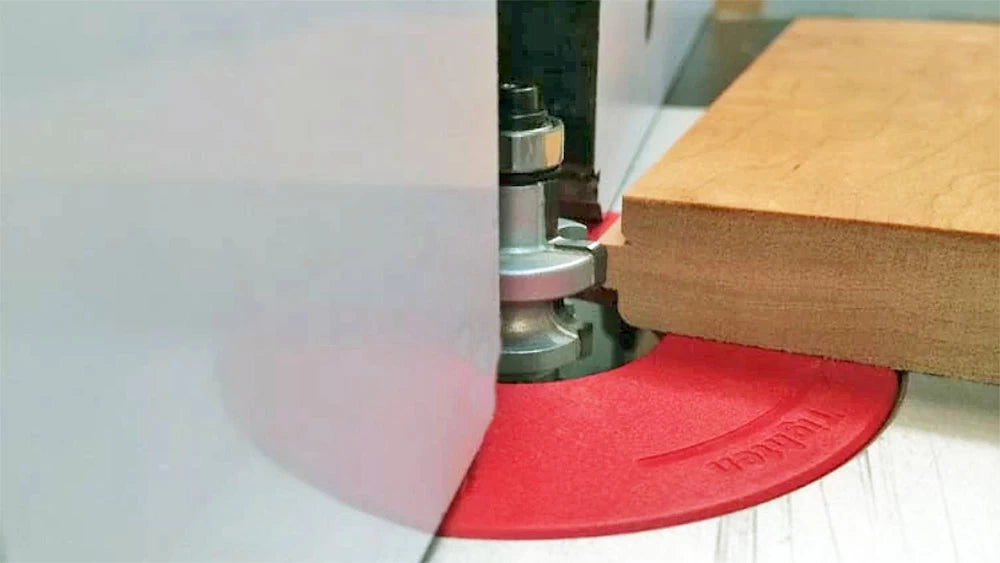
The set-up on these router bits is very easy. All referencing is done from the flooring bottom since the tops will get sanded flush. I typically start with the tongue side router bit. Flush the bearing up to the fence and raise or lower the router bit until the round over on the bottom of the bit will create a perfect round over on the bottom of your flooring piece. For the groove side router bit, use the same reference of the fence to bearing and the round over on the bottom of the flooring material. I will also double-check that the tongue on my previous cut piece will fit nicely into where the groove will be cut.


At this stage, you can simply run a test cut, tweak in your fit and mill the rest of your lumber. Custom hardwood flooring has never been easier to make. Our specially designed 2-Pc. Floor Making router bits are the perfect tools for building beautiful floors in your home.


