20-Pc. Chisel & Plane Blade Sandpaper Sharpening System
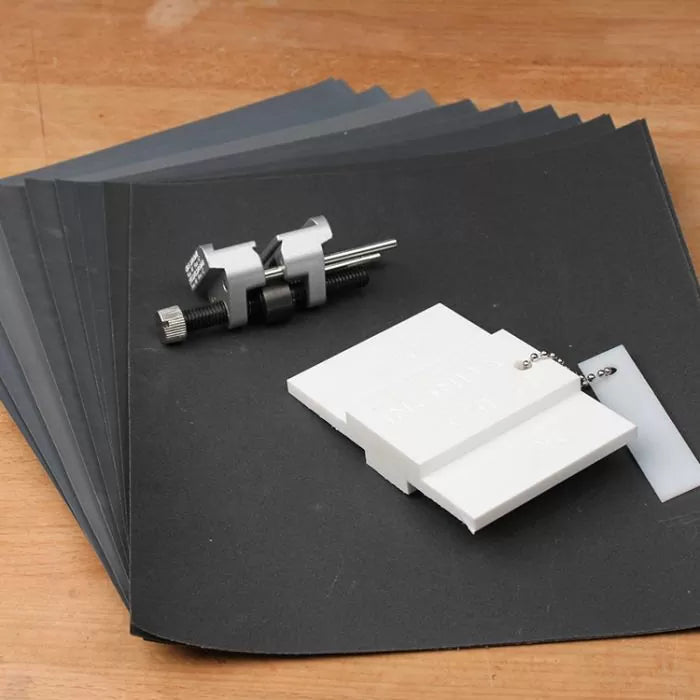
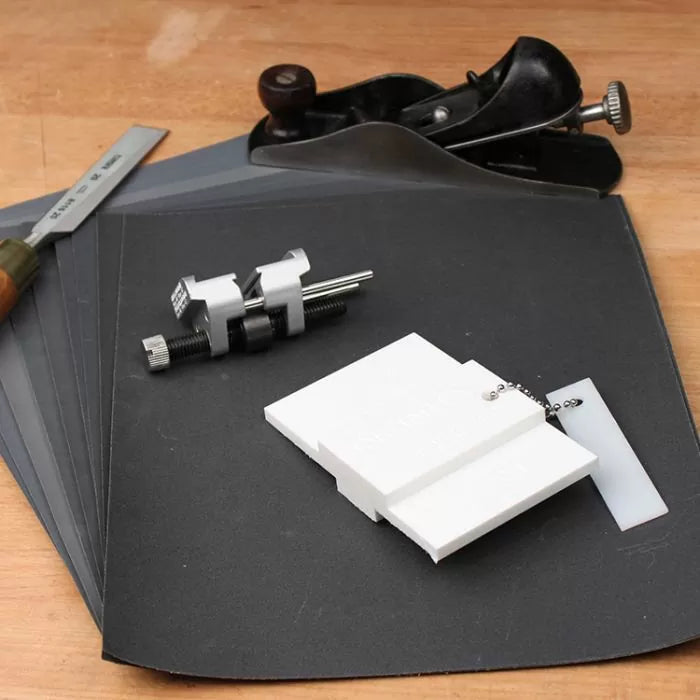
Our "Scary Sharp" honing package has what you need to get razor-sharp edges on your chisels and plane irons without breaking the bank. The kit includes our easy-to-use honing guide and our setup jig for setting consistent bevel angles. You also get two sheets of our high-quality Mirka wet/dry sandpaper in nine different grits: 220; 320; 400; 600; 800; 1200; 1500; 2000 & 2500
In order for hand tools — like chisels and planes — to work properly and safely, they need to be sharp. The problem is, getting a tool truly sharp is not all that easy unless you have good sharpening equipment and a technique that yields fast and repeatable results. There are more sharpening stones, jigs, and techniques around then you can shake a chisel at and all have their pros and cons. However, one technique stands out as being easy to master and great for beginners and experienced woodworkers alike. And above all, you won't have to break the piggy bank to get started.
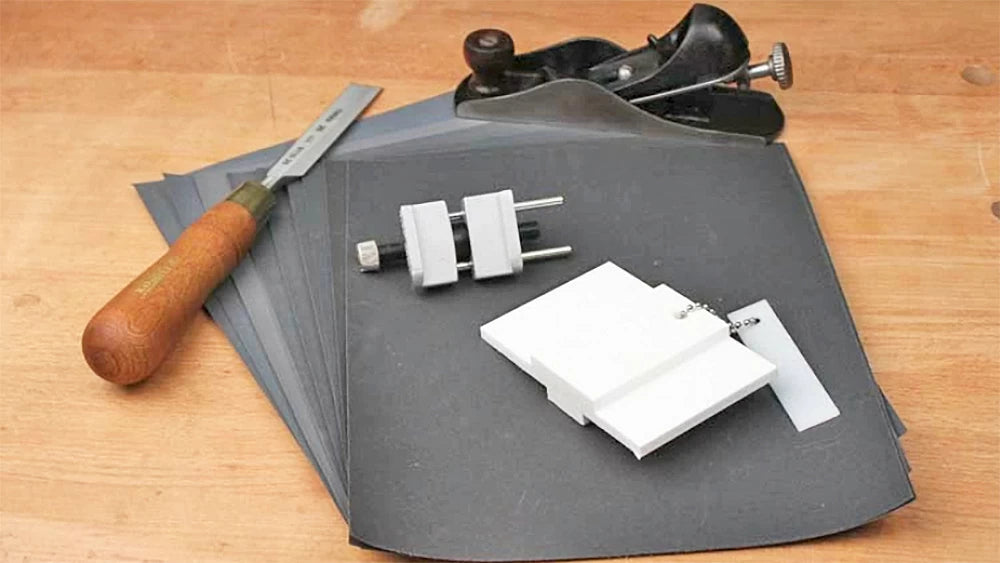
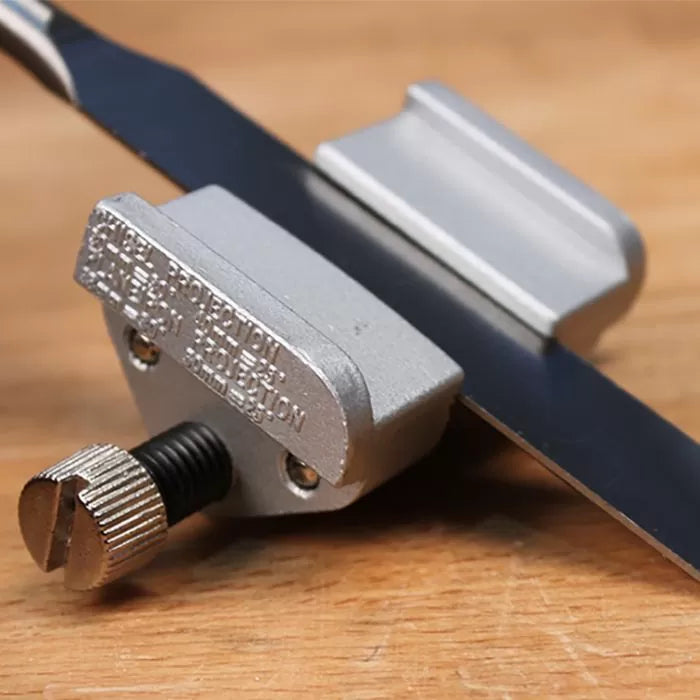
Infinity Cutting Tools has a package that includes makes maintaining the correct bevel and producing hair-splitting results a breeze. It's inexpensive and makes the sharpening process foolproof. The Infinity Tools 20-pc. Sandpaper Sharpening System (100-SSS) includes everything you need to get started: 9 grits of wet/dry sandpaper, 2 sheets each (102-200), a side-clamping honing guide (100-005), and a honing bevel setup gauge (100-007). The only other items you'll need are a flat surface and perhaps a can of spray adhesive.
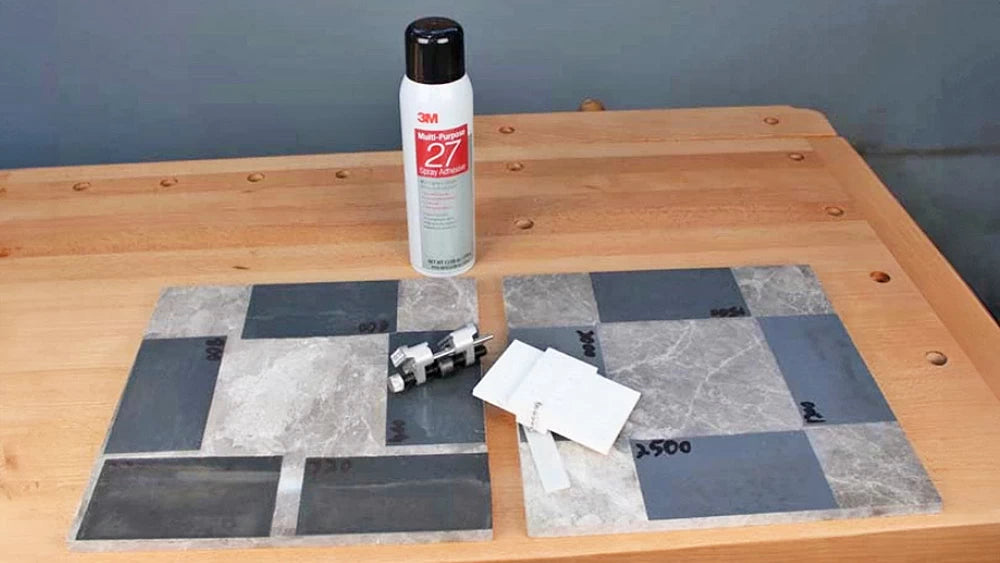
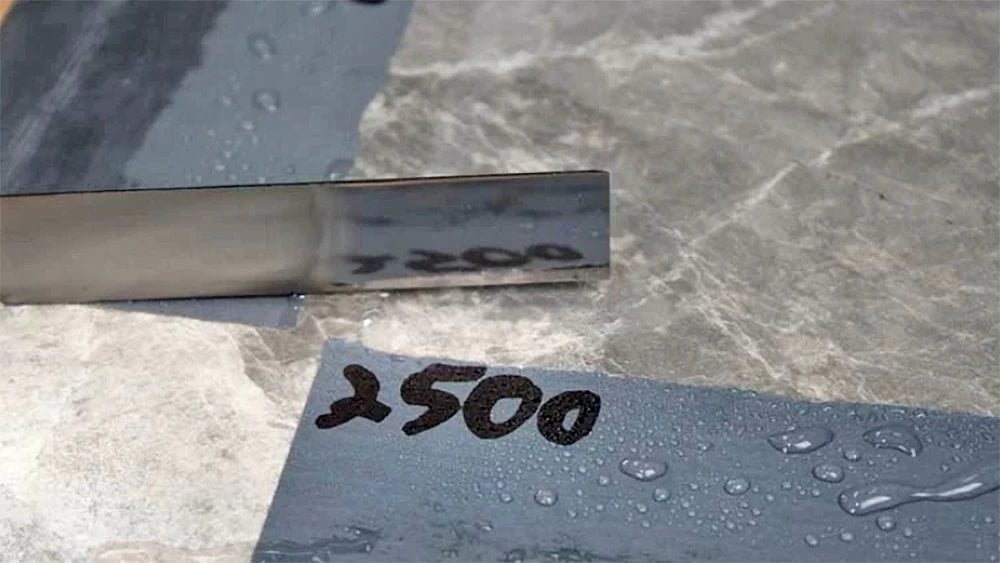
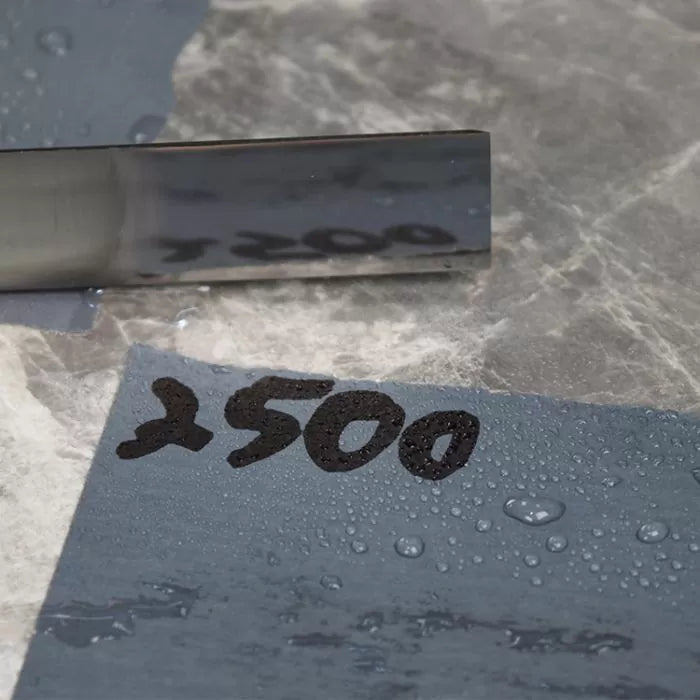
The key to getting any chisel or plane iron sharp and tuned properly is a flat, polished back. Starting with 220 grit paper gives you a good indication of how much work is needed to flatten the back. Once you have a consistent scratch pattern on the first inch or so of the back it's just a matter of progressing through the grits, creating finer and finer scratch patterns, until you develop a mirror surface. With 9 grits, ranging from 220 all the way to 2500, getting a polished surface happens pretty fast. Don't be tempted to move up in grits to quickly. Take the time on 220-grit to ensure that your scratch pattern goes all the way up to the cutting edge, then move on.
Once the back is flattened and polished, subsequent sharpening only requires a few strokes on 2500-grit to remove the burr when refreshing the edge. A damaged edge may require a trip back to coarser grits first but the process will be faster since the back is already flat.
Once the back is polished, establishing the bevel goes quick. A side-clamping honing guide and the Infinity honing setup gauge make quick work of setting up the bevel angle for repeatable sharpening. Use 220-grit to quickly establish a primary bevel. A primary bevel of 25* to 30* works well for almost any woodworking tool.
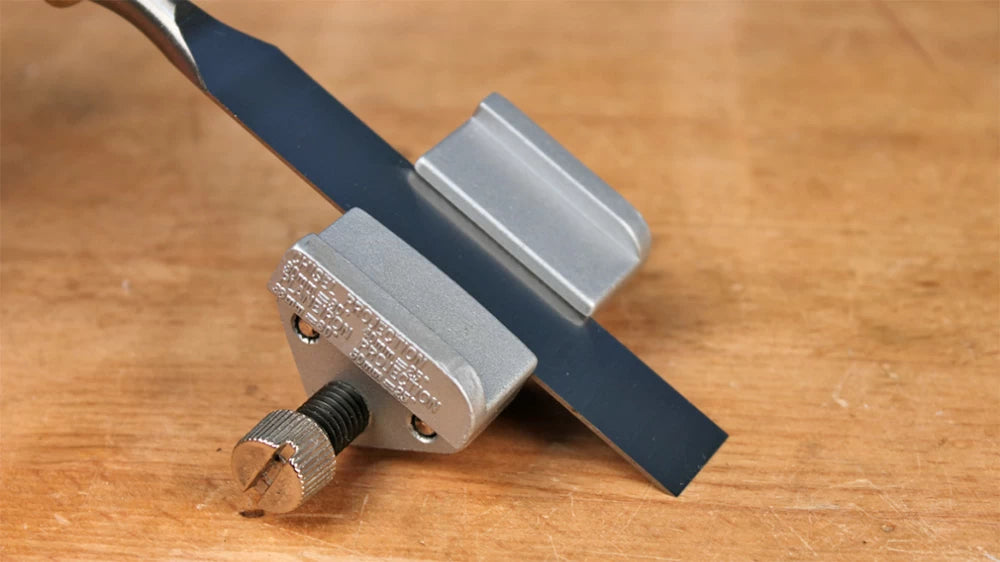
The key to a sharp edge is the burr. A burr is formed when the bevel and back of the tool meet and metal is drawn off the cutting edge. This burr is the tell-tale sign that you've sharpened the cutting edge as far as it could go and the new edge is ready for final honing. Don't be tempted to jump up in grit before you have a burr — you'll waste time and energy. With 220 grit paper, the burr should be big enough to both feel and see hanging from the cutting edge.

Here is where the magic happens. Grab your Infinity setup gauge and micro bevel shim and increase you bevel angle just a bit to produce a micro bevel. Jump straight up to the 2500 grit paper and give the back of the cutter a few licks to fold the burr back toward the bevel, then hone the bevel on the 2500 grit to create a micro bevel. After a few strokes the burr should fall away. 20 or 30 strokes should be all it takes to establish the micro bevel and produce a super-sharp edge. Flipping back and forth, a few strokes on the back and bevel will ensure that the entire burr falls away and leaves behind a beautiful, sharp edge ready to put to work.
With a few tools and a little know-how, anyone can have super-sharp tools on even the tightest budget.


