Flush Trim Router Bits
M-Power CRB7 Router Base
Our Flush Trim router bits are designed with a downward shear angle to tackle your toughest projects while leaving a smooth cut.
M-Power Tools’ Combination Router Base CRB7 greatly expands the usefulness of your router and is truly unique amongst router jigs. The brain child of an avid router user, the CRB7’s core functions elevate the average router’s capabilities and performance.
A strong entry or passage door boils down to the strength of the joinery. It all starts with milling all of the pieces accurately, as we discussed in Part 1. Next, we used entry door rail and stile router bit sets with extended tenon cutter to create the mating joinery between the rails and stiles. You can read all about this in Part 2. Today, we're going to go a step beyond the norm and add drawbore pegs to the mortise and tenon joints in the door frame. If you don't know what a drawbore joint is, read on.
Part 3 - Assembly Details
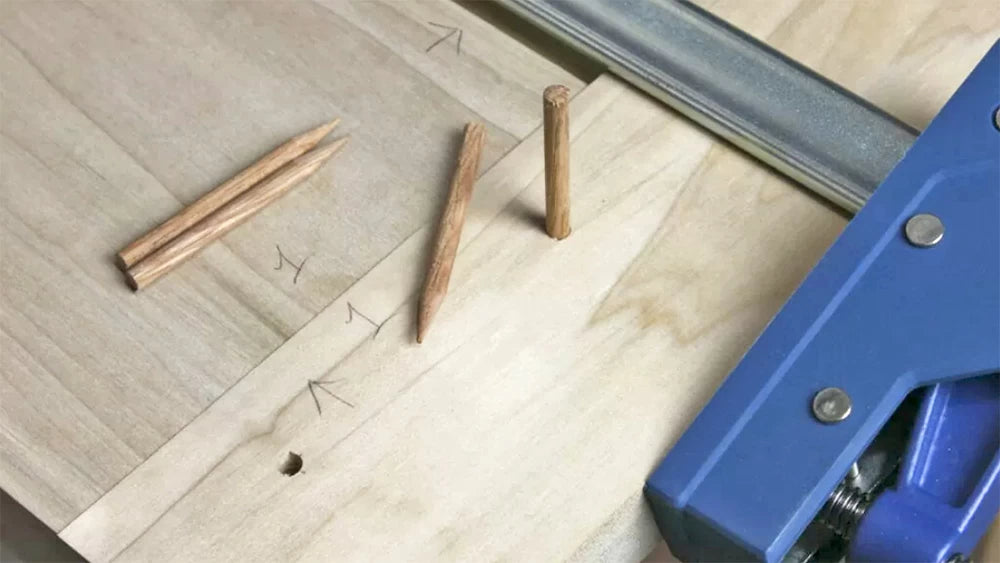
If you want to add even more strength to the door you can pin the tenons with dowels by using a method called drawboring. This is an old, time-tested technique where you drill a hole through the frame and a slightly offset hole in the tenon. A dowel pin is driven into the hole. The offset holes cause the dowel to draw the joint tight. This technique was developed before waterproof glues were invented so that exterior doors would last for decades with no worries of the joinery coming apart.
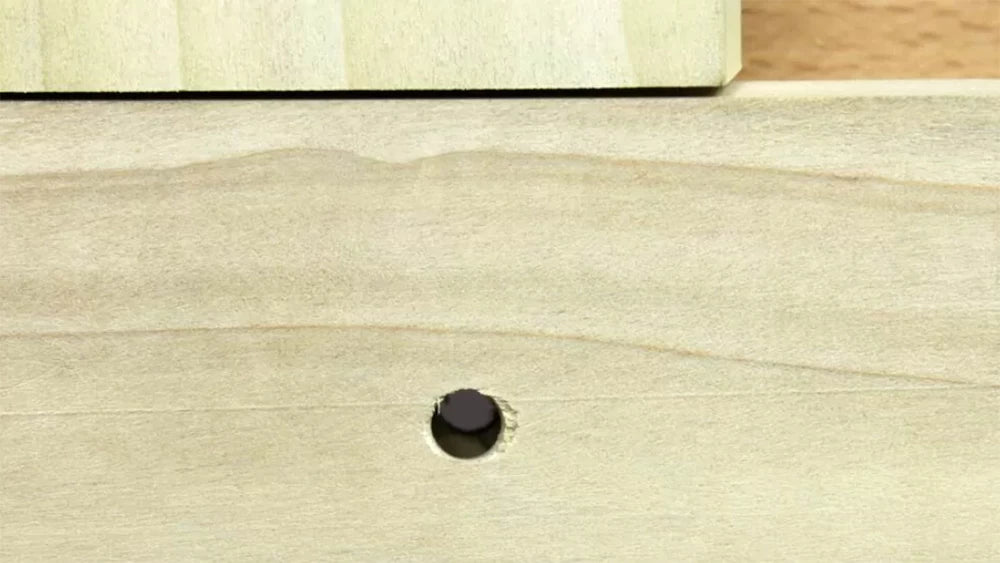
Here's the process I use to make a drawbore joint. Disassemble the door frame then mark and drill the holes in the stiles with a 1/4" brad-point drill bit. Fit the tenon into the mortise in the stile and use a 3/16" brad point bit to mark the center point of the hole to be drilled in the tenon. When doing this, press the drill bit against the edge of the 1/4" hole in the stile toward the center of the door. To guarantee a tight fit, it's not a bad idea to clamp the door up when marking the hole in the tenon. Using the 3/16" bit against the edge of the 1/4" hole makes the holes 1/32" offset from each other. Once the holes are marked in the tenons, remove the rails then drill the drawbore holes with the 1/4" drill bit at the center point locations. The video below shows you how this is done.
To assemble the door, I used Titebond III Ultimate Wood Glue because it's rated for exterior use. As you step through the final assembly to take your time and ensure that your door is square by checking the corners with a large square. Measure across the diagonals of the frame to make sure both measurements are equal.

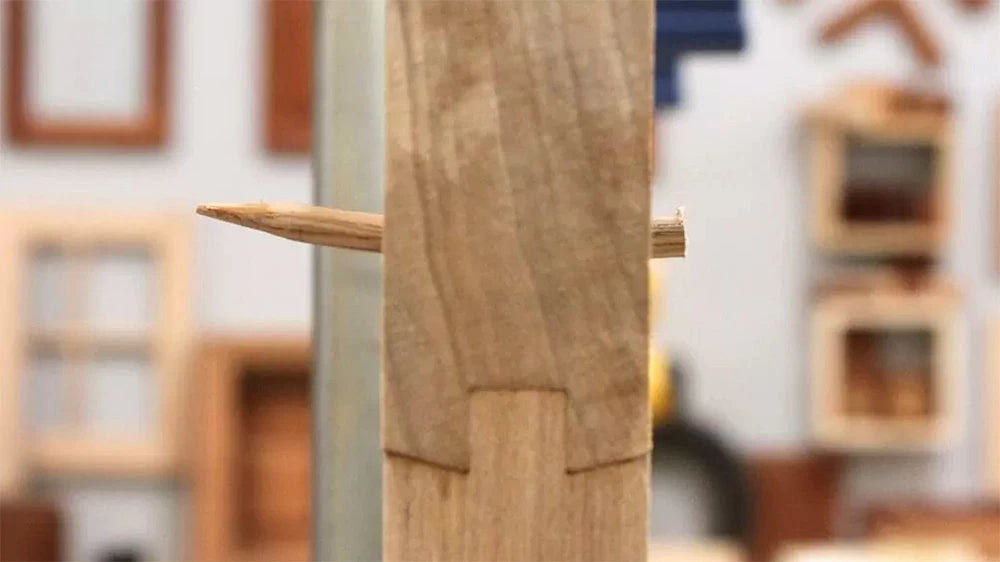
As you insert the rails into the stiles, you can tap in the drawbore pins made from 1/4" oak dowel rod. An easy way to get the dowel pins to thread through the offset holes is to sharpen the tip of the dowel in a pencil sharpener. This gives the dowel a perfect taper. Once the dowels are in place, you can saw and sand them flush with the door frame.
At this point, the door has a large opening where the insulated glass panel will reside but there's no way to install the glass. It's time to decide which side of the door is interior and which is exterior, then use a large diameter flush trim router bit to remove the profile on the interior side of the opening in the door frame.

The large bearing converts the rabbeting bit into a large flush-trim bit. The thin bearing fits into the groove in the door frame to create the rabbeted opening for the glass.
This creates a rabbet for installing the glass panel. After routing the rabbet the final step is to square up the rounded corners with a chisel.
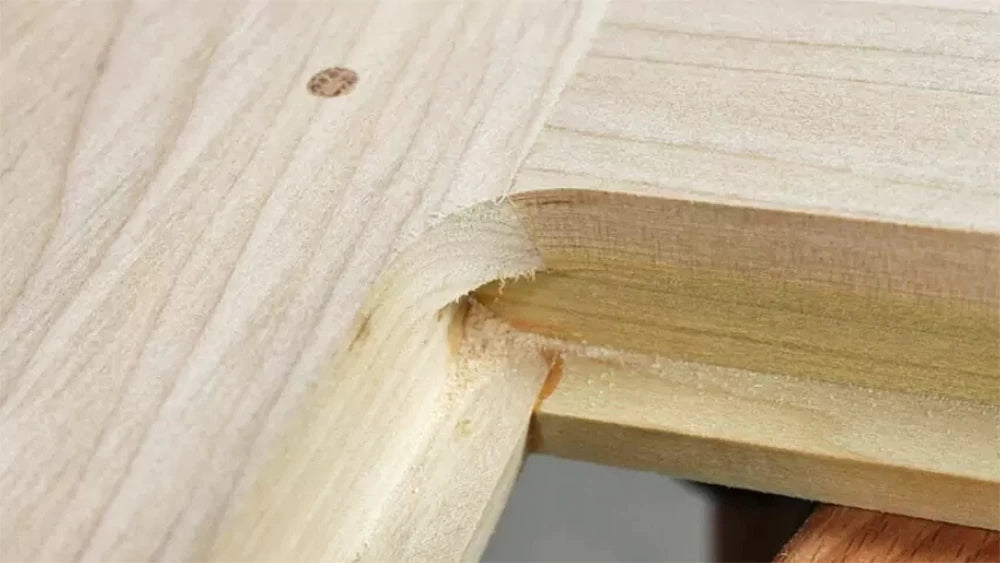
The flush-trim bit leaves the corners rounded in the rabbet. Use a sharp chisel to square up the corner and remove the waste.
Don't be afraid to mark out your waste with a pencil or marking knife to be sure you get a nice, square corner. Remember a sharp chisel is a must.
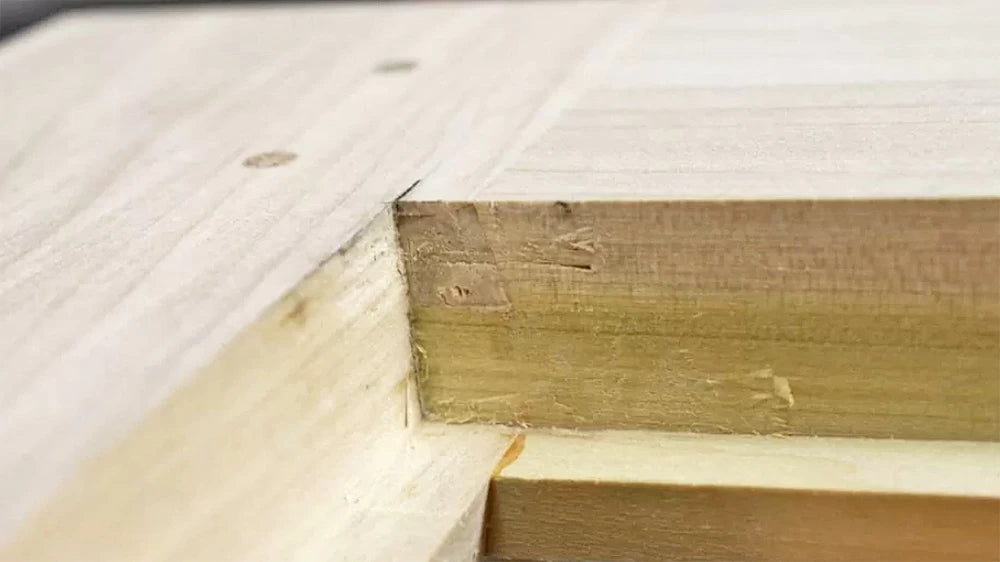
Just like the raised panels I want just a little breathing room for the glass. I ordered my insulated glass panel 1/8" smaller in length and width, leaving a 1/16" gap all around. You can order insulated glass panels from a local glass supplier or any number on online suppliers. I ordered my 1/2"-thick insulated glass unit from onedayglass.com. They made the custom glass unit quickly and shipped it across the country with no issues.
My panel has frosted and tempered glass. This provides diffused light for my dark hallway and eliminates the concern over sharp shards of glass if it's ever broken.
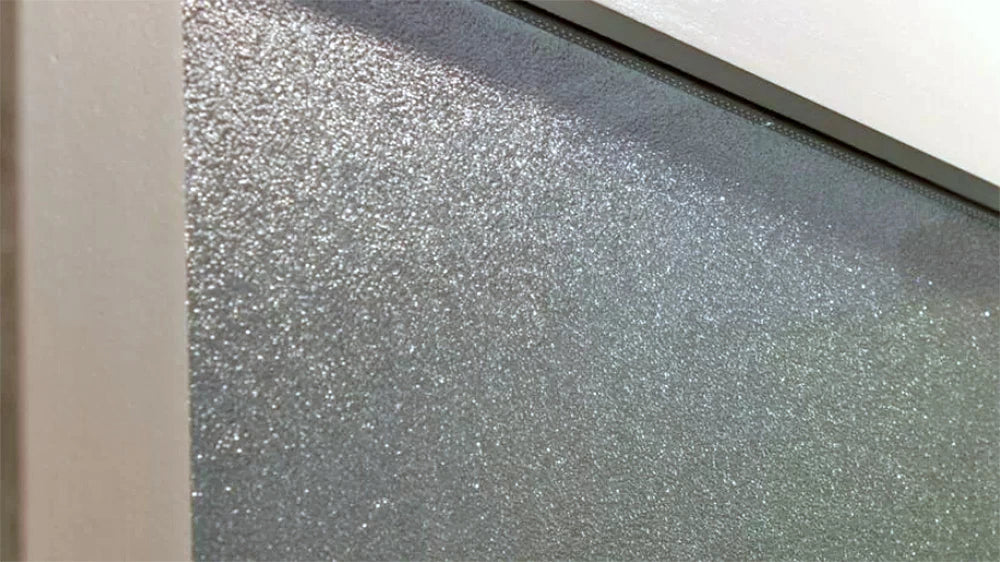
Check the fit of the door in the opening but don't install it just yet. There are some other things you need to do first.
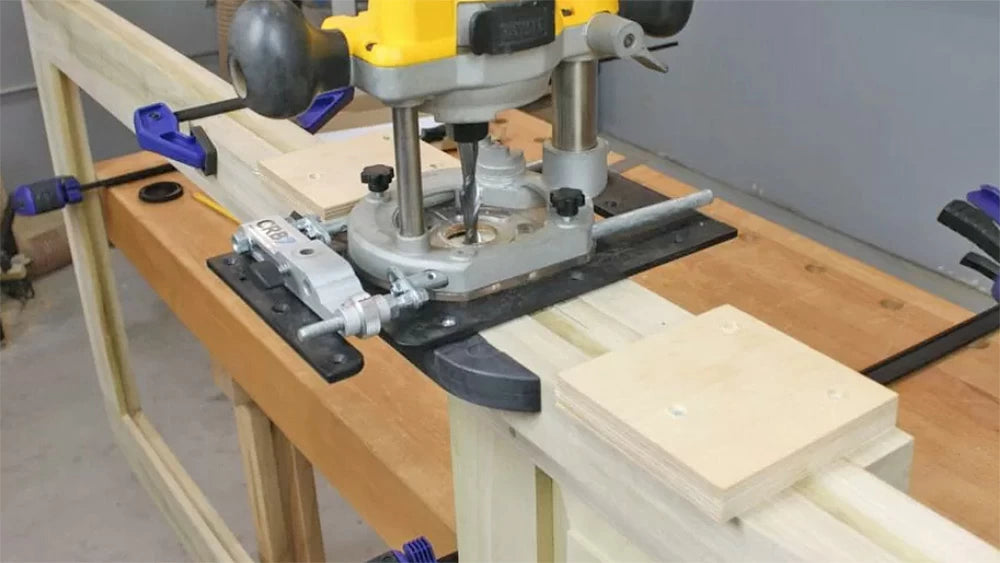
For my door, I found a classic, 1920s-era mortise lock and decided to use it on my door instead of a modern doorknob. This vintage lock requires a 5/8" wide 3-1/4" deep mortise in the edge of the door. I used the M-Power Combination Router Base CRB7 (100-097) and a long, 1/2"-dia. up-cut spiral router bit (85-915) to make the mortise as deep as possible. I also made a quick jig from scraps from the scrap pile.
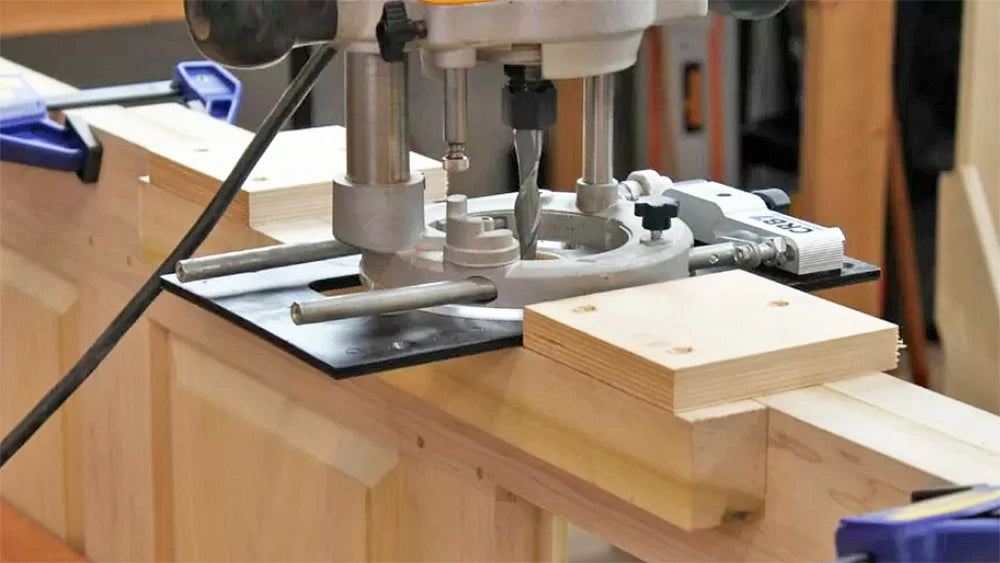
The jig makes a wider supporting surface for the router. The blocks at the end of the jig acts as stops to create the mortise the proper length. The jig straddles the door and is held in place with a couple of clamps.
I finished the mortise by drilling the remainder of the waste with a Forstner-style bit and then cleaning up the mortise with a chisel. The lock plate and strike plate are different sizes than their modern counterparts so I used the tried and true method of marking the outline of the plates with a marking knife and chiseling away the waste.
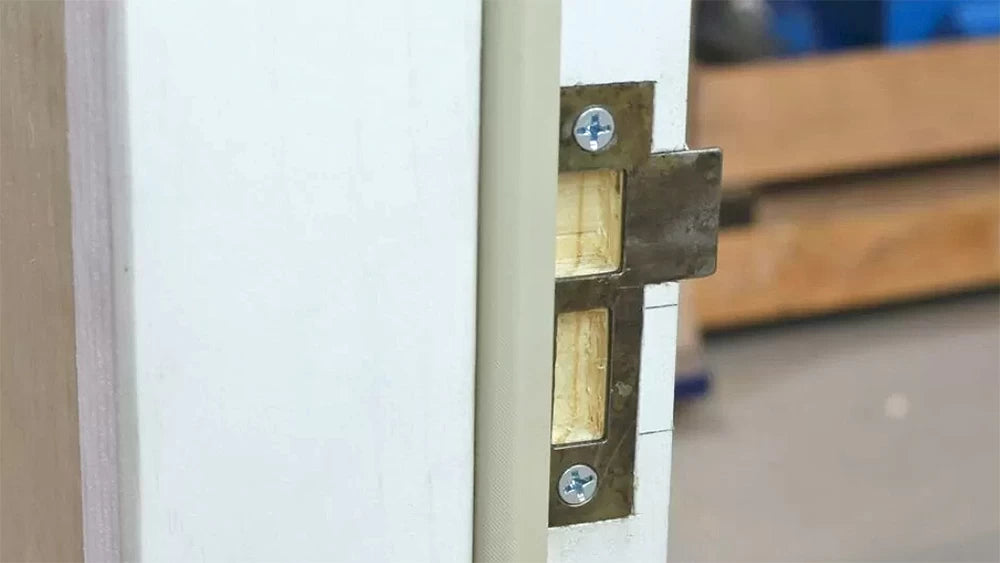
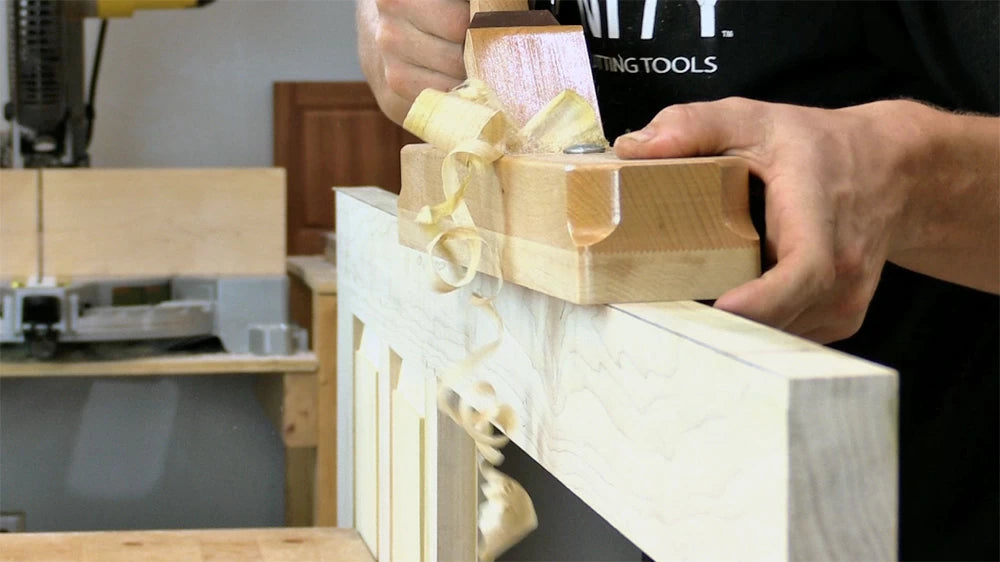
One last detail that needs to be added to the door is a slight bevel to the lock edge. This bevel of roughly 2° will allow the door to swing past the jamb without interference, especially in those more humid months where the door may swell a bit. It's easy to add this bevel using a hand plane. I set my marking gauge to mark a line 1/16" from the edge of the door then plane away the material by tilting the hand plane slightly to achieve the bevel. When marking and planing the door edge, you want to remove the material from the corner that will contact the stop on the door jamb. The knife line made by the marking gauge makes it very easy to see and feel when you have planed away the right amount of material. Just take light cuts and check your progress often.


