Fluting Jigs for Straight & Arched Stock
Our fluting jig allows you to use your router to make fast and accurate flutes or grooves in straight or arched stock. The centerline on the jig makes setup easy for foolproof results.
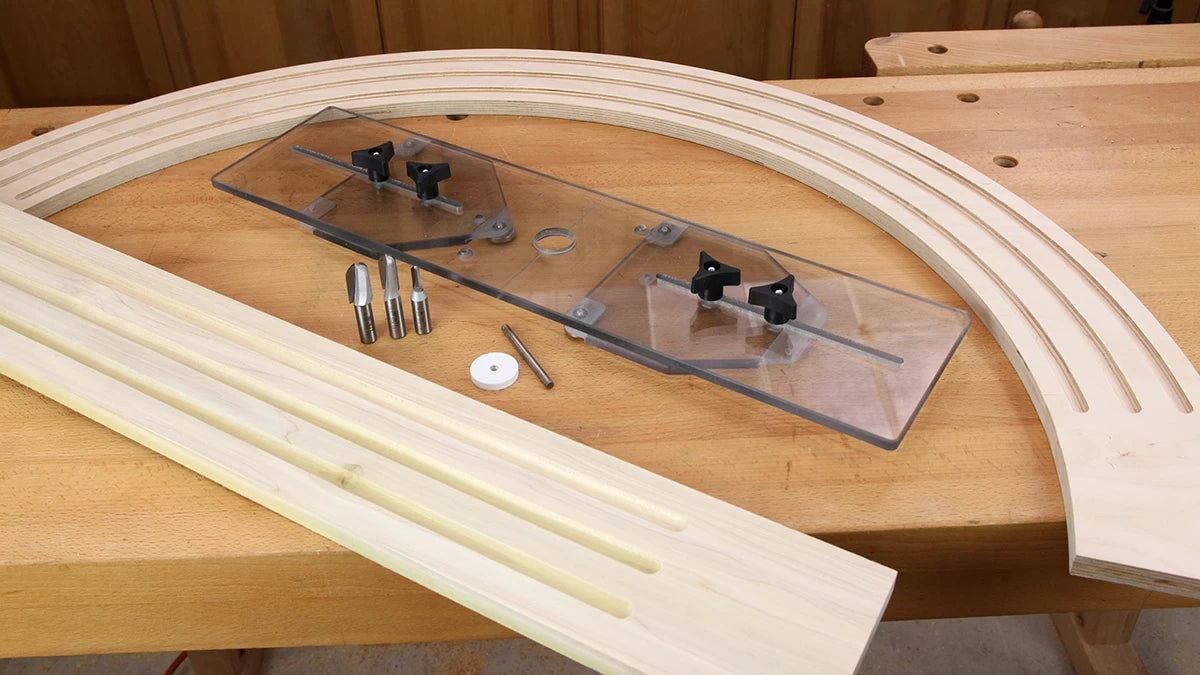
From the time of ancient Greece to present-day, fluted details have been found on columns, door and window casings, and around fireplaces; not to mention on countless furniture styles for almost every era of history. Making fluted details can be tricky without the right tools because the flutes need to be laser straight and evenly spaced. If you want to make arched or curved moldings the job becomes even more complex unless you have an Infinity Fluting Jig Master Package (115-034).
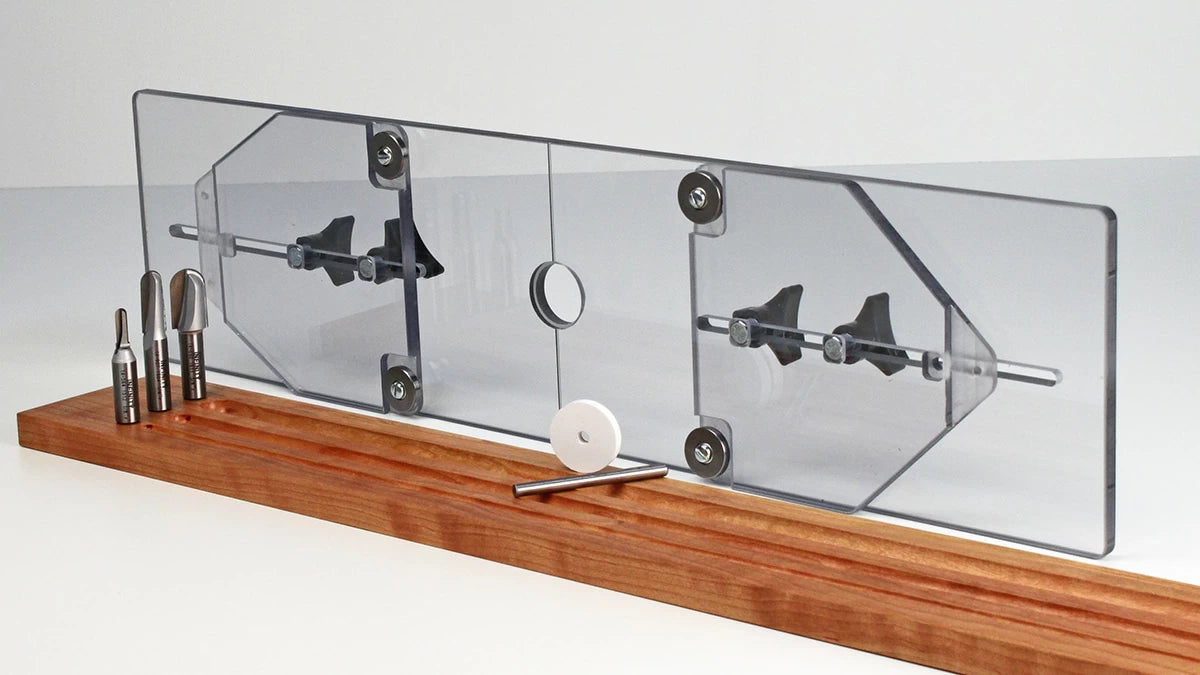
The Infinity fluting jig is designed to easily attach to any router and gives you the ability to route workpieces up to 16" wide. This unique jig is fabricated from 3/8" thick clear acrylic, making it extremely tough and durable while giving you a clear view. Our Master Package also includes a 3-Pc. Round Nose Router Bit Set (00-141) so you can make 1/4", 1/2", and 3/4" flutes. We also include a Base Plate Alignment Kit (115-040) to make setup a breeze.
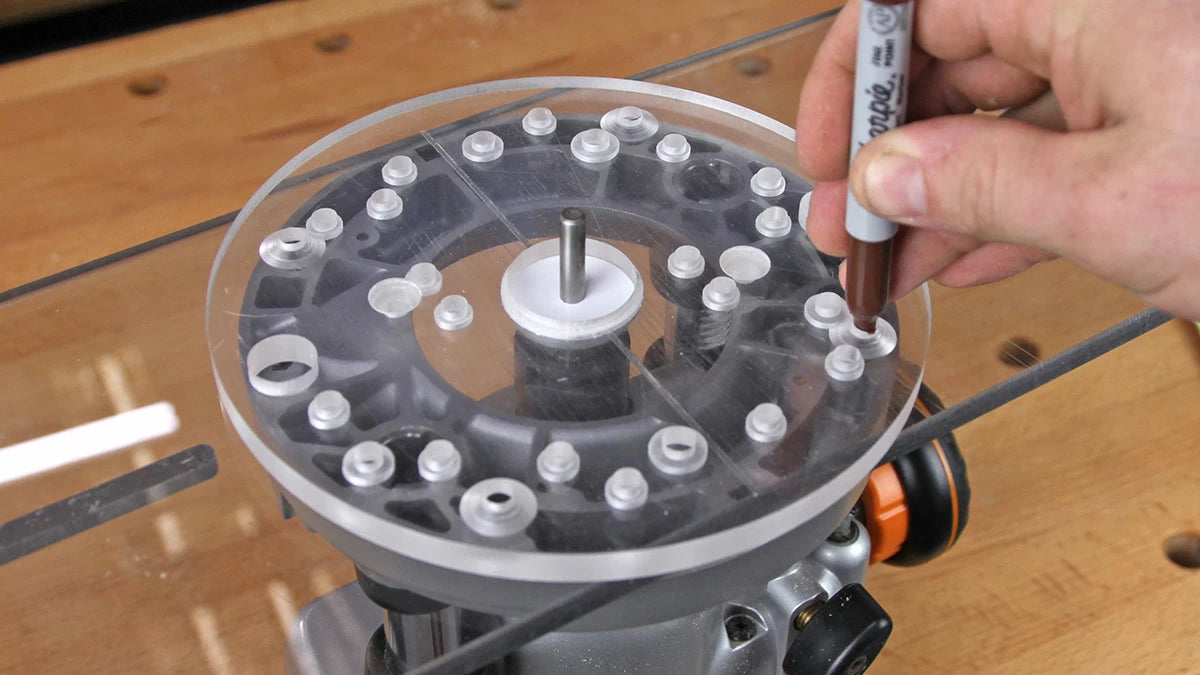
Using the stock base plate or an Infinity Universal Router Base Plate (115-030) can make this job very easy. Mounting the jig to your router is easy. First, remove the base plate from your router. Position the jig on your router and use the Infinity Base Plate Alignment Kit (115-040) to ensure that the jig is located properly, then mark and drill the necessary mounting holes. If marking and drilling the mounting holes makes you a little nervous you can use your stock base plate as a template to ensure perfect hole placement. I like to use a countersink bit to make the holes and swap out the mounting screws for flat head versions if the router came with pan heads.
With the jig mounted it's time to set it up for your specific application. The jig consists of three main parts: the long base plate which is now mounted to your router, and a pair of bearing guided wings. The wings slide on the base so you can accurately position your router bit in exactly the right place.

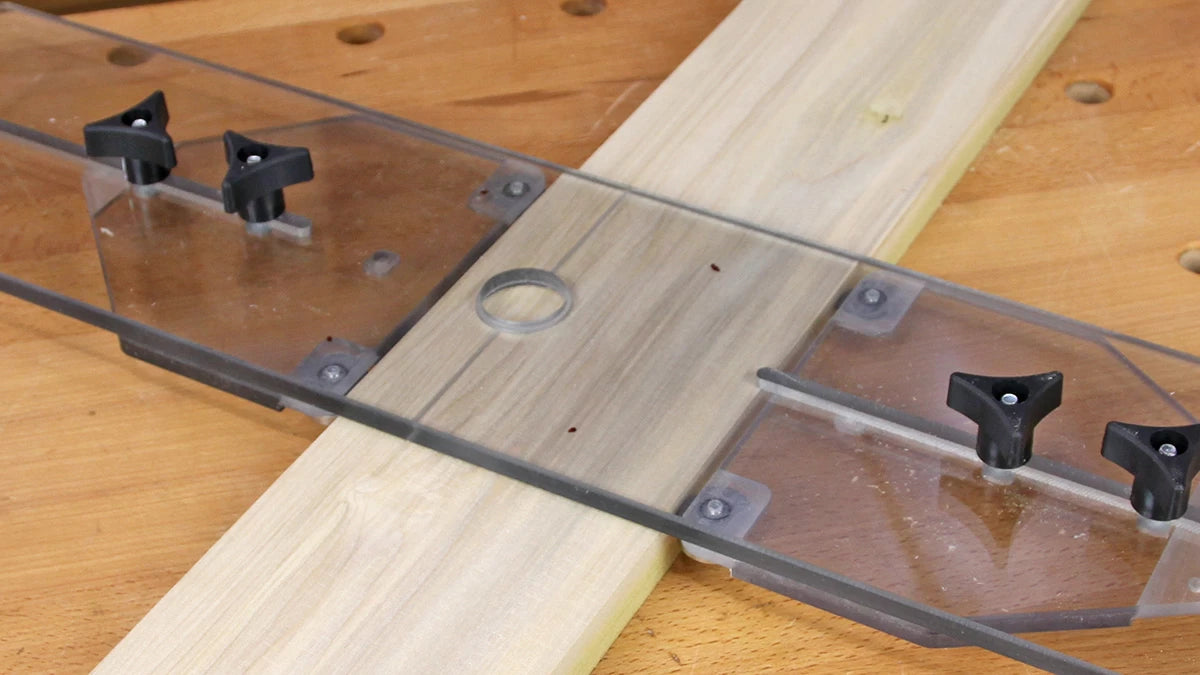
The base has a centerline engraved in it so all you need to do is mark the centerline of your flute for an accurate setup regardless of the size of the flute you're making.
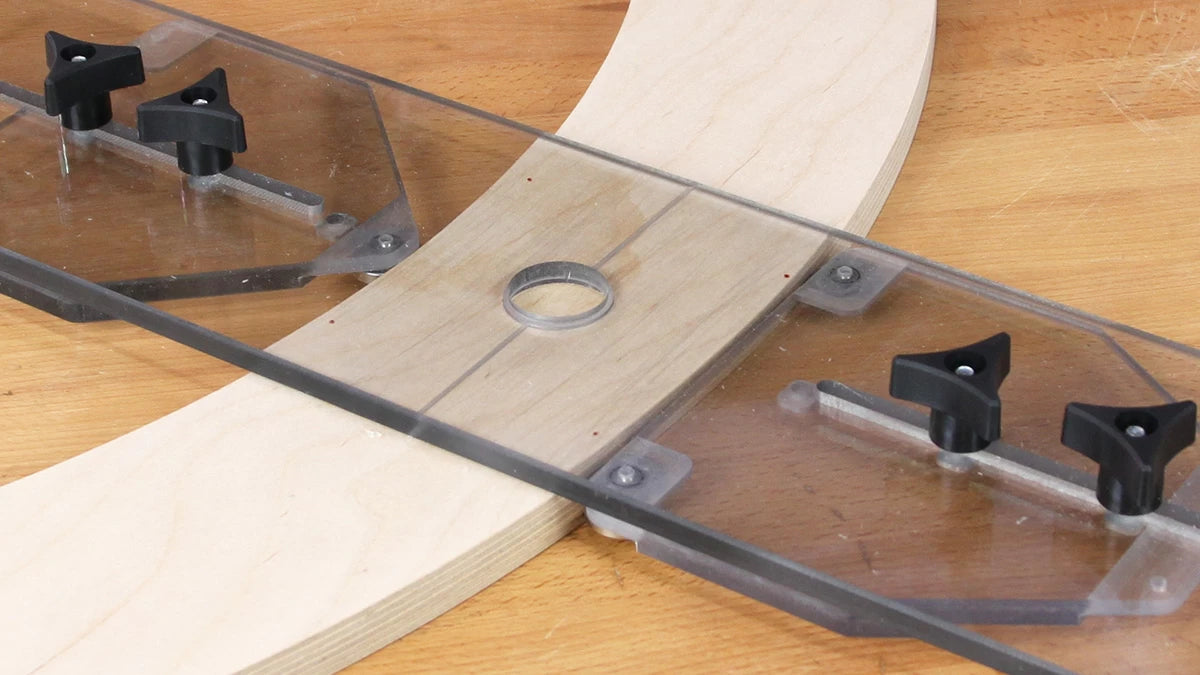
If you're making curved moldings flip the wings around and install the bearings so that one bearing rides along the inside edge and two bearings guide the outside edge.
Adjusting the position of the jig is easy, simply loosen the star knobs that secure the wings in place and line up the jig's center mark with the mark on your workpiece. Slide the wings against the edge of your workpiece and tighten the knobs. The whole process takes a matter of seconds and requires no tools.
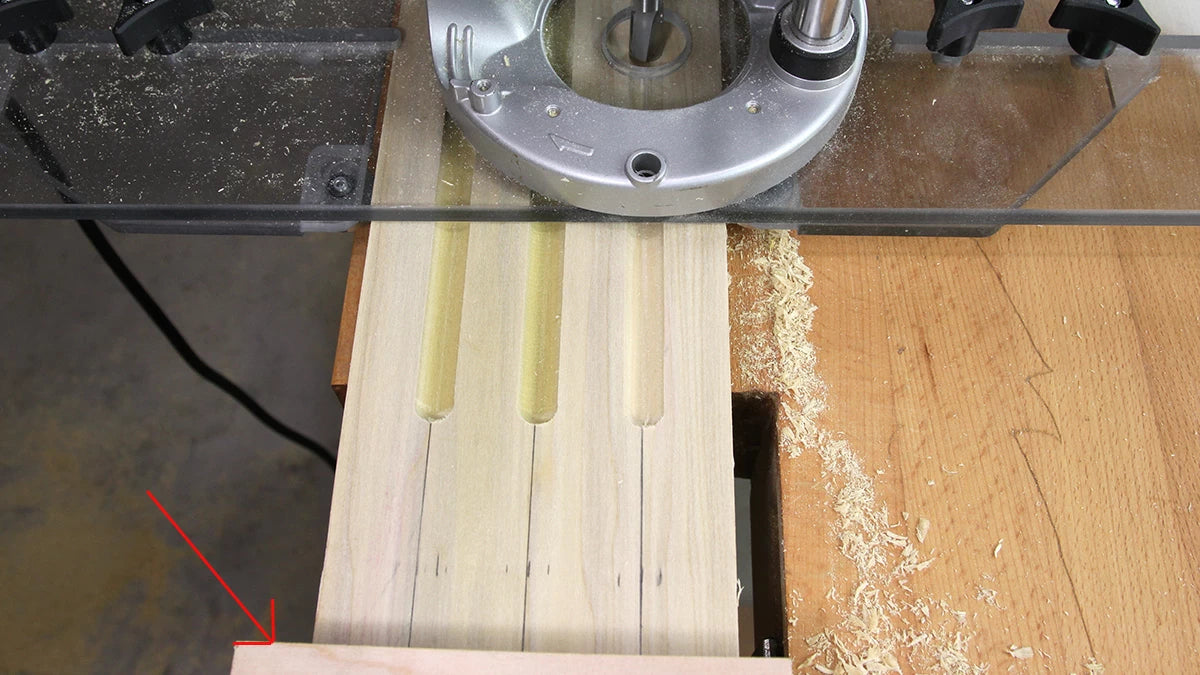
Often, fluted moldings have stopped cuts where the flutes do not extend all the way to the end of the workpiece. For these cuts, use a variable speed plunge router and slow the router bit speed a little to reduce the chance of burning. To locate the beginning and end of the flute, use a simple stop block to give yourself a positive stop so you can focus on a smooth consistent feed rate while routing and not worry about cutting too far when your line gets covered with sawdust. I like to use Double-Sided Tape (101-284) to hold my stop blocks in place.

The Infinity fluting jig isn't limited to creating flutes, it can also be used with straight router bits to make grooves and any number of other profile bits, like V-groove, Ovolo, and even T-Slot router bits, giving you almost endless possibilities when it comes time to build your next project.


