Let Us Show You How Easy Making Trays Can Be
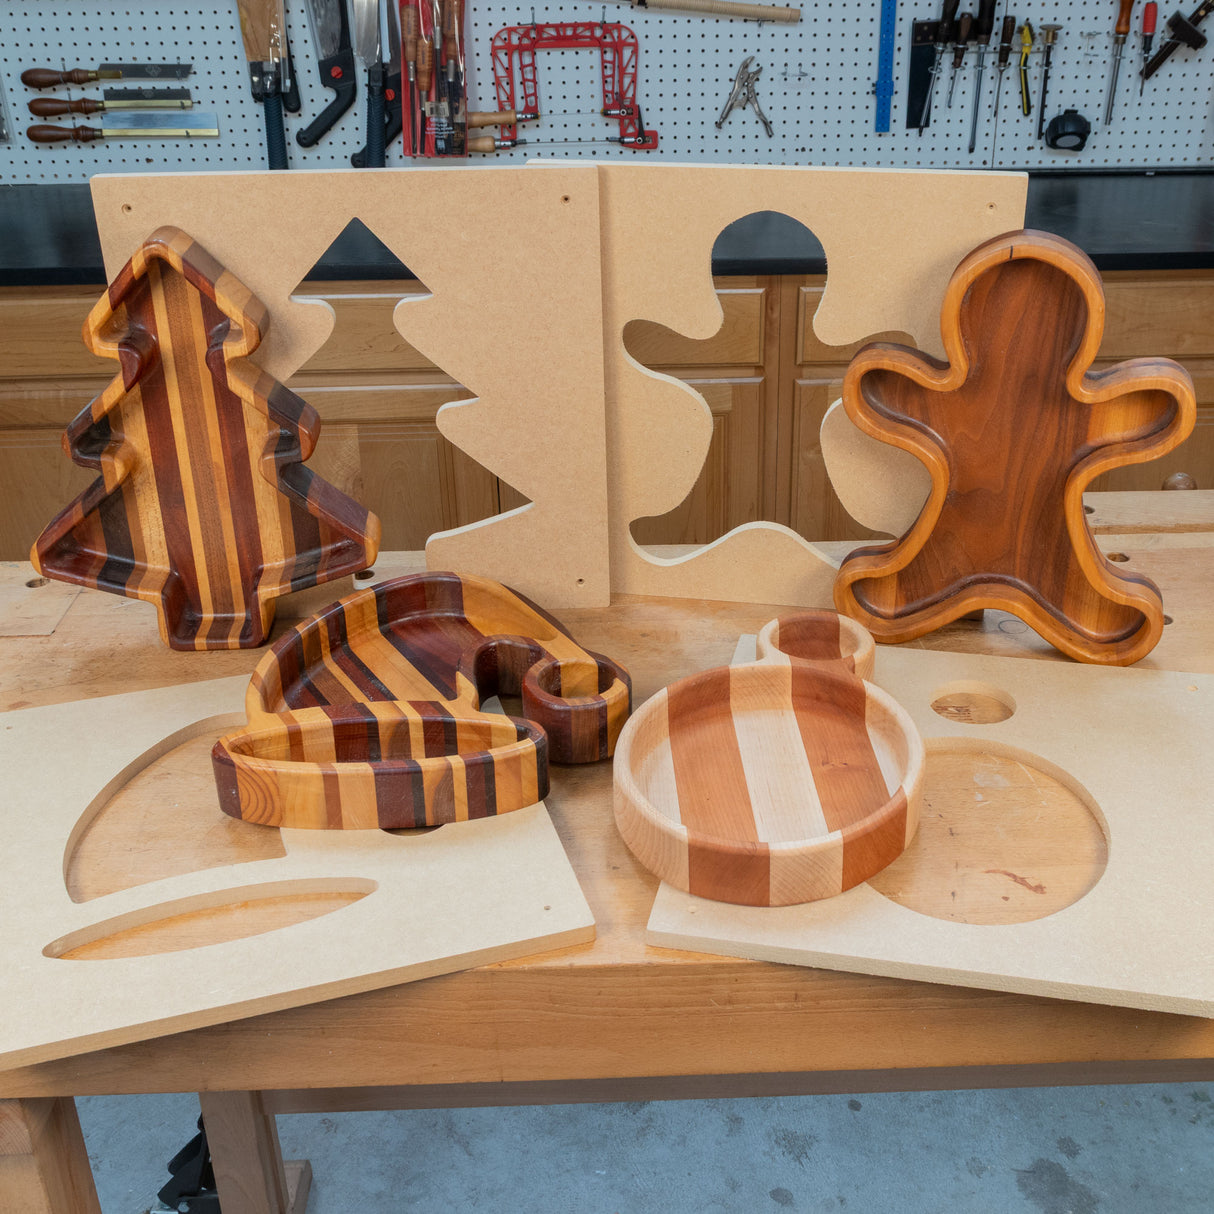
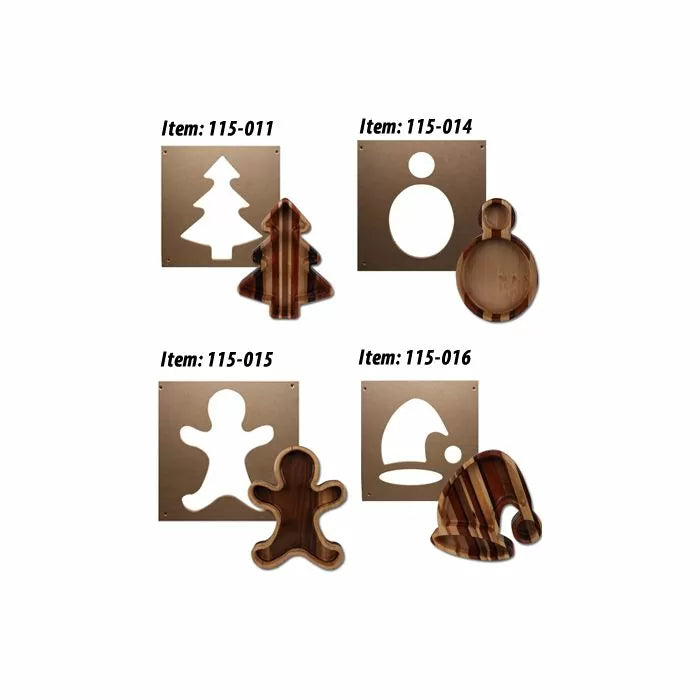
Infinity Tool’s exclusive tray-making templates take the head-scratching out of creating all of these beautiful themed party trays. 
With just a few accessories, and tools you already own, you can make custom trays for any occasion.
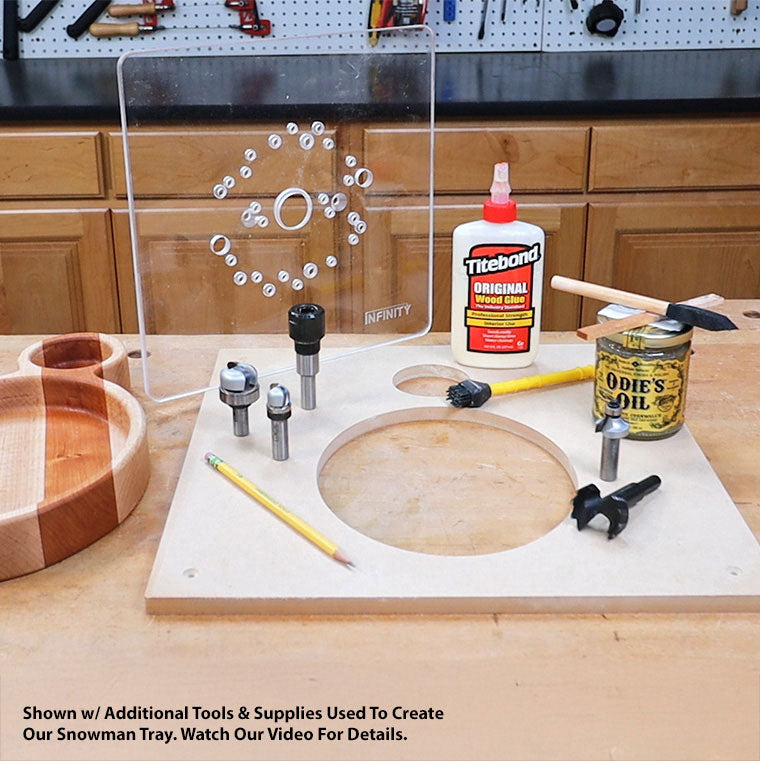
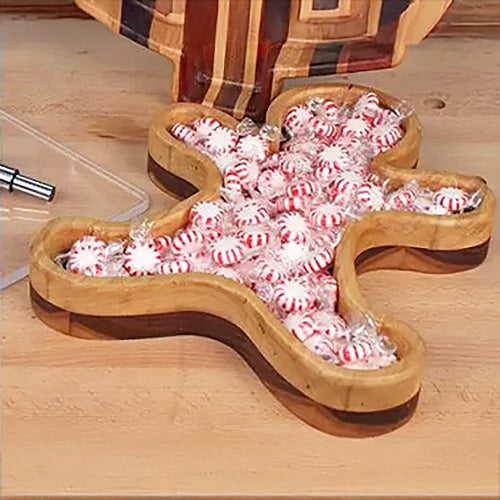
To show you the simple steps, we’ll make this all-occasion chip-and-dip tray.
We started with 2” x 2” maple and cherry strips, and our template. Lay out the most attractive pattern for the pieces, then use the template to locate the tray shape to check the look. Brush glue onto both of the mating faces and stack the pieces together.
Add a decent number of clamps, and then be sure to clean up any extra glue squeeze out to save your planer knives.
Once the blank is dry, pass it through your planer to level the top and bottom surfaces. Take the least number of passes possible to level the surfaces, leaving more room for candy!

Use the template to trace the interior shape onto the blank, orienting it to your liking. Make the lines dark, so they won’t get lost when the chips start to fly.

Use a large forstner bit to remove most of the waste material at your drill press. Don’t drill to the full depth. Your router bit will clean up the bottom. This greatly speeds up the process and will relieve unneeded stress on your router bit.

Attach the template to your blank using the provided corner holes and route away the remaining wood with a piloted bowl bit. We used two sizes, the smaller to begin the clean up, then the larger with a collet extension to clean up the bottom. Take your time and be sure to get into the corners to make gentle edges on the interior of the tray.

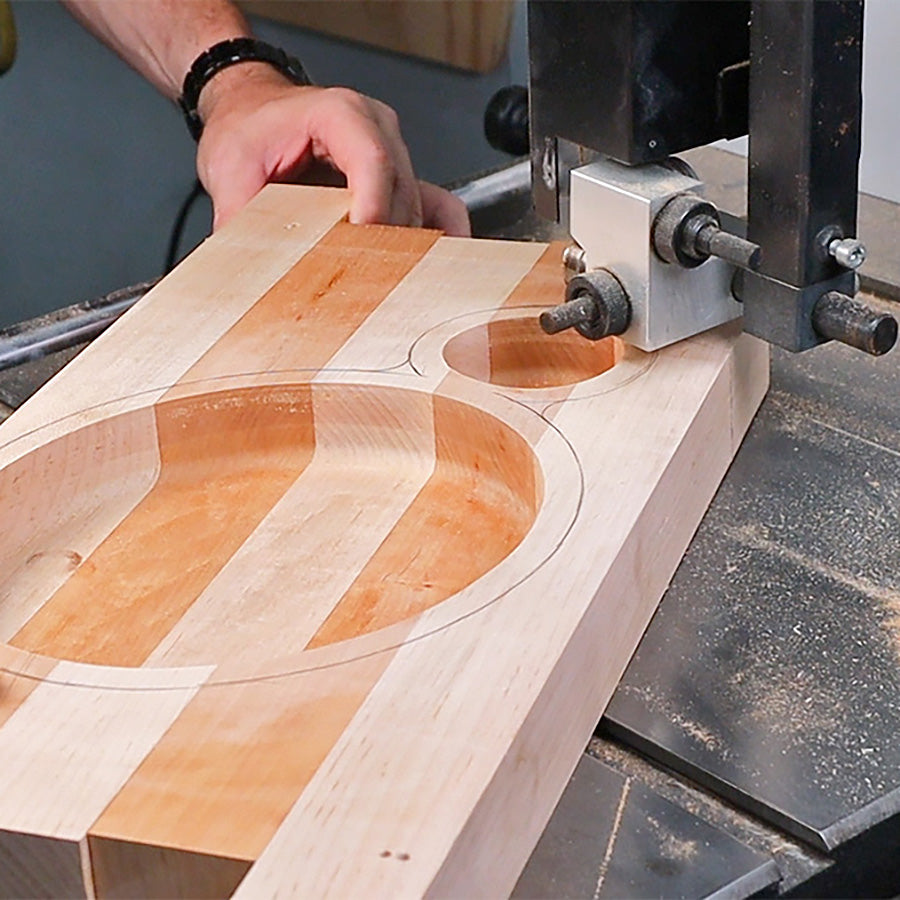
With the interior defined, trace an exterior cut line to establish the outside edge of your finished tray. This will determine the thickness of the tray walls, so proportion is important. We used coins to help with the shape at the neck of the tray.

At the bandsaw, cut close to your line, but make sure to stay wide, or outside of the line, so you don’t change the shape. To get into tight corners, it’s often easier to cut kerfs into the wood and then cut those away.

We used a random orbit sander to fair the curves. We followed up with sheet sandpaper to get into the tight parts. Work through your sanding grits to make everything smooth and even.

We used a ¼” roundover bit at the router table to ease all the edges of the tray. Don’t forget to do the bottom edge to keep sharp edges at bay.

Once complete, apply your favorite food-grade finish. Here we’re using Odie’s Oil, to give our tray a rich, in-the-wood oiled appearance.

Tray making is a fun way to create a great gift for you or a friend, and use up that valuable scrap wood you’ve been collecting. In the process, you’ll manage to use almost every tool in the shop. And isn’t that what it’s all about?



1 comment
I found the display of items included in the kit confusing; it seems you’ve mixed items I would supply like the wood and the finishing oil. How about just a simple picture showing what is included? Thanks. Richard.