Window Sash Router Bits
Being able to rebuild windows or interior french doors without having to go to the salvage yard is very worthwhile. Our 2-Pc. Window Sash router bit set is designed to mill 1-3/8" thick sash parts that offer elegance and strength to your custom wind or or door project. The bits also produce perfectly matched rail and stile parts for 1-3/8" to 1-5/8" thick custom-built French doors.
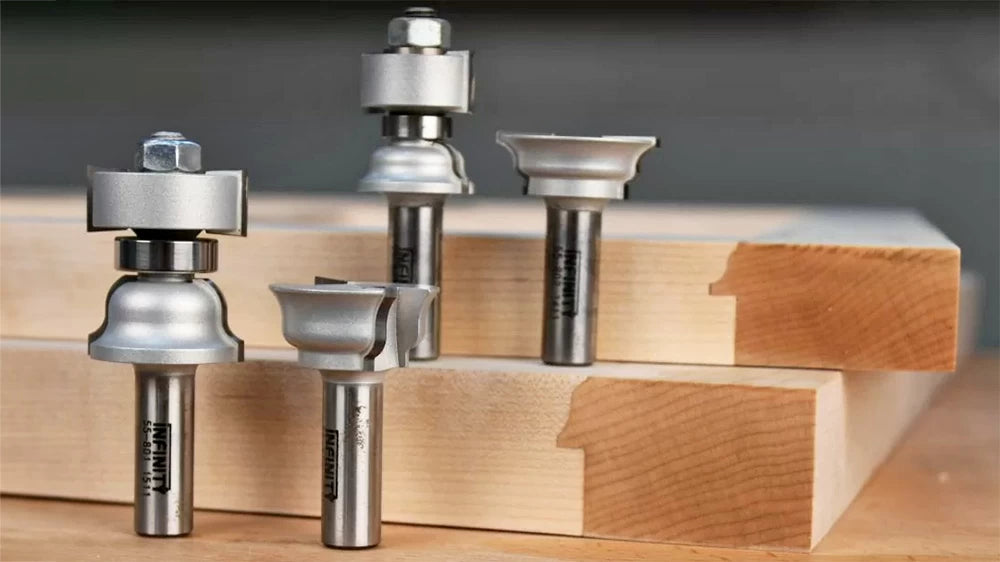
A lot of people have asked if it is possible to make 1-1/8" to 1-1/4" thick window sash for restoration projects or even storm windows. With the Infinity Cutting Tools 55-802 Window Sash Jr. router bit set the answer is Yes! However, with the Window Sash Jr. set the construction layout is a bit different than is outlined in How to Make a Window Sash- Part 1 where we made a 1-3/8" sash using the 55-801 Standard Window Sash router bit set. If you are planning to make a window using the Window Sash Jr. set I recommend first checking out Part 1 and then following along with the changes needed for the smaller set. These changes are easy to make and can be also be used with the standard router bit set. In other words, this process is backward-compatible though its use is a little less traditional.
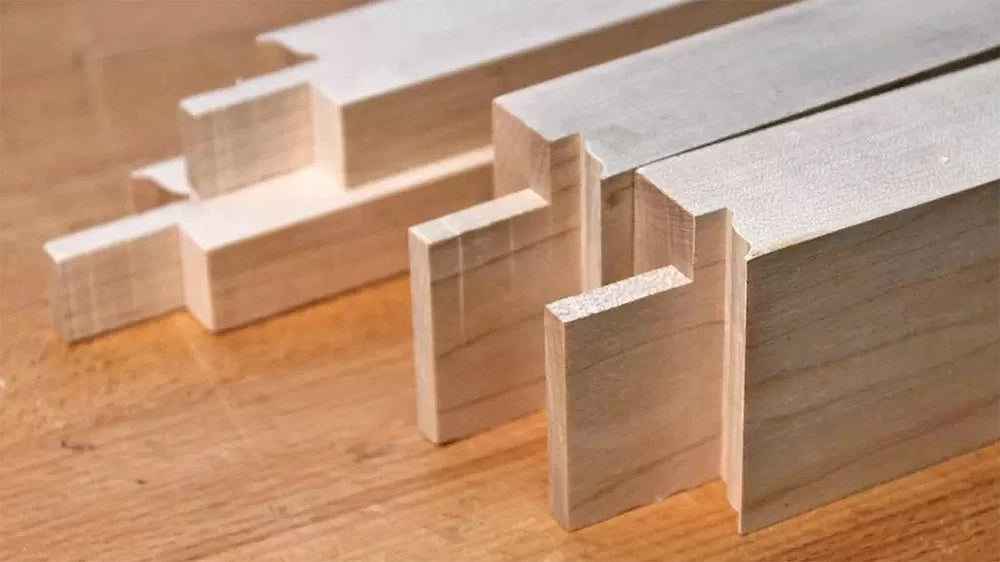
While the procedure for making the tenons in Part 1 of this blog requires a couple fewer steps to make, the tenons are limited to being 1/4" thick when using the 55-801 Standard Window Sash router bit set and only 1/8" thick if used with the 55-802 Window Sash Jr. router bit set.
First we need to understand the difference between the two Window Sash bit sets. With the larger 55-801 set there is room for a 1/4" tenon between the profile on the front of the sash and the rabbet on the back. This is not the case with the 55-802 Jr. set. In order for the sash to shrink and still have a 1/2" rabbet for glass, the profile and flat where the tenon is usually held must also shrink. If the same procedure were followed as in part-1 the resulting tenon would only be 1/8" or so thick when using the 55-802 Jr. set.
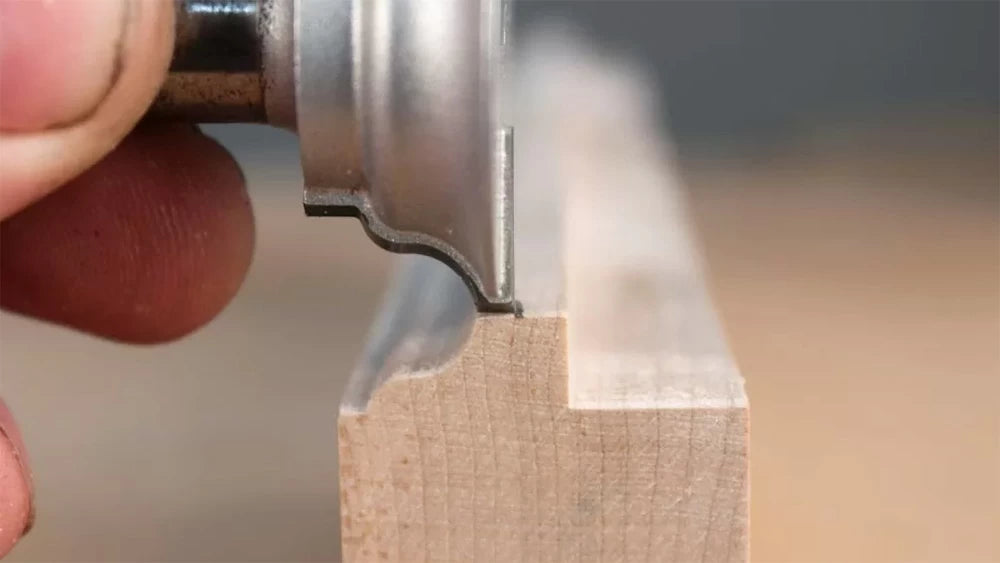
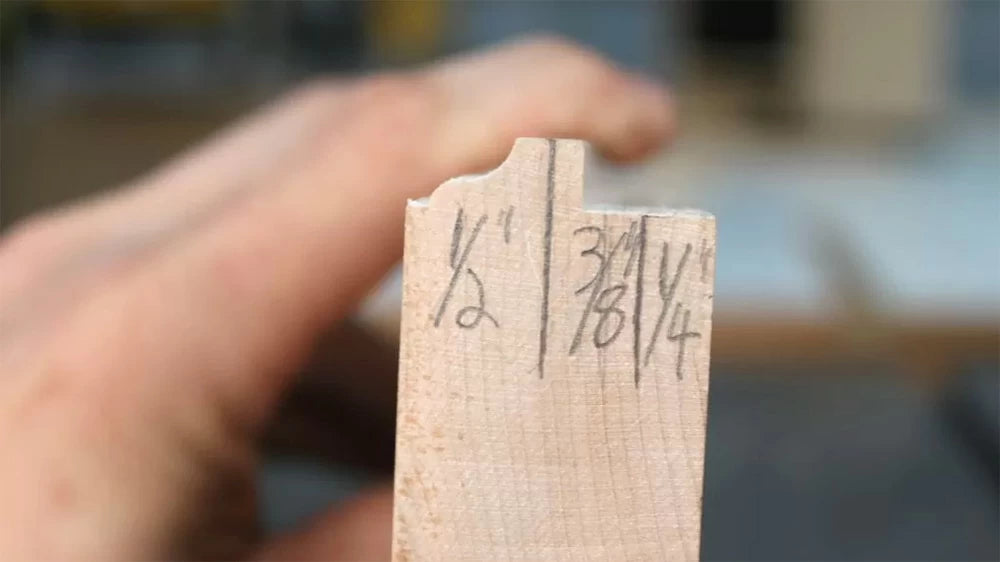
In order to make the sash strong the thickness and location of the mortises and tenons is changed a little bit. These changes are easy to lay out, let me show you how I did it on a recent build. With all the stock for the sash cut to size (same process as in Part 1) it is time to lay out the tenon. For my 1-1/8" thick window sash the tenon is 1/2" from the face and 1/4" from the back, creating a 3/8" thick tenon. If I needed a slightly thicker sash I would add the thickness to the tenon and face and leave the 1/4" measurement on the back constant. An easy way to determine the location of your tenon is to start with a scrap piece cut to the thickness of your sash and using the rail cutter to make a sample at the desired setting. With this and the cope cutter you can determine the location of the face of the tenon. The depth of cut to expose the back of the tenon makes no difference, but setting it to be 1/4" from the back makes the setup easier because we will need to make a 1/4" deep cut on the edges of the rails and muntins anyway.
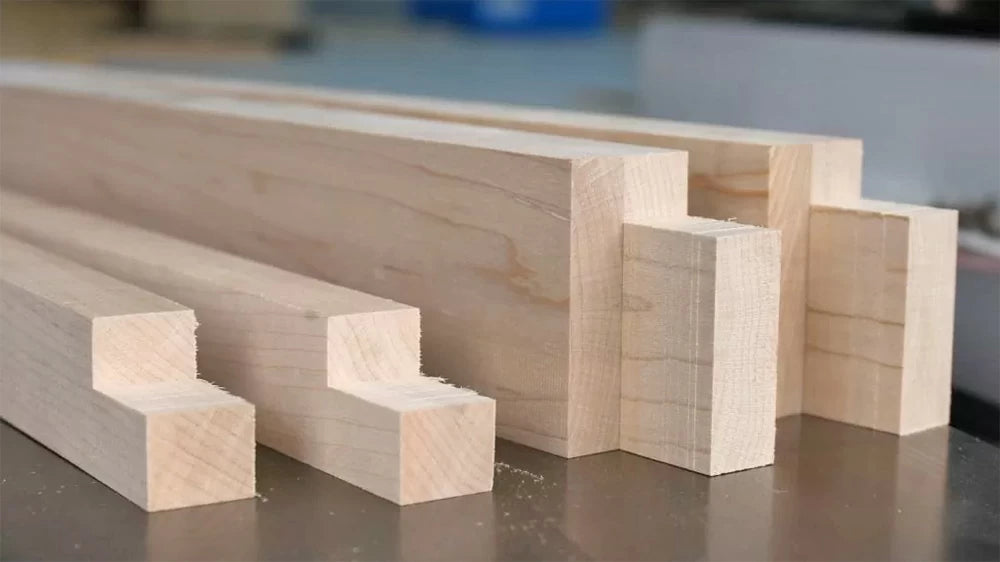
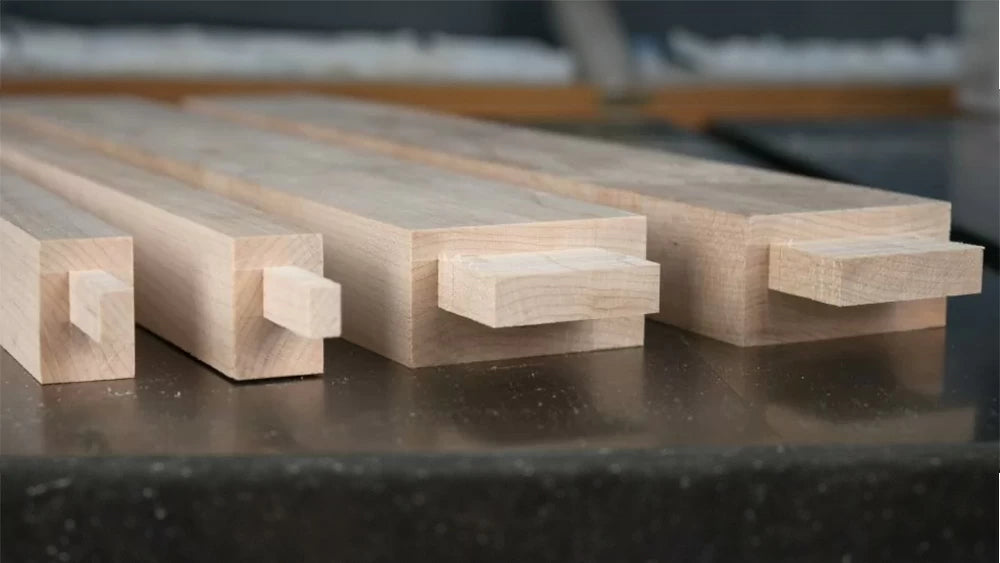
The width of the tenon is also a little different. The tenon is trimmed back from the edge 1/2" one on edge and 1/4" on the other. The tenon on the muntins is trimmed 1/2" from the face and 1/4" on the remaining 3 sides, creating a tenon that measures 1/4" x 3/8". The 1/4" dimension is important because it removes the perfect amount of material to create a rectangular tenon and not end up with a tenon that looks more like a "T" or some other shape from Tetris.
With the tenons cut, the corresponding mortises can be laid out and cut. Just as with the larger Sash I use a wheel marking gauge and the tenon itself to lay out the mortises.
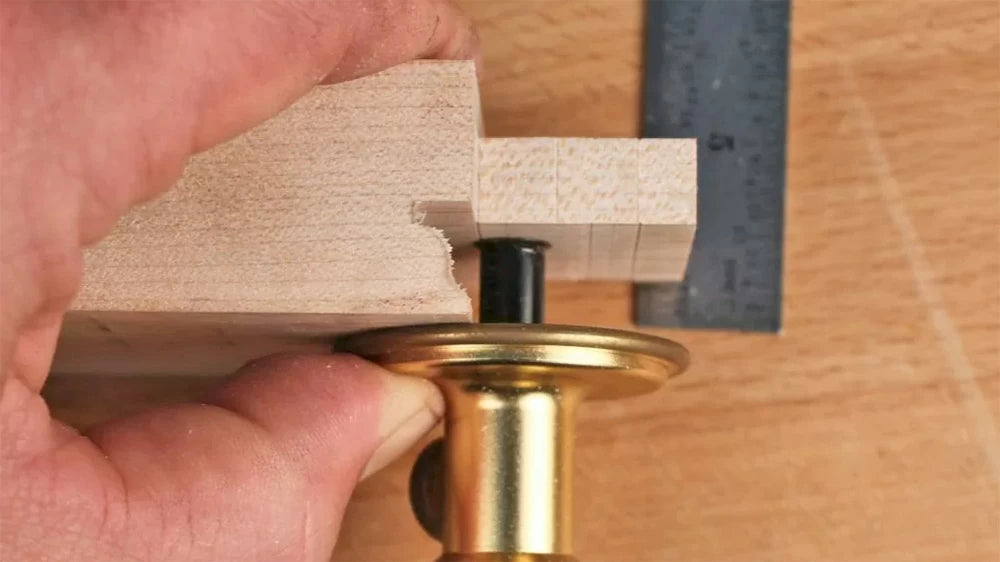
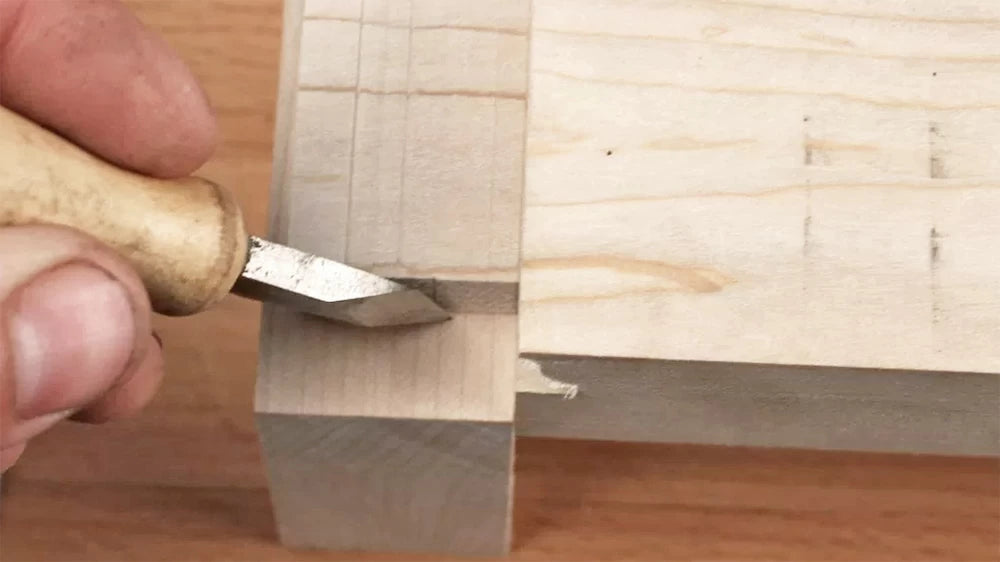

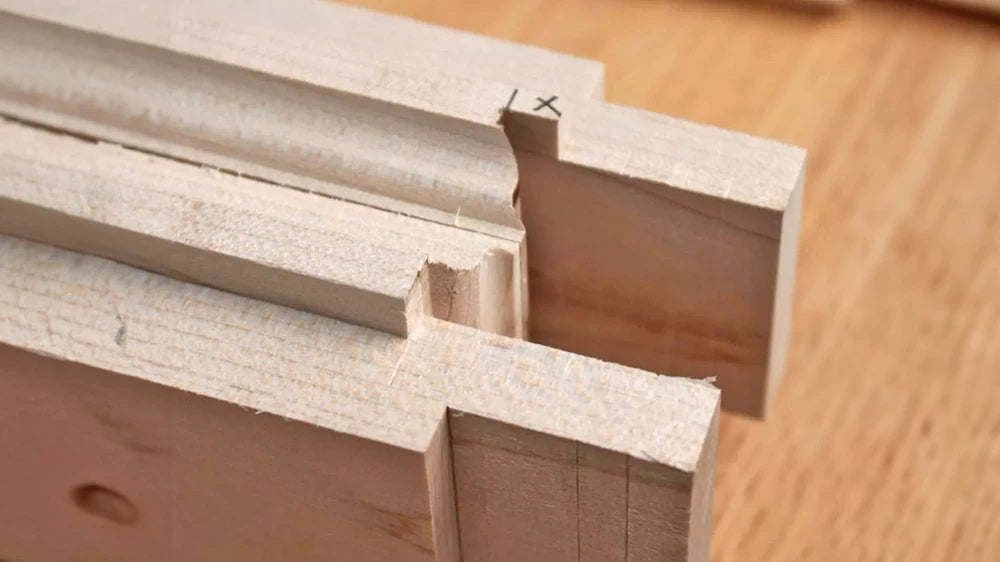
The process of coping the rails and muntins remains the same but there is a small square of material that must be removed (see photo above) before the joints will slide together. I just grab a chisel and pare this piece away — it is only 1/8" x 1/4" in size. With this little square removed the tenons are complete. This little square will also need to be removed on the muntins as well.
That's it, no other changes are required. The profile cut is made the same way as is the miter joint between the muntins. I even make the same push block and miter block as I do for the standard window sash set.


