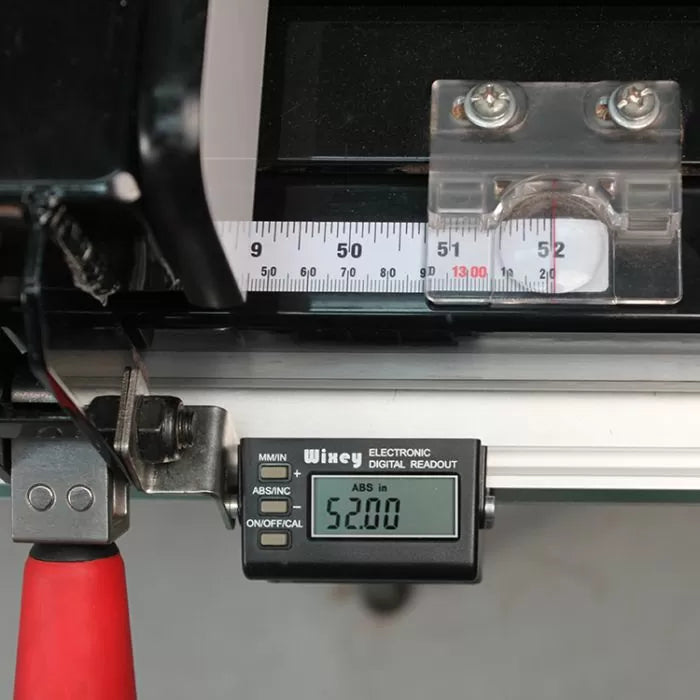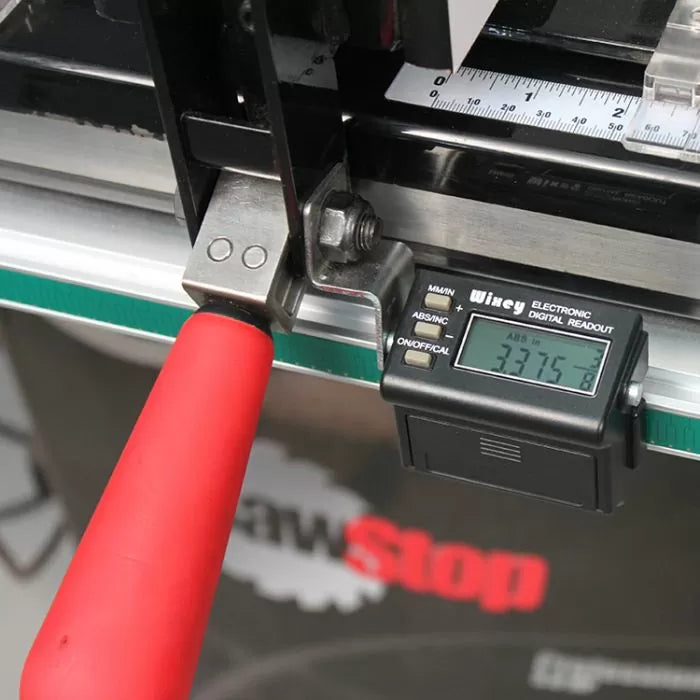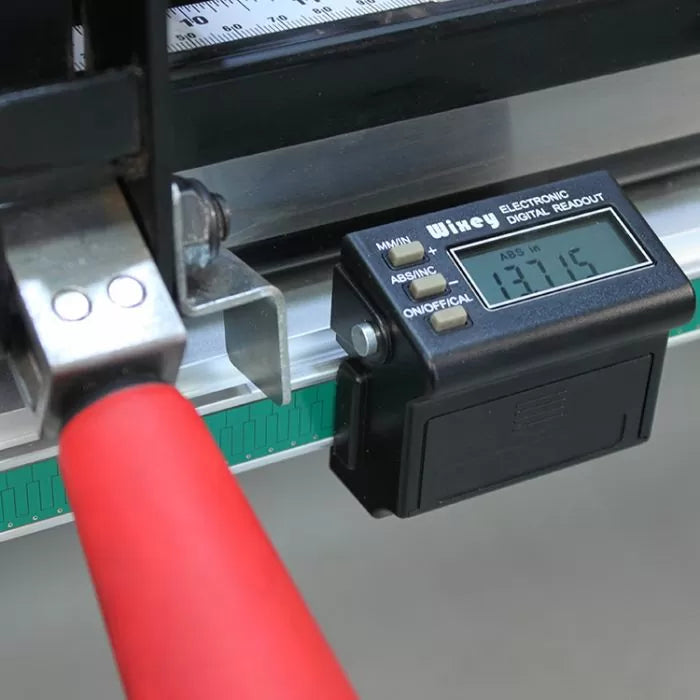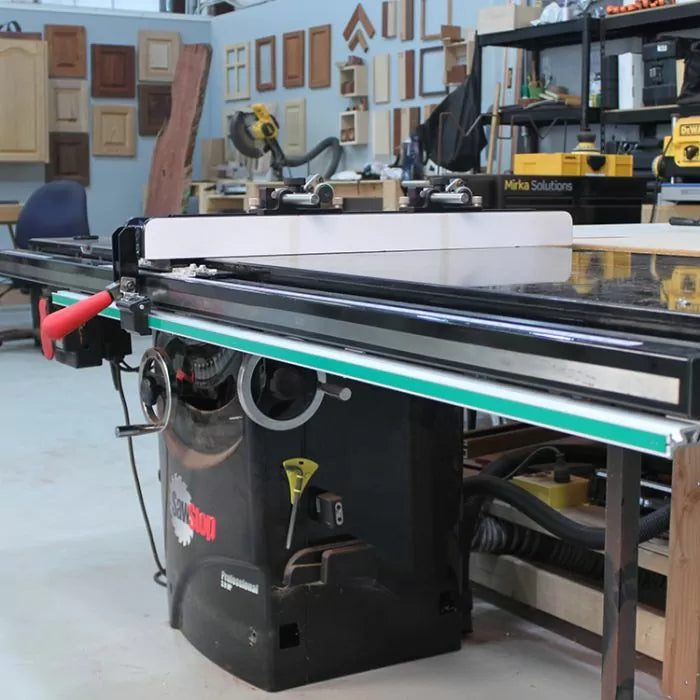
The table saw is arguably the most-used tool in the woodworking shop. Almost every piece of wood in a woodworking project is cut at least once at the table saw. But setting the rip fence for a cut is usually a trial-and-error process that can be frustrating. Adding a Wixey Digital Table Saw Fence Readout to the table saw fence eliminates this hassle, greatly increases accuracy, and is easily one of the best upgrades you can make to your table saw.

Accuracy is what the Wixey Digital Table Saw Fence Readout brings to the table (pun intended). It gives the woodworker the ability to mount a precision digital readout to almost any table saw rip fence and provide repeatability of .002" (.13mm) with the display reading at .005" (.1mm) resolution. In Imperial mode, fractional reading will also display in 1/32" increments. No more worrying about the accuracy of the tape or pointer mounted to the fence rail. The Wixey Digital Fence Readout eliminates all the guesswork for all of your table saw cuts using the rip fence.
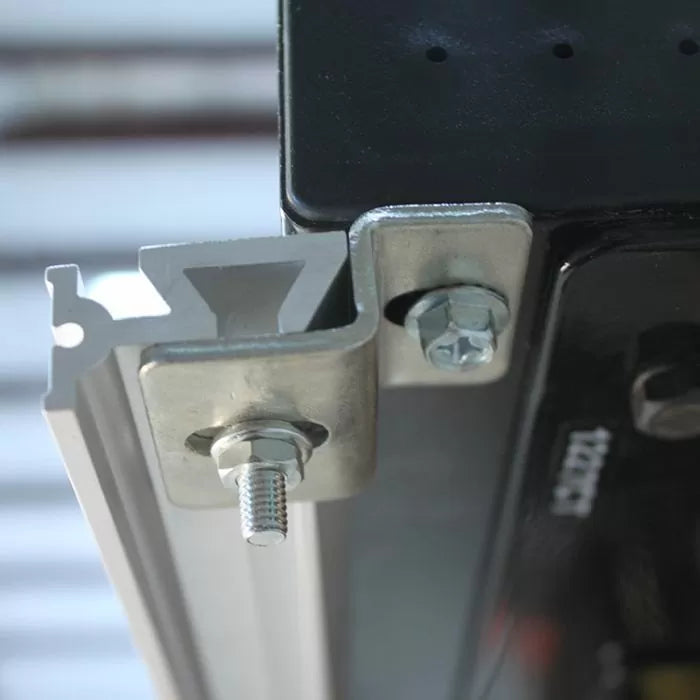
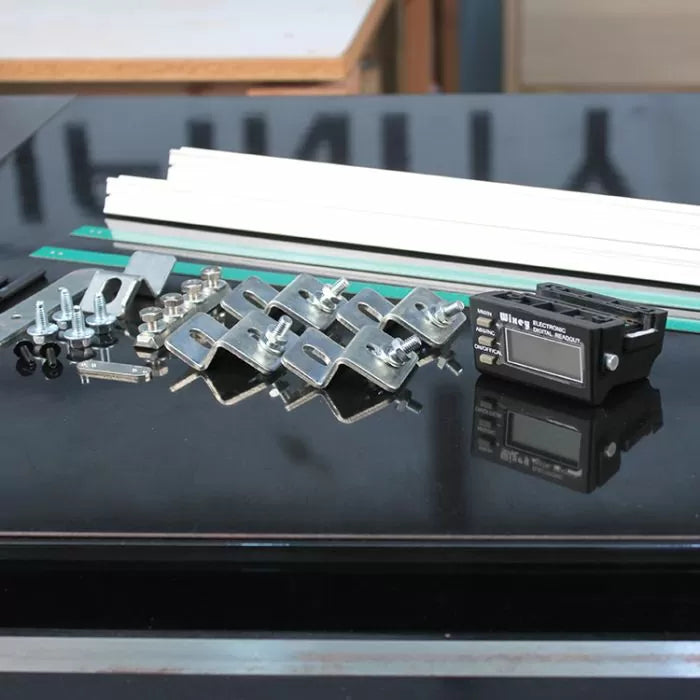
The Wixey Digital Table Saw Fence Readout consists of two main parts. An extruded aluminum rail mounts to the underside of the table saw fence rail. A digital readout attaches to your saw's rip fence. The system includes all of the hardware needed as well as good instructions for mounting to most popular table saw rip fence designs. Inside the box you'll find a bracket specifically designed for Biesemeyer-style, or T-Square fences and similar designs, as well as a customizable bracket you can use for mounting the readout to other styles of rip fences.

Mounting the digital table saw fence readout is straightforward. As I mentioned, all the hardware is included — even the drill bits. The rail is held in place with four brackets mounted under the saw's fence rail. To mount the brackets, you'll need to drill holes in your saw's fence rail on most saws. Self-tapping screws are provided to mount the brackets.

To locate the holes, I mounted the brackets to the rail then, following the directions for locating the rail along the table saw, I used a couple of clamps to hold the rail in place. I used a center punch to mark where I needed to drill the saw's fence rail. After drilling the holes with the provided drill bit, I used a socket wrench to secure the brackets with the self-tapping screws.

With the rail in place, the digital sensor strip can be installed. This is a matter of peeling back the film from the adhesive and pressing the sensor strip in place. Because the rail and sensor strip come in two pieces, an alignment tool is provided to guarantee a consistent reading when the Wixey sensor crosses the joint. Be careful when installing the sensor strip that you do not install one or both pieces upside down or the digital readout will not display correctly.

The Digital readout slides onto the rail and uses a rare-earth magnet to attach to the table saw's rip fence or the installed bracket on the fence. Because the digital readout is only held in place by a magnet, the rip fence can still be removed and reinstalled by simply sliding the readout out of the way. The readout doesn't need to be removed from the rail when the fence is removed. Plus, the readout will retain zero when the fence is reinstalled, which is definitely a nice feature.

Another nice feature built into the readout is that it has two Zero modes: an Absolute Zero and an Incremental Zero. The Absolute Zero is set to your most commonly used blade. For example, either a standard, full-kerf 10" saw blade or thin-kerf saw blade, whichever you prefer. The Wixey Digital Table Saw Fence Readout retain this absolute, or main zero point. This mode is easily identified when "ABS" shows on the top/left center of the display.

The Incremental Zero can be set by pushing the "ABS/INC" button. This allows a new temporary zero point to be set at any point along the fence rail. This is handy in situations where a cut needs to be made at a specific distance and then repeat cuts at different distances from the blade, such as when making dado cuts for a bookcase. The "INC" mode is also handy when using a non-standard thickness blade such as a stacked dado blade like the Infinity Dadonator. Because the fence can quickly be zeroed to the dado blade and retain zero to the standard kerf blade at the push of a button, there's no need to worry about breaking out the tape measure or ruler every time you change saw blades.

Did I mention that the display can also toggle between standard and metric measure? I hate to admit that I find myself using that feature to convert measurements on the fly from one system to another. All you do is push the top button to switch from Imperial to metric or vice versa.
That's It, no engineering degree or programming certificates are required to add a precision digital fence readout to your table saw. If you ask me, the Wixey Digital Tablesaw Fence Readout is probably the easiest and fastest ways to get more accuracy out of your most-used tool in the shop.


