


One of the single most iconic designs in woodworking is the raised panel. I would bet at least one example of a raised panel can be found in almost every house in the U.S., whether it's on a kitchen cabinet, bathroom vanity, or on a piece of furniture.
In the past, raised panels were made with hand planes. Today, the vast majority of panels raised by hobbyist woodworkers and small cabinet shops are raised at the router table. I talk with woodworkers all the time looking for advice on making raised panels. Common questions are, what type of router and router table do I need? What type of raised panel router bit do I need? What speed should I run the router bit? And most often, how do I run these big bits safely?
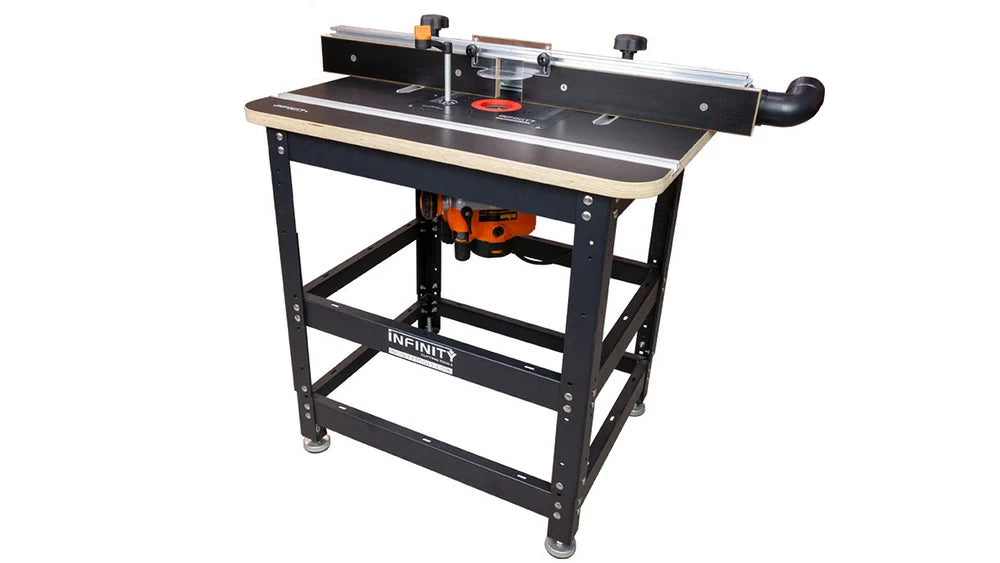
Let's start with that last question first. Raised panel router bits are big — especially horizontal raised-panel router bits. The first key to using these router bits safely is to always use them in a router table and never in a hand-held router. A variable-speed router is a requirement. Fixed-speed routers spin at around 24,000 RPM. A horizontal raised panel router bit should spin at about half that, or around 12,000 RPM. Even a vertical raised-panel bit is better-suited at around 18,000 RPM. If you are hoping to use a single-speed router, I recommend picking up a router speed controller. If a new router is possible I recommend one that is variable-speed like any of those offered by Triton. If you need a complete router table, take a look at the Infinity RTP-103 Professional Router Table Package. This package consists of our favorite components from a few different manufacturers like Triton, Jessem, and Woodpeckers. It's also the table we use here in our shop almost daily.
The second key to staying safe is to use good work-holding techniques. Featherboards and hold-downs are an absolute must. The goal is to reduce vibration. The benefit of reducing vibration is threefold. First, it reduces the chance of kickback. Second, it produces a cleaner cut so less sanding is required. Third, it will extend the life of the router bit.
My favorite type of hold-downs are the JessEm Clear-Cut Router Stock Guides. They're easier to set up, use, and they produce better results than when using traditional featherboards. I rarely use the router table without them.

The speed of the router bit is important for safety, but it's also critical for clean cuts. A lot of people think that faster is better as long as the router table doesn't start to levitate off the ground like a helicopter. This isn't a theory I share. I find the opposite to be true. My method for dialing in the best bit speed is to start slow and increase speed if the cutting action feels choppy or I'm getting a scalloped cut. Different species of wood will often respond better to a different RPM so I always recommend starting a little slower than you think will be ideal and then sneak up on the perfect speed. A good place to start for the complete beginner is to set your router a few hundred rpm below the maximum suggested RPM for your specific bit. Infinity makes this easy because they laser-etch the maximum RPM on the shanks of most of their larger bits. A router speed chart can also be found on the back of the pouch that most Infinity router bits come packaged in.

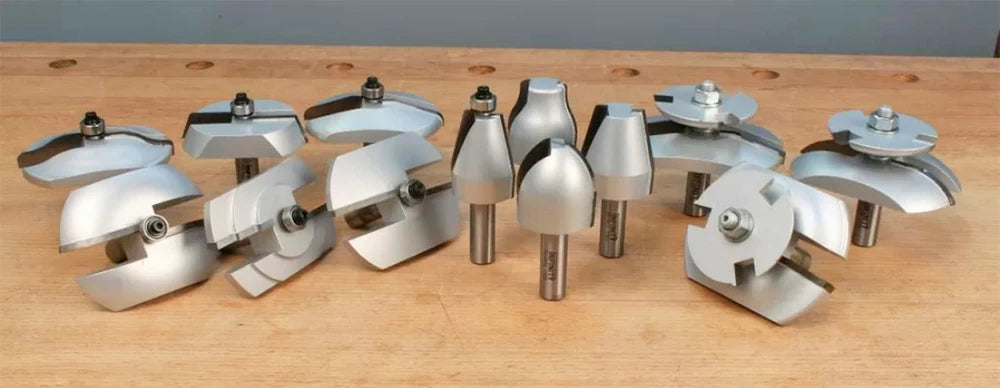
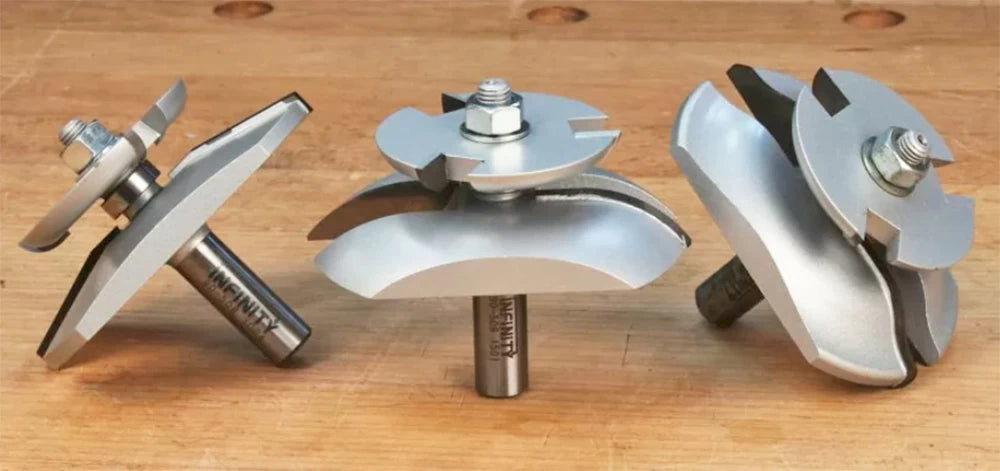
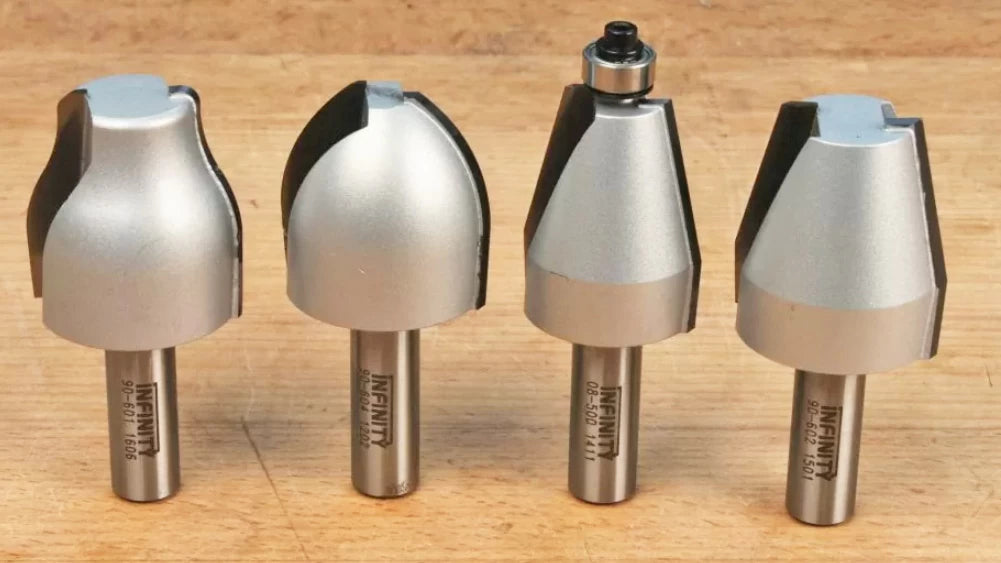
With all that out of the way, it comes down to choosing the right raised-panel router bit for your projects. There are three different types of raised panel router bits and each has its advantages. The three types are horizontal raised panel, horizontal with backcutter, and vertical.
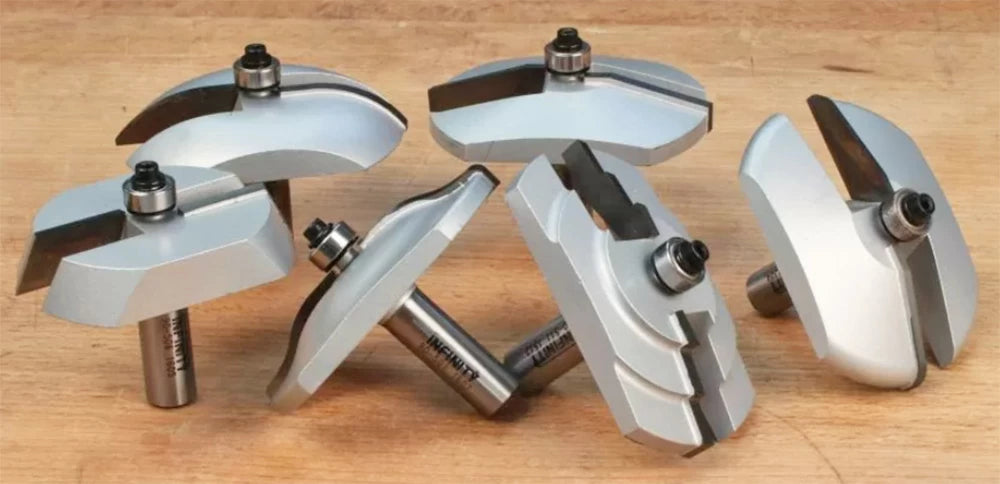
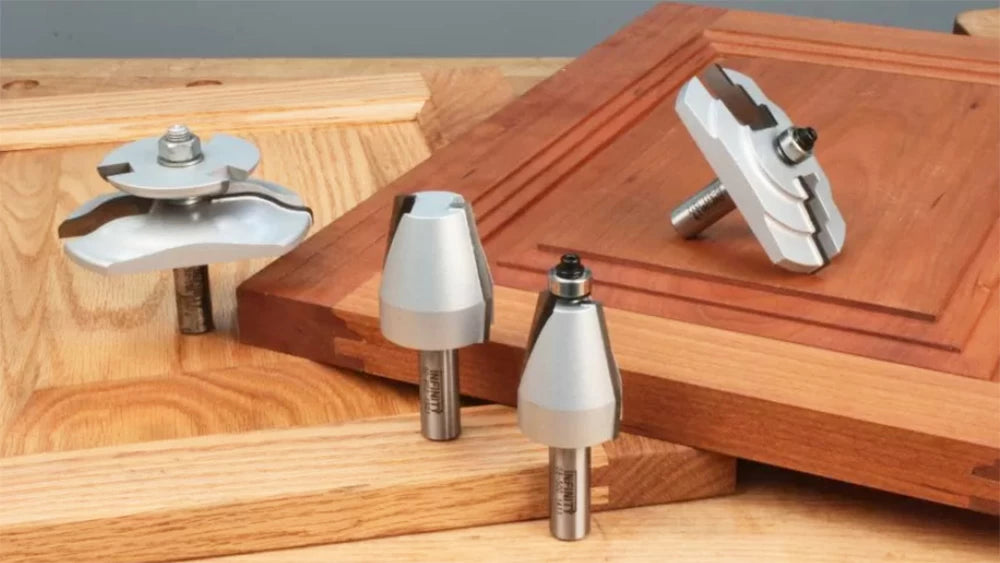
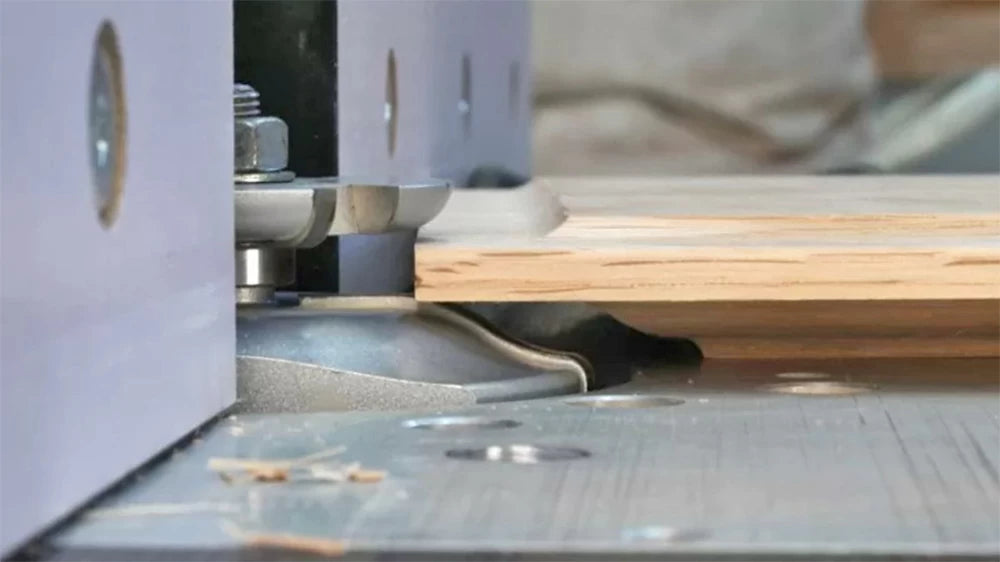
Horizontal raised panel router bits are the most common. I usually recommend these for woodworkers who would like to save a little material and make panels from 5/8" to 3/4"-thick material and to shave a little weight off of the finished door. Don't discount the weight savings, it can be significant on a large piece of furniture made from a heavy species. If you plan to resaw material for book-matched panels, a 5/8"-thick panel can make a big difference in getting the best yield. This is also the way to go if you want to make "true" raised panels where the panel stands proud of the frame. Horizontal raised panel bits allow the panel to lay face-down, flat on the router table.
Horizontal raised panel bits with backcutter are, for all intents and purposes, the same as a standard horizontal raised panel router bit with the addition of a backcutter. They're available in three profiles and require a router of at least 2-1/4 HP or larger (I prefer 3-1/4 HP). They're a great solution for someone that wants to use the same thickness material for both the frames and panels for their doors. They also create a 1/4" thick tongue for a perfect fit in the groove in the cabinet door frames.
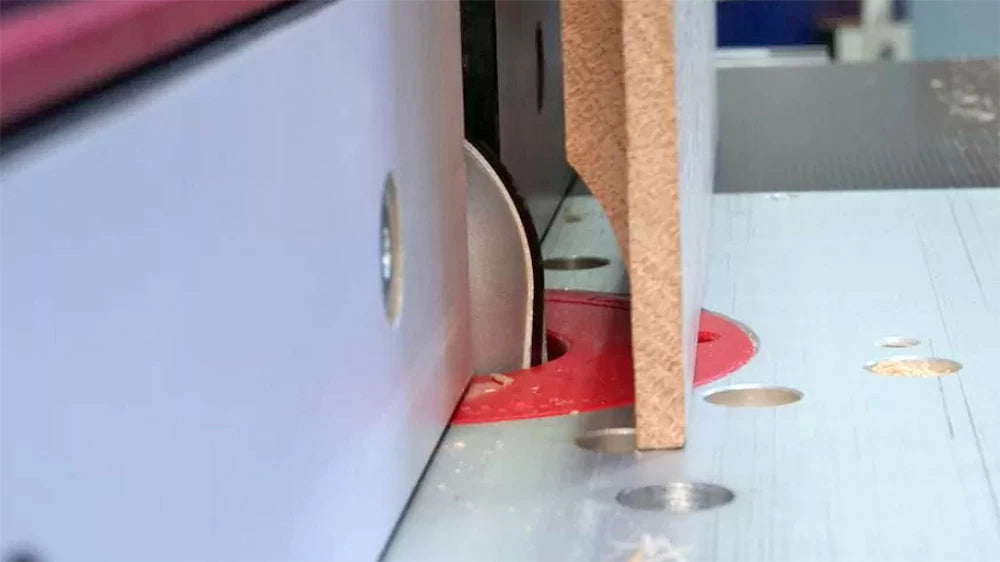
Vertical raised panel router bits require the panel to be held vertically against the router table fence at the router table. This can complicate routing, but with good work-holding attachments, like tandem featherboards and a tall auxiliary fence, these bits work great. Because these router bits are smaller in diameter they can be run at a higher RPM (around 18,000) and are better for less powerful routers (1-3/4 hp). The other advantage to vertical raised panel router bits is that they can also be used to add chamfers or other decorative edge details to thicker or taller workpieces more easily than a horizontal raised panel router bit.

The process of sizing a panel and raising it is straightforward. The first step is to determine the size of the frame in which the panel will fit. With the frame size determined, the key is to leave room in the groove for the panel to expand and contract. The question always is, how much room should I leave? I like to use Space Balls to help space the panel. Space Balls are little rubber balls that fit snugly in the groove in the frame and keep the panel centered while allowing the panel to expand if needed. Because space balls are a bit over 1/4" they stay in the groove during assembly. I cut my panels to allow 1/4" all the way around. This provides enough room for the Space Balls while adding just a bit of tension to keep the panel in place. Because the Space Balls squish just a little, they keep the panel centered and prevent it from rattling in those drier winter months.

With the panel cut to size raising the panel is easy. I like to raise panels in two or three passes depending on the wood species and how hard or dense it is. While poplar or maple may only require two passes on average, three passes would be a good idea for something like white oak. It all depends on the workpiece and router you're using.
The final pass with with a vertical raised panel router bit or horizontal raised panel router bit is important because it will determine the tongue thickness of your panel that fits into the groove in the door frame. Take your time and get this setting right. Tools like a double square or a digital snap gauge are really handy for this task.
When using the horizontal raised panel router bit with backcutter, the fence is adjusted rather than the router bit height to limit each pass. This is because the panel is trapped between the panel raiser and the back cutter. Infinity includes a larger bearing with these bits to make it easy to set up for a first and second pass. The fence can also easily be set by eye without the need to change the bearings or when more than two passes are desirable.
One last thing. When making a raised panel at the router table, I like to start with the end grain and work my way around the panel by rotating the panel in a counter-clockwise direction. This ensures that I finish with a long-grain cut and if there's any chipping or tearout at the exit of one cut, the start of the next will most likely remove any damage. The other option is to cut both end-grain edges first, then the long-grain edges. I just find the first method more efficient.
