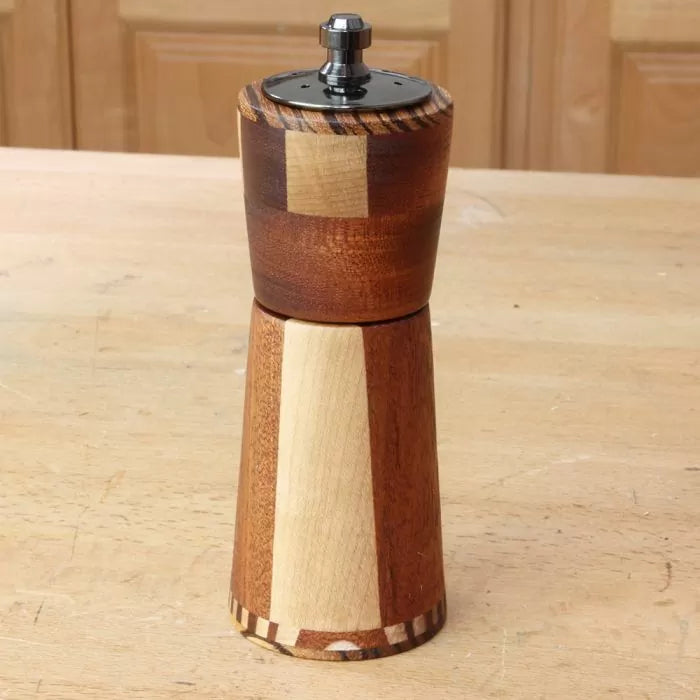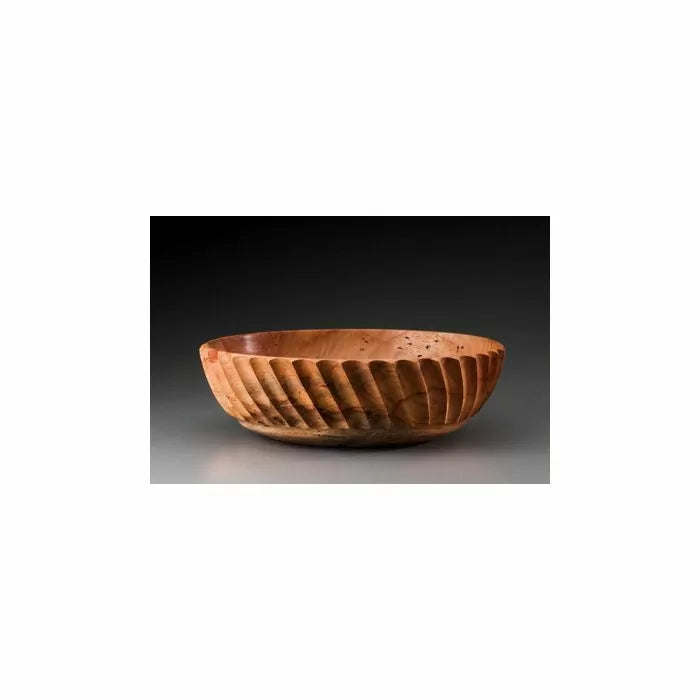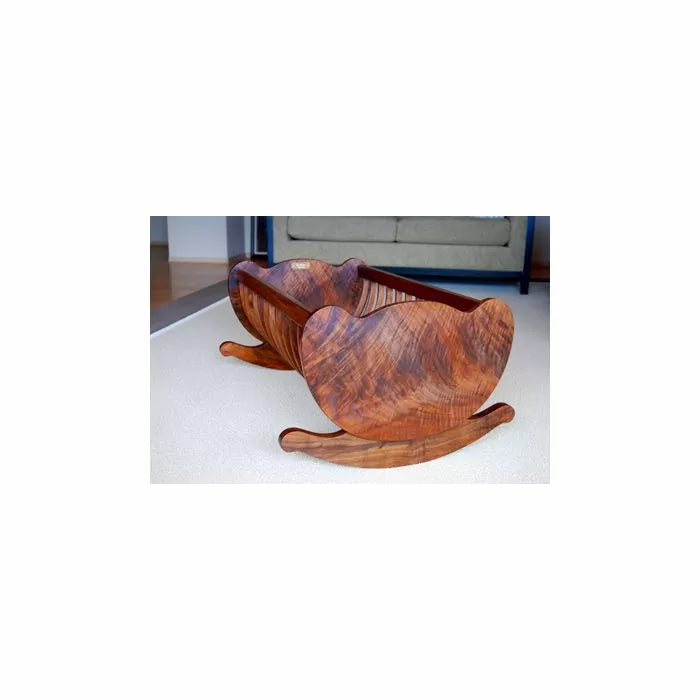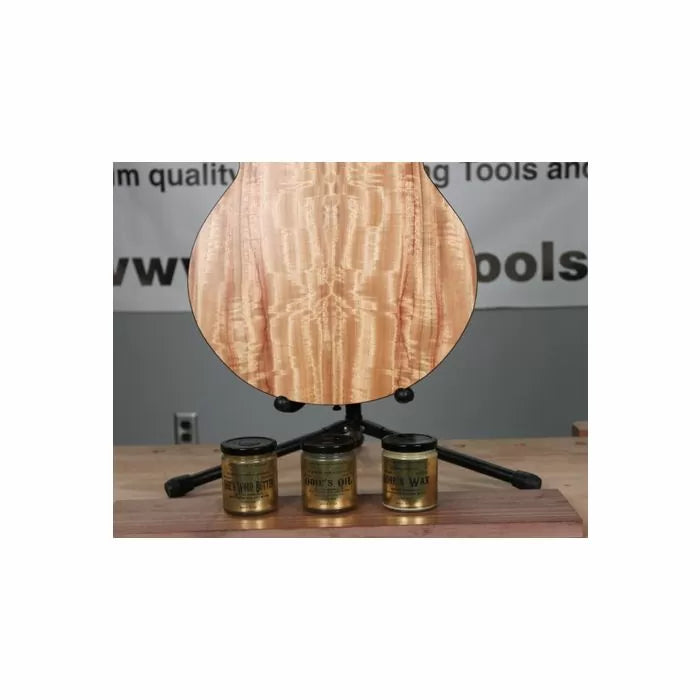
Let's face it, finishing a project is intimidating for most woodworkers. After spending days, weeks, or months on a project, the Finish can either make or break the piece. Just picking a finish can be difficult with so many options available. For years I tried all sorts of finishes. Polyurethane, Varnish, Lacquer, Shellac, Danish Oil, and even home-brew mixes all got used on my projects. While I was able to achieve good results with some, I never found one I loved. That all changed when I tried Odie's Oil. The company, Odie's Oil, makes a line of Hard Wax Oil finishes that penetrate the surface of the wood. Unlike poly, varnish, or shellac they don't build a layer on the surface. Rather, they soak in and cure to protect and stabilize your project without obscuring the natural beauty of the wood. Let's take a closer look at each of the finishes available from Odie's Oil, how they are applied, and when you should choose one over the other.
What is Odie's Oil?
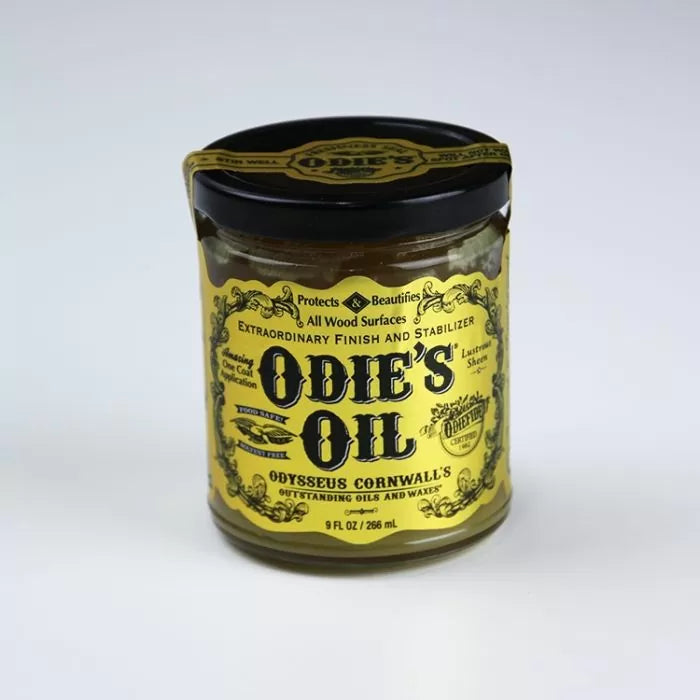
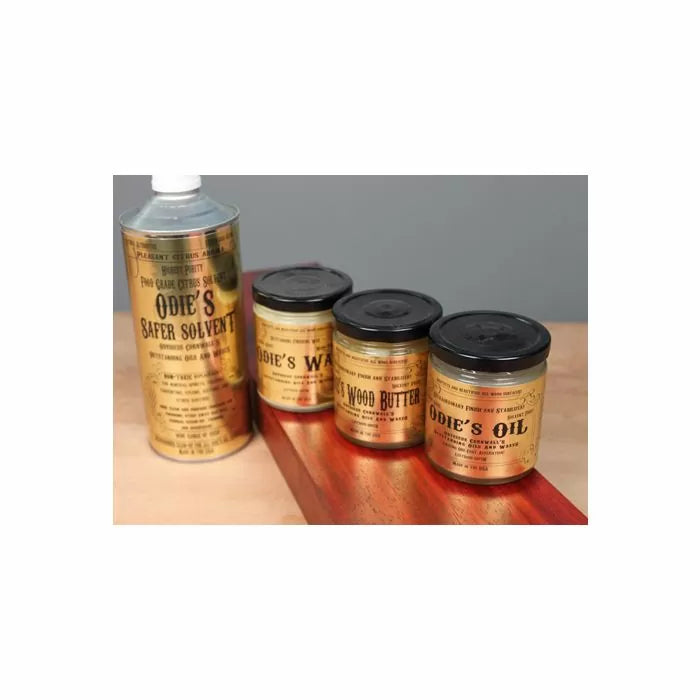
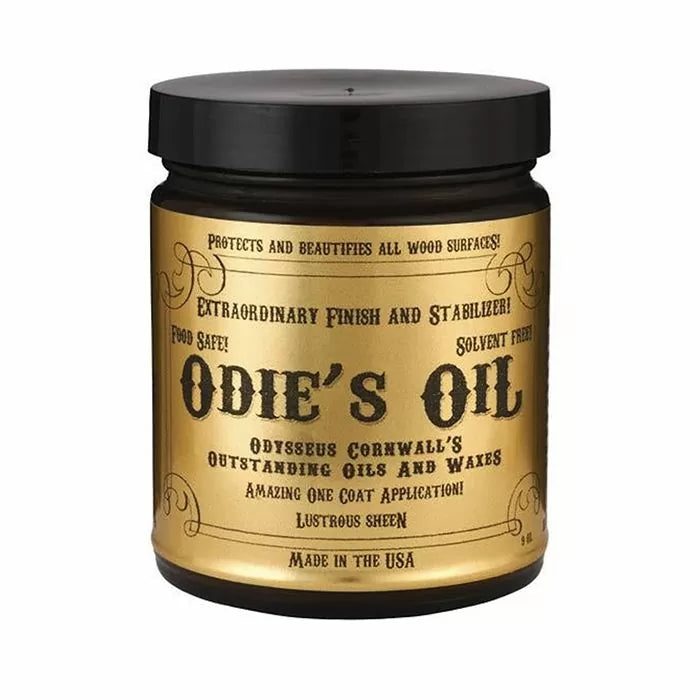
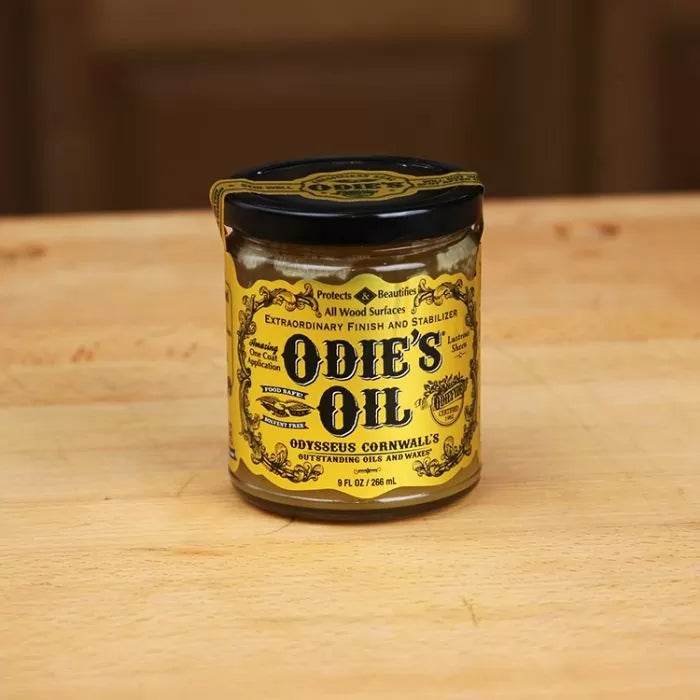
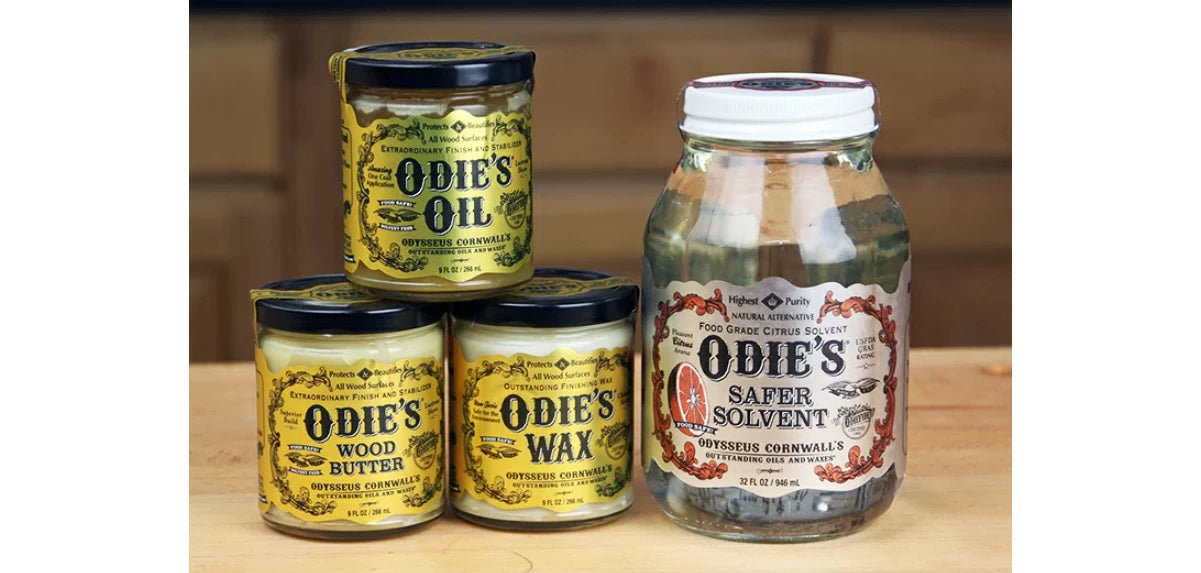
Odie's Oil is first, a company that makes a variety of hard wax oil finishes. Second, Odie's Oil is a specific finish itself. In fact, Odie's Oil is the original flagship finish of this Florida based, family-owned and operated company. Odie's Oil, the company, makes a variety of finishes including, Super-Duper Everlasting Oil, Odie's Oil, Odie's Wood Butter, and Odie's Wax. While each of these finishes shares the same DNA, they all have different viscosities and characters that make them ideal for certain roles. These finishes are all food-safe and are a perfect choice for cutting boards, salad bowls, and children's toys. Unlike most food-safe finishes, Odie's is exceptionally durable and has outstanding stabilizing qualities. As a result, it's ideal for all sorts of furniture, instruments, and even floors. Even more surprising, Odie's finishes work exceptionally well on other materials including metal, leather, and polished concrete.
Which Odie's Finish should I use?
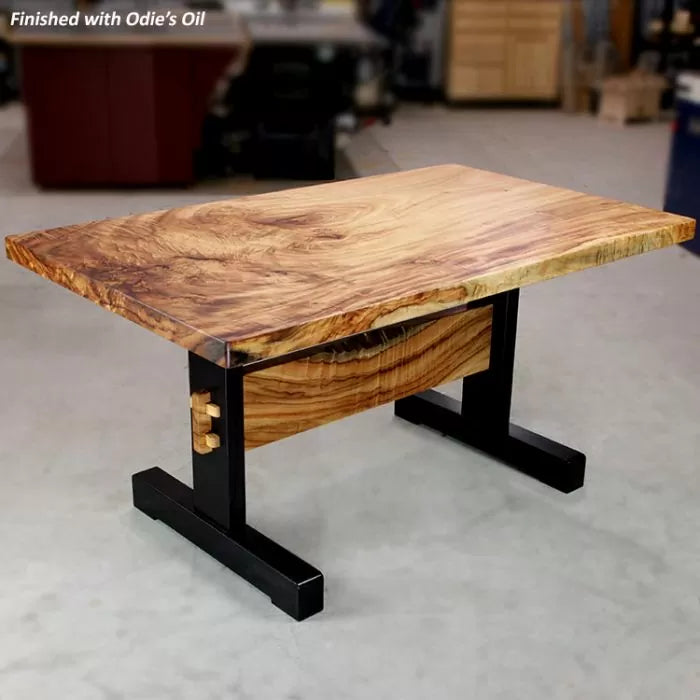
Which Odie's finish, or combination of finishes, you choose will depend on your project and desired look. Some may choose to simply use the original Odie's Oil alone, Others may choose to use all four finishes in succession to achieve higher gloss and added protection. For a recent dining table I built, I chose to apply one coat of each finish. This allowed me to quickly build a beautiful sheen with outstanding protection. Let's take a quick look at each finish and talk about its specific characteristics.
Super-Duper Everlasting Oil
Super-Duper Everlasting Oil (115-404) is the newest and thinnest finish from Odie's. It's much like a danish oil or home-brew finish you may have used. The big difference is that Super-Duper Oil has no chemical thinners or solvents, so 100% of the finish applied to the wood stays and doesn't evaporate. The thin viscosity makes it easy to apply to both smooth and rough surfaces, like live edge projects. It also produces a very durable finish but with less initial sheen than the others. A great stand-alone finish by itself or as a first stabilizing coat beneath the other Odie's finishes, it penetrates deeply into the fibers of the wood to nourish and stabilize. It's also an excellent finish for leather, metal, and concrete projects.
The Original Odie's Oil
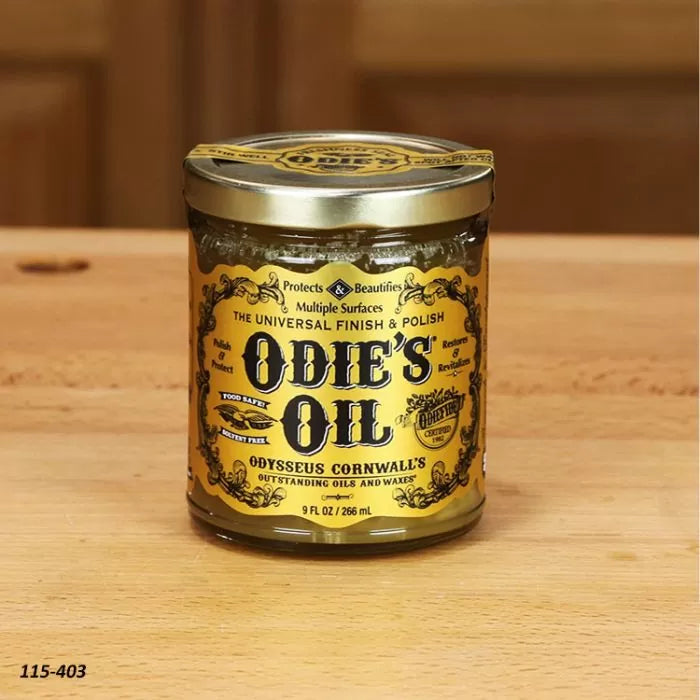
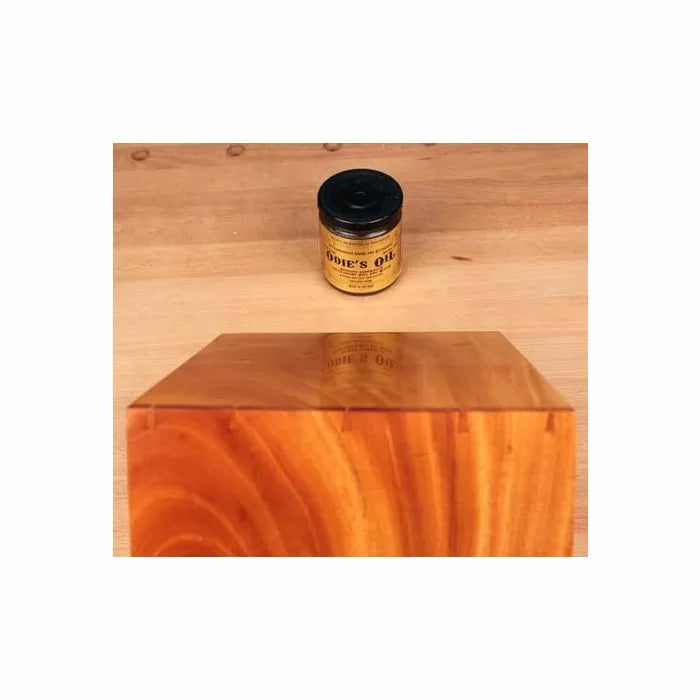
Odie's Oil (115-403), as I mentioned, is where it all started. It has the consistency of honey. With a combination of oils and waxes, this finish spreads easily and penetrates while still building a lovely sheen. When properly applied one coat will typically do the trick. If you're planning to try only one of Odie's line, this is the one to start with. While the same ultimate look and protection can be achieved with the Super Duper Oil, it will take more coats to build the sheen. Odie's Oil will bring out the natural figure and beauty of the wood without adding an overly yellow color. Rather, it will enhance the natural color of the wood itself.
Odie's Wood Butter
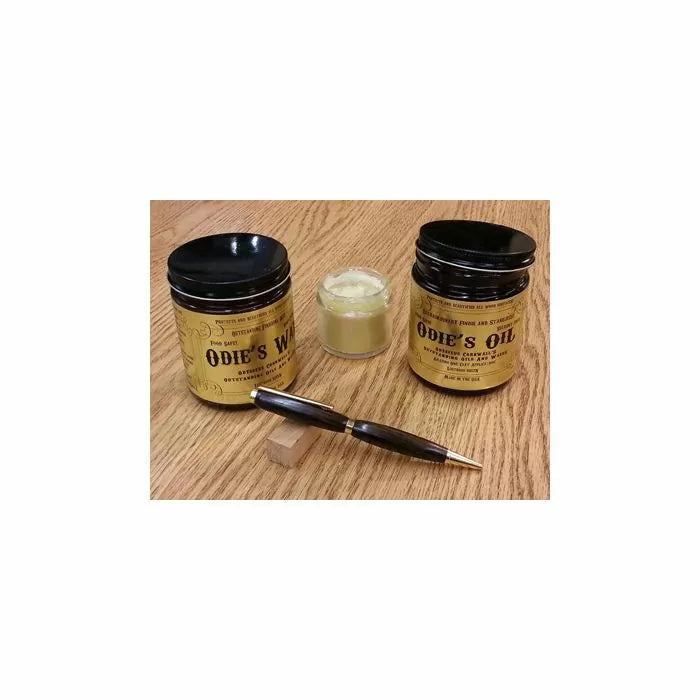
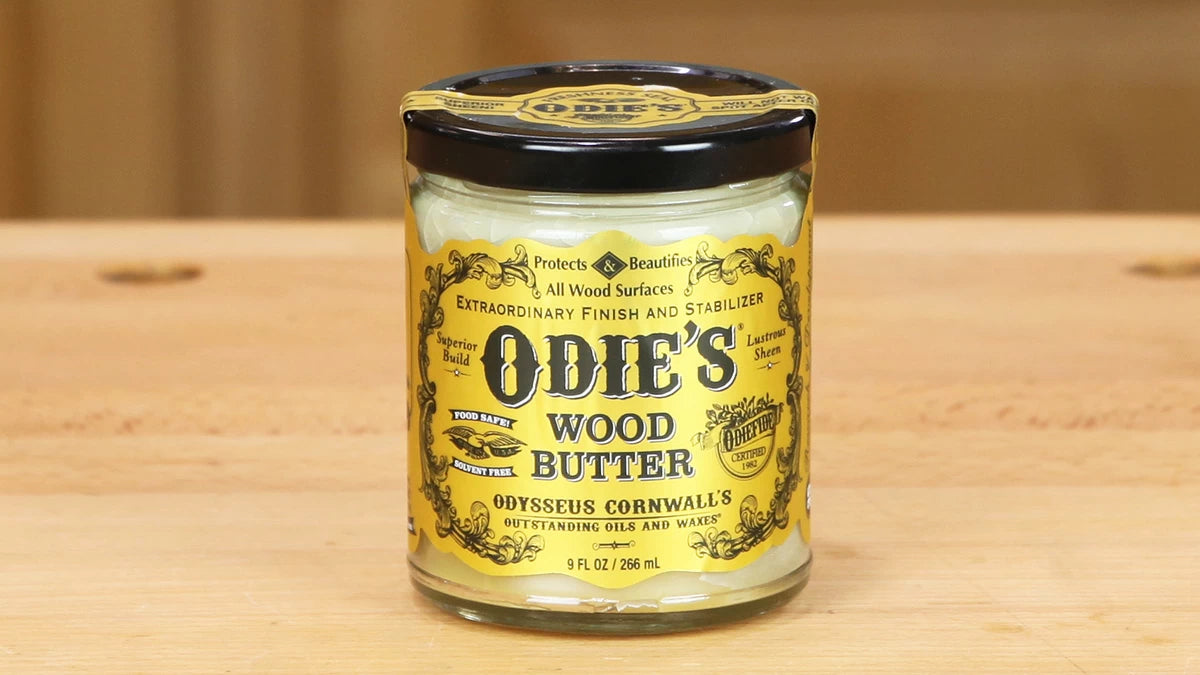
Odie's Wood Butter (115-406) is very similar in consistency to paste wax. The big difference is that rather than thinners and solvents to soften the wax, Wood Butter uses natural oils that continue to penetrate and cure in the wood. Wood butter can be used as a stand-alone finish that will produce less color shift in very light woods like maple that you want to stay lighter in color. I typically use Wood Butter for my second coat over Odie's Oil or Super-Duper Oil to really build the sheen. I also use it in the same role as I would use Paste Wax on furniture. Just be careful, using too much can make it hard to buff off. More on the application process in a minute.
Odie's Wax
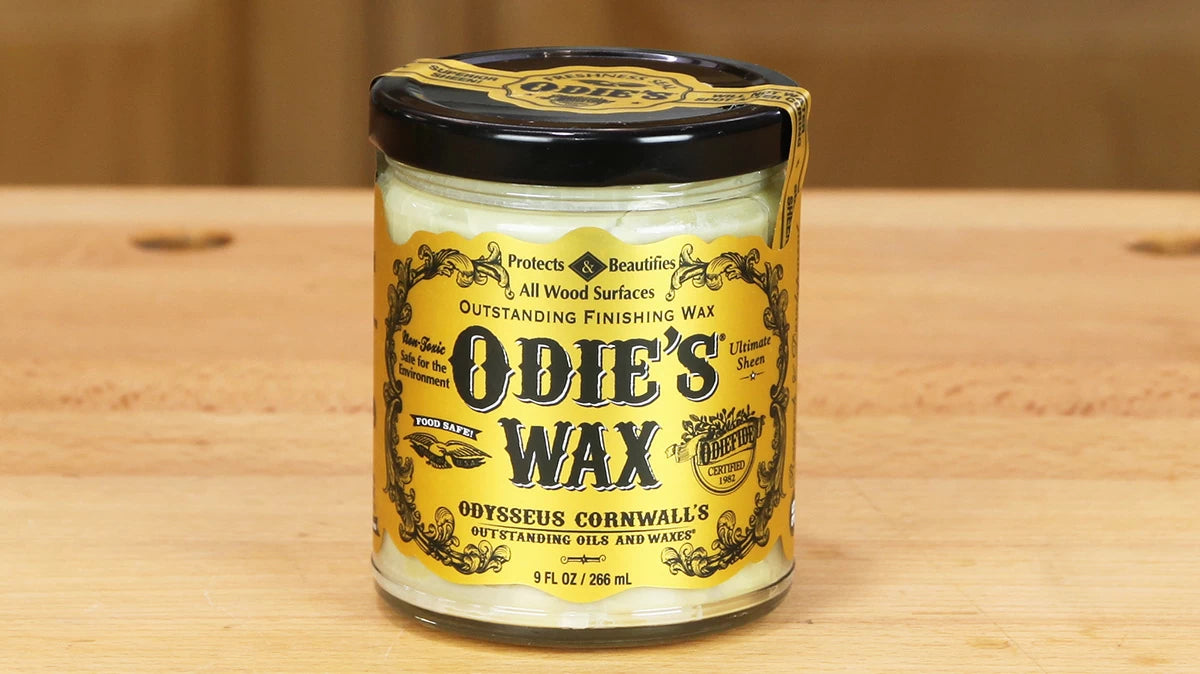
Odie's Wax (115-409) is a true hard wax. Think of this as old-style car wax, it's definitely not soft. The beauty is that it goes an incredibly long way. Also, because it's hard it's easier to apply in very thin coats. I use Odie's Wax typically as my final coat. It can build an outstanding hand-rubbed shine. Rub a little on an applicator pad and rub it into the surface in as thin of a coat as possible. Then wait a couple of hours and buff. I started using Odie's Wax on my musical instruments and It immediately became a hit. No fingerprints and a glow that just begged to be picked up and played. Also, no thick lacquer film to deaden the sound.

Odie's Safer Solvent
Odie's Safer Solvent (115-410) is a perfect choice to prepare your projects for the finish after final sanding. It also excels at stripping old waxes and dirt from surfaces that you are refinishing. The advantage is that it replaces thinners and solvents that are harmful to your health. Odie's Safer Solvent is actually a food-grade product. It has a pleasant citrus smell and won't cause headaches like other solvents.

Odie's Oil 5-Pc Complete Wood Finishing Kit
The Odie's Oil 5-Pc. Complete Wood Finishing Kit (115-416) is a great way to purchase all of these finishes at one low price. This exclusive package is only available from Infinity Cutting Tools.
Finishing With Odie's
Finishing with any of the Odie's Oil finishes is incredibly easy. The process is quite simple, rub on and buff off. There are a few common mistakes that can cause issues. Let's take a look at the process and go step by step.
Step 1, Sand & Prep.
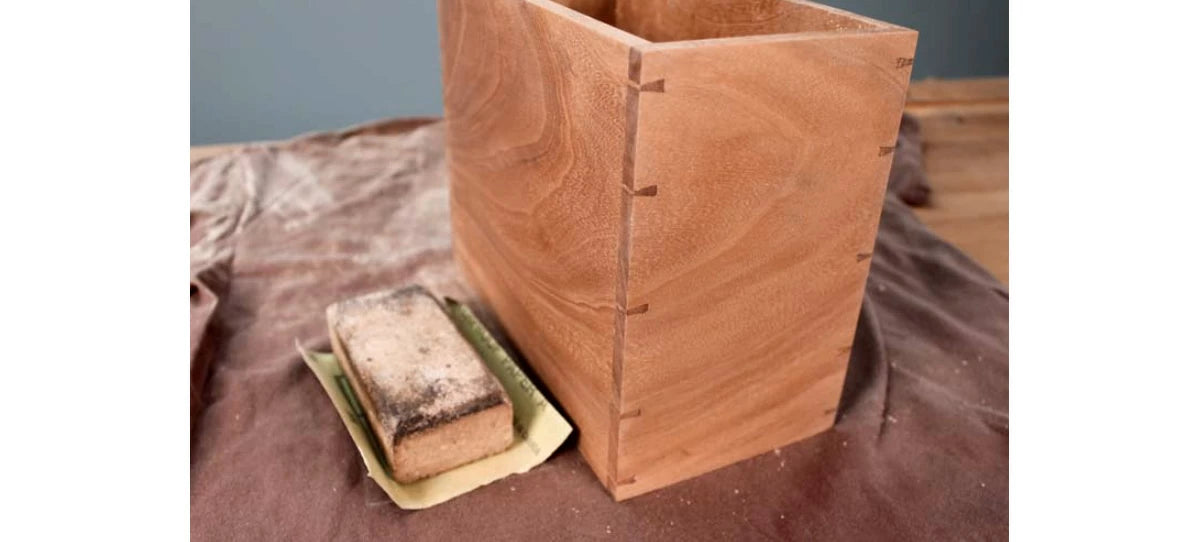
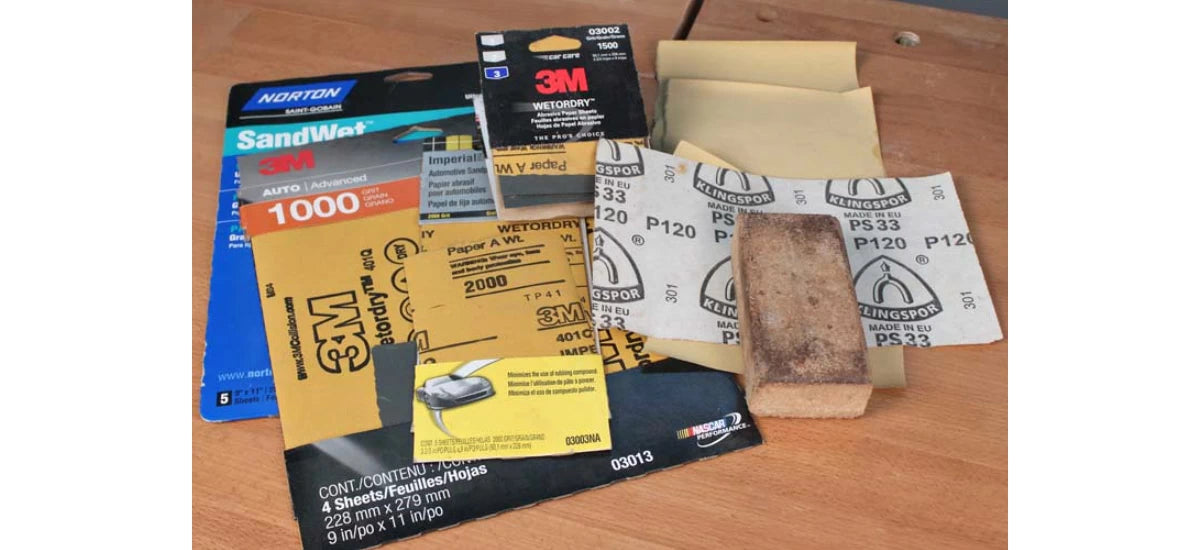
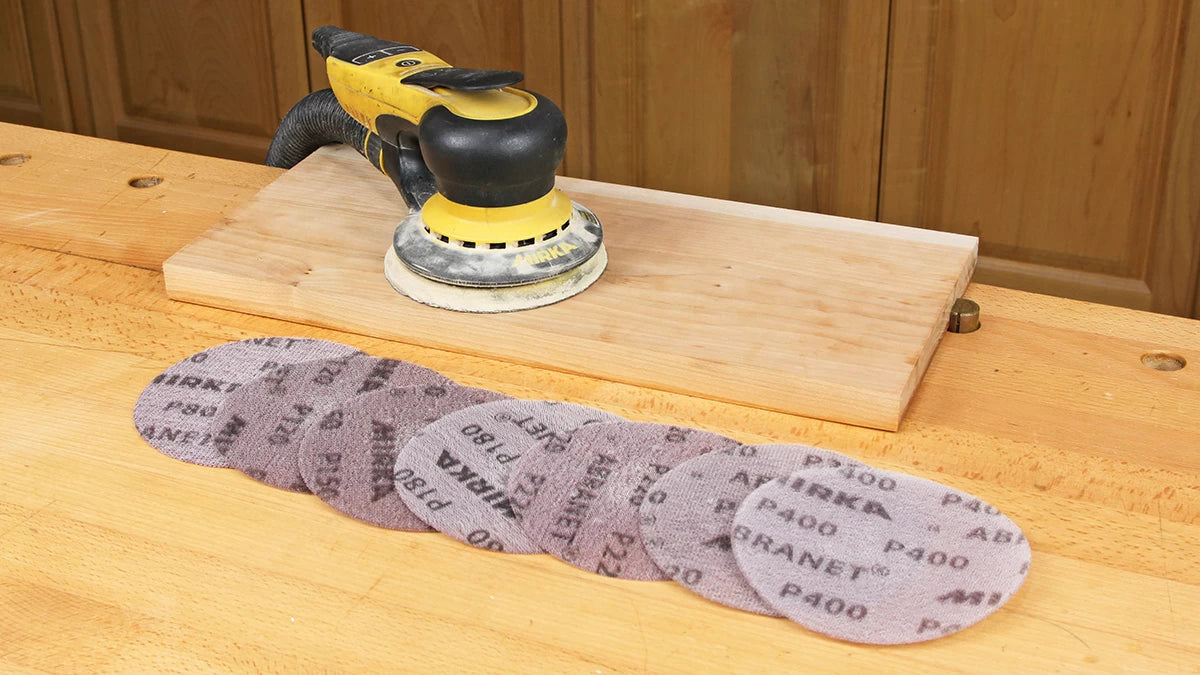
With Odie's the sheen you achieve is affected by your sanding. The good news is that adhesion is not a problem and you can sand to any grit without issue. for a matte finish, 220 grit is fine. For a higher sheen, I recommend sanding a couple of extra steps to 400 or 600 grit. For the ultimate sheen, you can sand as high as 2000 grit without an issue. The first mistake woodworkers make is skipping grits. Don't do it! Start with your normal 80 grit and progress up without skipping. Each grit is designed to remove the scratches from the previous grit. Skipping will slow down your progress and result in a lackluster sheen. When you're done sanding, give your project a wipe down with a little Safer Solvent. Inspect the surface and you should be able to find any areas with scratches that you can address. The solvent will also remove any oils or grime and give you a nice clean surface ready to accept your first coat.
Step 2, Apply The First Coat.
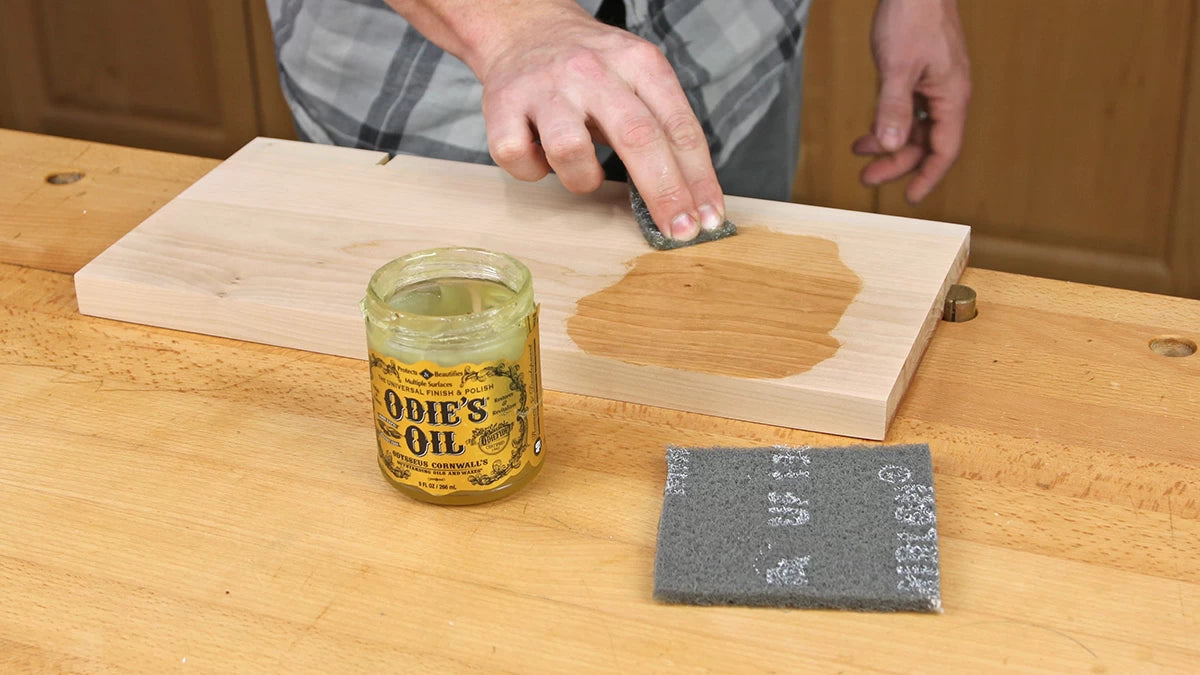
For a first coat, I typically choose Super-Duper Everlasting Oil or the original Odie's Oil. The application process is the same for both. Use a piece of Mirka Mirlon. Gray is a good choice if you stopped sanding at 400 grit or below. If you sanded higher than 400 grit I recommend a white Nonwoven pad.
Rub It in
Apply a small amount of finish to the pad and the surface and begin spreading and rubbing the finish over the surface. Avoid flooding the surface, applying too much finish is wasteful and makes it more difficult to buff off. The goal is to apply just enough finish to coat the surface so that a finger pulled across the surface leaves a mark. Soft or highly figured woods will require a little more finish. In these cases, I apply a thin coat over the entire project then go back and add a little more wherever needed. Don't use spatulas or power buffers to apply the finish. Working the finish in by hand will produce the best results.
Buff It off
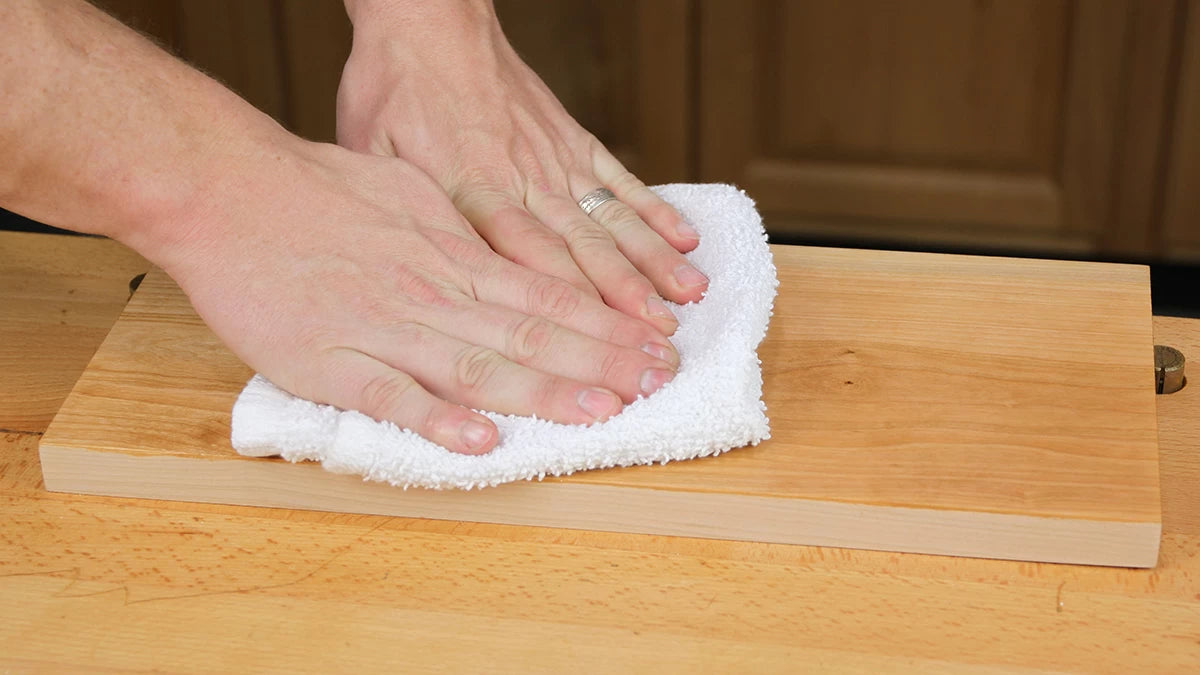
Let the oil sit on the surface for about an hour. Remember there should only be enough finish on the surface to make a finger streak. If dry areas emerge apply a little more finish and work it in as before. After the hour is up, use a cotton terry cloth towel to rub and buff all of the excess finish off of the surface. A used bath towel is ideal. If using new towels, ensure that they have been washed. Rub the surface, turning the towel to clean areas as needed until the finger drag test produces no streaks. When the surface passes the finger test you are done, let the piece dry for about 24 hours.
Step 3, Adding Additional Coats
At this point, if you are happy with the finish there is no need to apply additional coats. Let the finish cure for about 72 hours before use. However, if you have dull spots or would like to build additional sheen and a little more protection, adding another coat is easy. In this case, I usually recommend using Odie's Wood Butter. It is much thicker than the Super-Duper oil or Odie's Oil. Using a white pad will help build sheen as the white pads are typically not abrasive. Apply and buff the second coat just as you did the first. Remember, because the surface is already saturated even less finish will be needed, so apply sparingly. Apply just enough finish so that you can make streaks with your finger across the surface. Don't just spread the finish across the surface, use some elbow grease, and really work it in. Let it rest for about an hour and again buff all excess finish off the surface with a clean cotton towel or two. For even more protection and shine, repeat the same process with a coat of Odie's Wax.
Tech Tips
- For the highest sheen, after your final coat has been buffed and cured for a day or two, apply a very light coat of Super-Duper oil and immediately buff off with the grain. This will help produce a beautifully leveled wax surface and give you an outstanding finish.
- Use white towels to buff off. Using a white cotton towel to buff the excess finish from the surface will let you see how much extra finish you applied and make it easier to see when you need to flip to a new section of the towel. Remember, the goal of buffing is to remove the excess finish, not spread it around.
- Wash new towels before use. Oils are used in the manufacturing process of cotton products and will keep the towel from absorbing the excess finish. Washing the towel will remove these oils and make the towel work a lot better.
- When using any of Odie's finishes on metal, leather, or concrete, don't wait to buff off. Leathers and concrete are more absorbant than wood, so apply sparingly and buff off the excess right away. Metal by contrast is much less absorbent so no need to wait.

