Lowest Price Guarantee. Learn More

Free Shipping on Most Orders $100+. Learn More

100% Satisfaction Guarantee. Learn more

Deal of the Month

20% Off Most Roundover Router Bits

SKU: 102-001

Klingspor 10" Sanding Disk w/ 5/8" Arbor'

4 Reviews
26 answered questionsAsk a question
$8.90

Grit

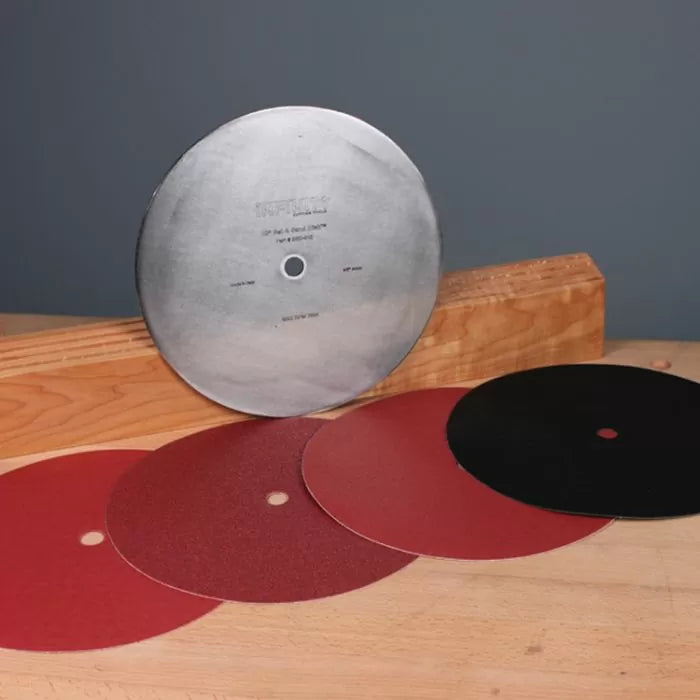
Turn Your Table Saw Into A Sanding and Setup Station With This Great Package!

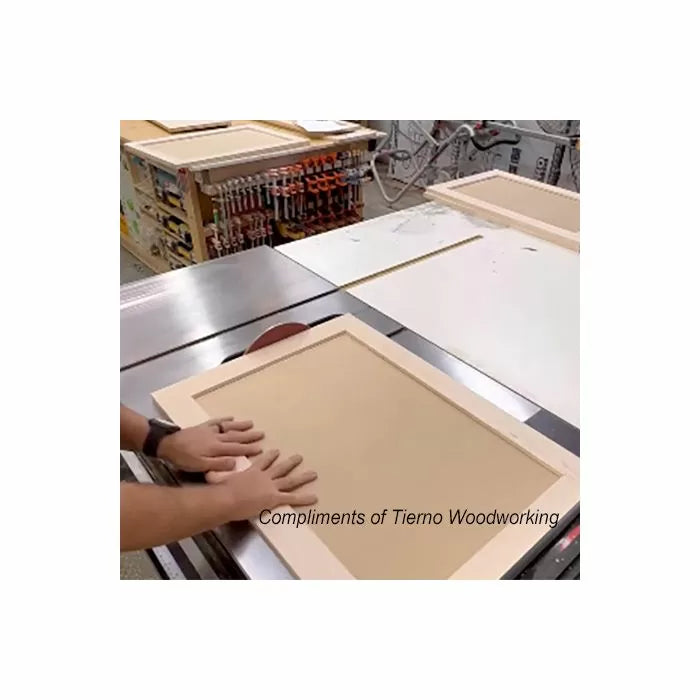
Use these hook and loop sanding disks and 10" Set & Sanding Plate to turn your table saw into a versatile sanding station. With this setup, you can save space in your workshop by converting your 10" table saw into a power sanding wheel.

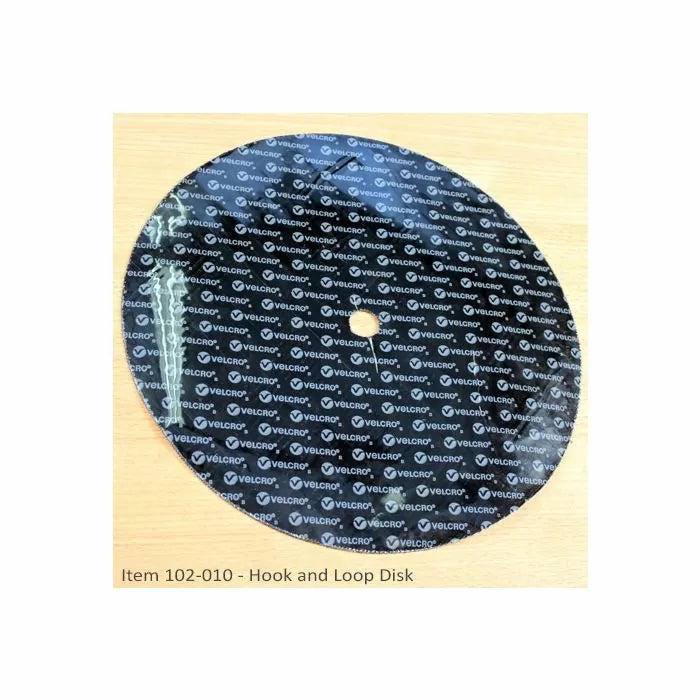
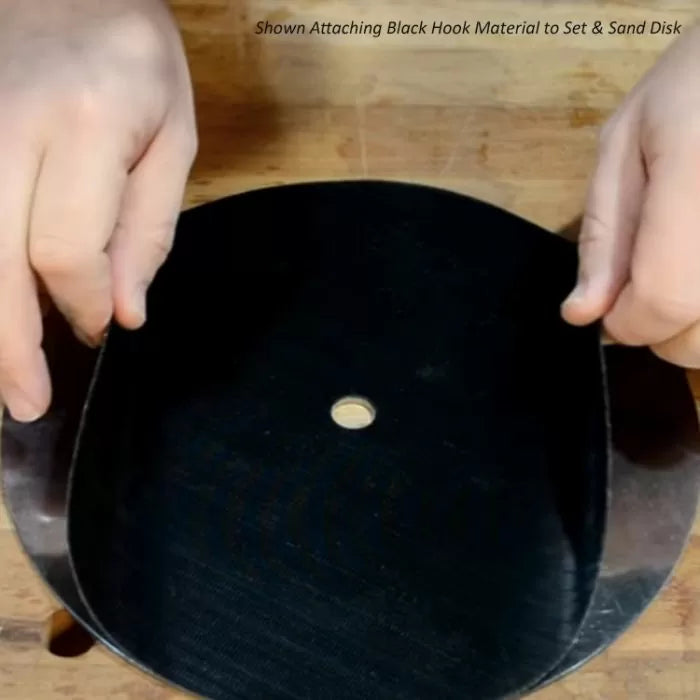
  • Step 1: Attach the black 10" Hook and Loop Disc (item 102-010) to the Setup and Sanding Plate (item SSD-010)
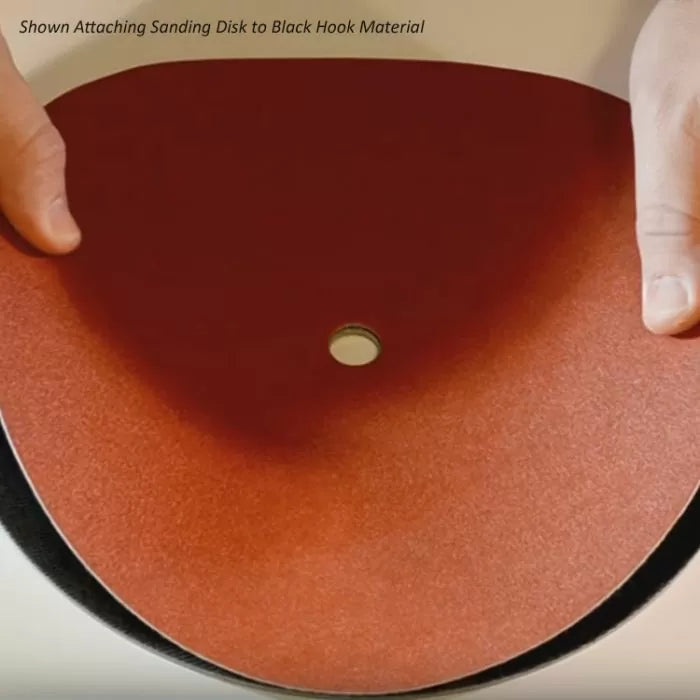
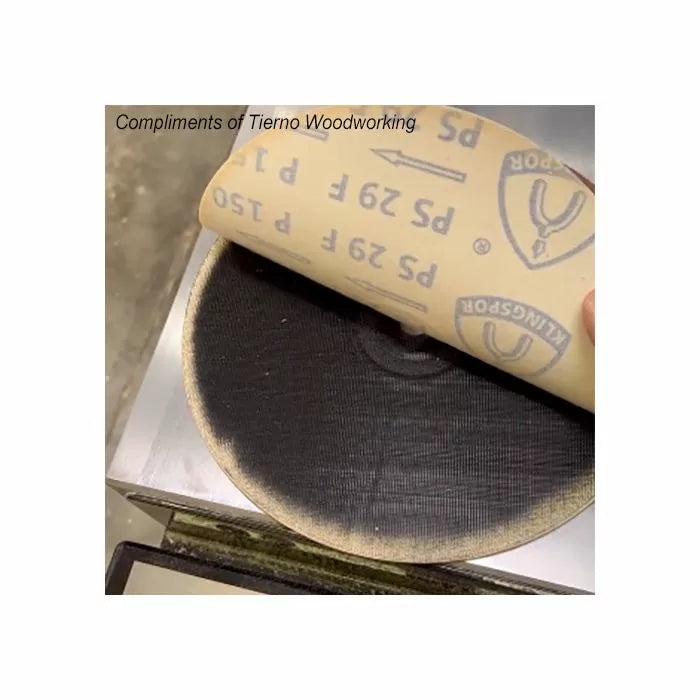
  • Step 2: Attach the Sanding Disc of your choice to the plate via the Hook and loop material
  • Step 3: Install the Setup and Sanding Plate to your table saw like a normal table saw blade
  • Step 4: Get to work sanding on your table saw the same as you would at a dedicated sanding wheel. When you're ready to change grits, just peel the sanding disc off of the hook and loop face and attach the new one.

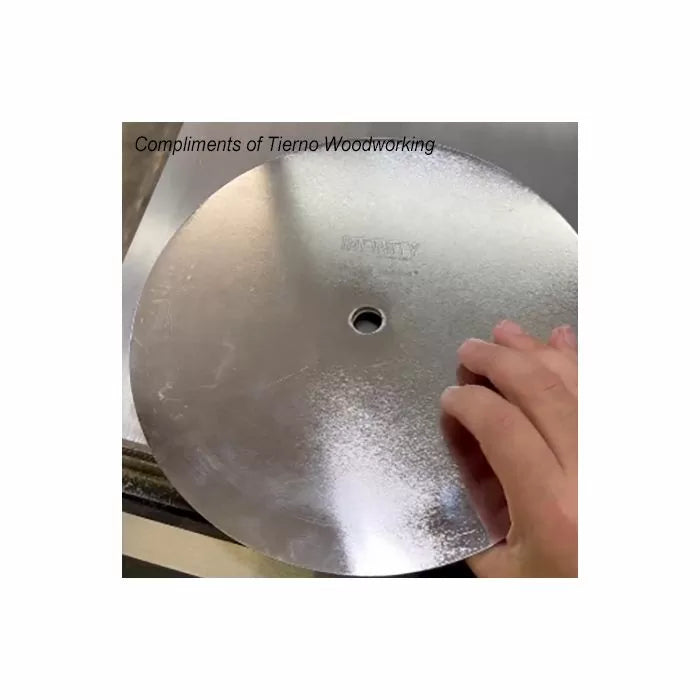
The Setup & Sanding Plate (item SSD-010) makes table saw, radial arm saw, and miter saw calibration faster and more accurate. Like our table saw blades, the disk is laser cut from premium cold-rolled steel plate, and is guaranteed to be within .002" flat. It will allow you to fine-tune your saw for perfectly effecient and clean cuts. It's ideal for checking a machine's arbor for square or setting your miter gauge to the precise angle.

Features Include:

  • Pre-cut 5/8" arbor hole
  • Smoother finish
  • Longer life
  • Saves money
  • Cooler running
  • Black hook material sticks to your sanding disk so the sand paper doesn't have to
  • Sandpaper sticks to Black Hook material via a Hook & Loop system for fast changeover
  • Premium quality sandpaper is perfect for woodworking applications
  • Available in 80
5.0
4 Reviews
  • 5
    4 (100%)
  • 4
    0 (0%)
  • 3
    0 (0%)
  • 2
    0 (0%)
  • 1
    0 (0%)
100% of customers rate this product 4- or 5-stars
Highest to Lowest
  • Highest to Lowest
  • Newest to Oldest
  • Favorite Reviews
All Ratings
  • All Ratings
  • 5 ★ Reviews
  • 4 ★ Reviews
  • 3 ★ Reviews
  • 2 ★ Reviews
  • 1 ★ Reviews
David T. Verified Customer   
02-10-20

A great idea vs the stick on discs.

Perry S. Verified Customer   
01-22-18

it served my need!!

Eddie E. Verified Customer   
06-28-16
Works great

Just as described and works great.

Questions & Answers
avatar
Popular Questions

6 years ago
What is the exact thickness of the pro coping sled base? See more »
6 years ago
The base of the coping sled is slightly more than 3/8" thick. The exact thickness can vary depending on the thickness of the friction material on the sled surface.
4 years ago
I have an older Woodhaven router table and fence. It has a wood fence screwed onto an aluminum fence with attachments and it is 2-3/4" high. Your COP-200 coping sled diagram shows that the visor that runs along the fence can adjust in height from 2-1/2 See more »
4 years ago
1/4" of support for the Coping Sled visor should be more than enough.
4 years ago
I purchased a coping sled with standard toggle clamps. I would like to change clamps to self-adjust. Can I purchase a set of self-adjust clamps and change out? See more »
4 years ago
In most cases yes, depending on how old your coping sled is. If your sled has 6 thread holes for each clamp, all you need to do is order three of part number 100-520. they will bolt right up. If your sled is older and only has four holes for each clamp it
5 years ago
What is the thickness capacity for the COP-100? I see the COP-101 is 3/4"ù to 2"ù, but I'm not clear on how the auto adjust toggle clamps work exactly, you still have to adjust when going between multiple thickness stock, right? See more »
5 years ago
The Auto adjust clamps allow you to put material from 3/4" to 2", they do not need to be adjusted for different thicknesses of material within the 3/4" to 2" range. You can increase or decease the tension on the clamps if you choose to do so.
6 years ago
Do I need the Precision Miter Bar to use the Coping and Crosscut sled? Why does it not come with one? See more »
6 years ago
The Infinity coping sled is intended to reference off of the fence for most applications. The miter bar is an optional accessory for specific applications but for most situations is not necessary.
4 years ago
Are there upgrades available for coping sled safety visor and posts See more »
4 years ago
I believe you are asking if the visor and posts from the New COP-200/201 will work on the old COP-100/101. Unfortunately, no. The new sled is physically different than the old one and the parts are not interchangeable. We had to completely redesign the sl
5 years ago
Does the new safety visor fit previous sled. If so what is the order number and cost. See more »
5 years ago
No, the new visor on the COP-200 and COP-201 is not compatible with older sleds.
5 years ago
I have the previous version and would like to buy the new safety visor assuming that it will work. See more »
5 years ago
The new visor design of the COP-200 and COP-201 is not compatible with older COP-100 and COP-101 sleds.
4 years ago
Is COPMB1 included in COP201? See more »
4 years ago
No, cop-MB1 is an optional accessory and is sold separately.
5 years ago
Will this coping sled work with an Incra fence system? Meaning, will the visor ride against the fence or is it too tall for the fence? See more »
5 years ago
The bottom of the visor is 3" above the table surface. Your fence needs to be a little taller than 3" in order to work correctly.
View all

Shopper Approved Q&A Shopper Approved Q&A Answerbase
view

Table Saw Set-Up & Sanding Discs

Use the 10" steel setup-plate to perfectly align your table saw, then flip the plate over and use it as a hook and loop sanding station! With this setup, you can save space in your workshop by converting your 10" table saw into a power sanding wheel!

The setup and sanding disc set.

The Table Saw Setup and Sanding Disc set has only a few pieces, but what it can do is impressive! The 1/8"-thick, 10" plate, milled to perfect flatness on both sides, can be purchased separately, and you can buy the self-adhesive hook disc and assorted grit discs as needed. Or you can buy the complete set.
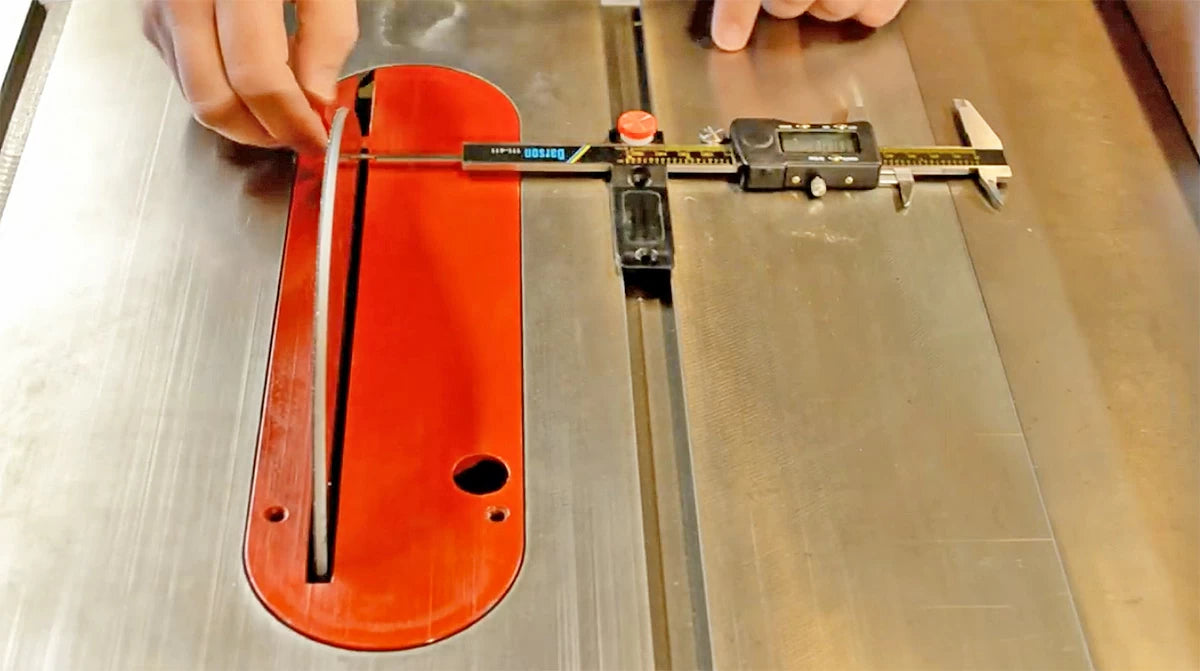
Setting the plate (and arbor) to the miter slot, step one.

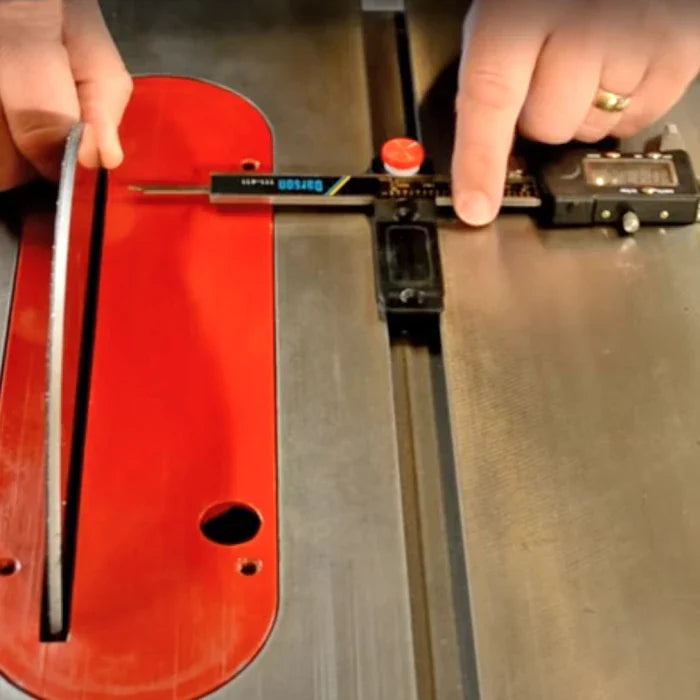
The 5/8" arbor setup disc is milled to fit perfectly flat against any table saw arbor. Once in place, aligning the plate to the miter slot is fairly simple. Using a setup gauge with extendable probe, note the distance at the leading edge of the disc.
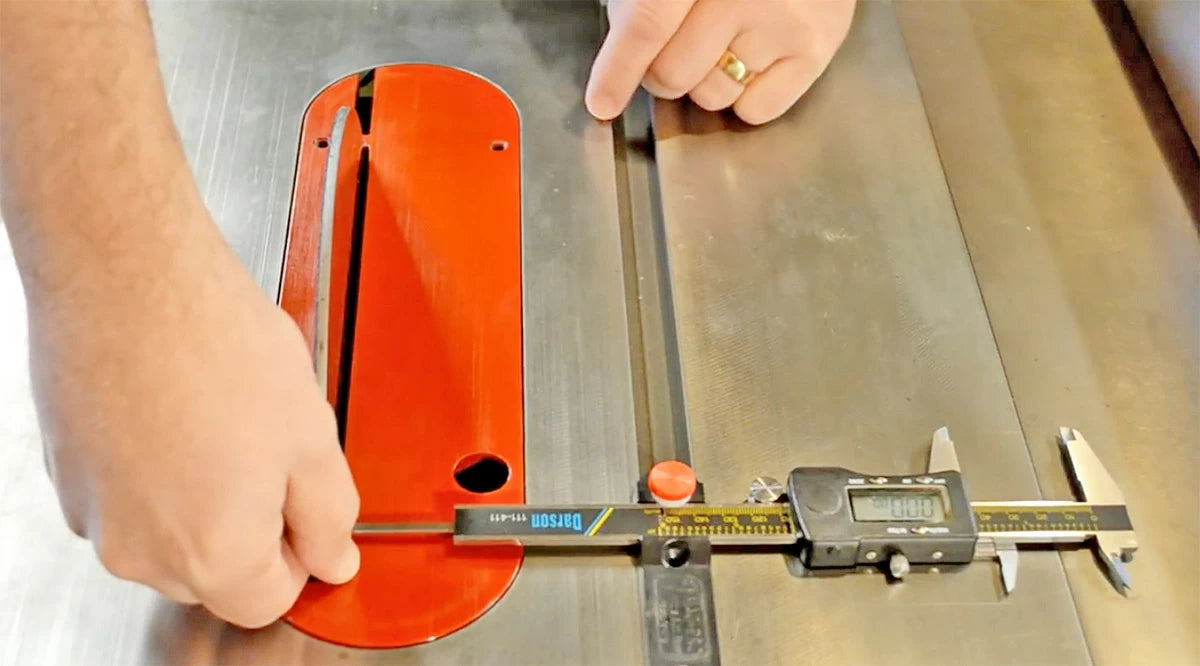
Setting the plate (and arbor) to the miter slot, step two.

Then move the setup gauged to the outfeed side of the blad and measure again. The dimension should match the earlier reading. If there's a significat difference between the two, then you'll need to loosen your table saw top from the base and adjust until the dimensions match, then tighten the top on the saw.
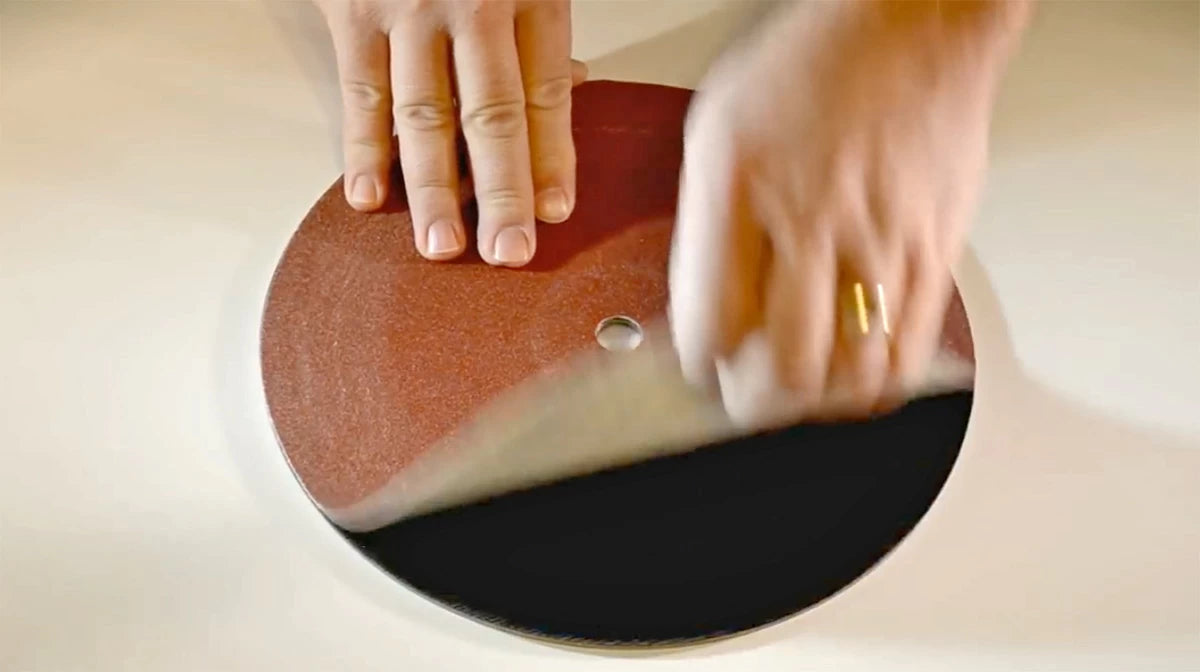
Hook & Loop attachment makes replacing old paper a cinch!

With the blade arbor perfectly aligned to the miter slot, you can use the disc for its other valuable purpose, sanding! The self-adhesive hook-material disc is simply applied to one side of the metal disc, add a sanding disc of an appropriate grit,  and then reinstall on the saw.
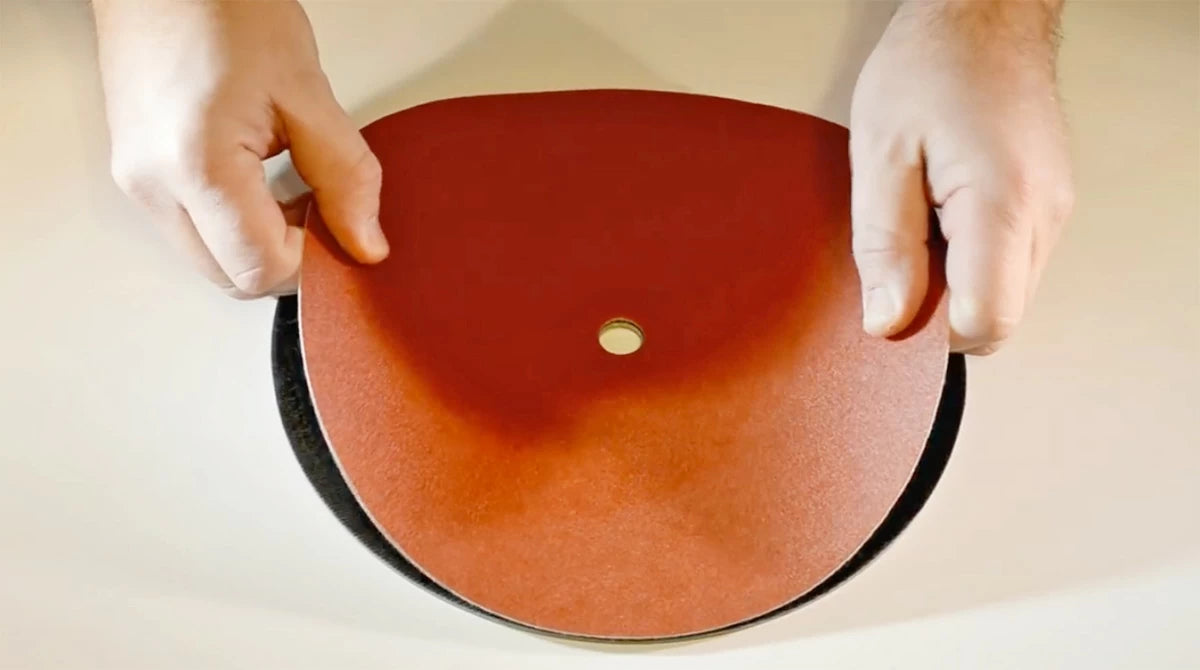
It's also a great way to switch between grits without wasting sandpaper!

One of the other great things about the replaceable sanding discs is that you can move between grits (going higher to achieve a better finish) without throwing away good sanding paper!
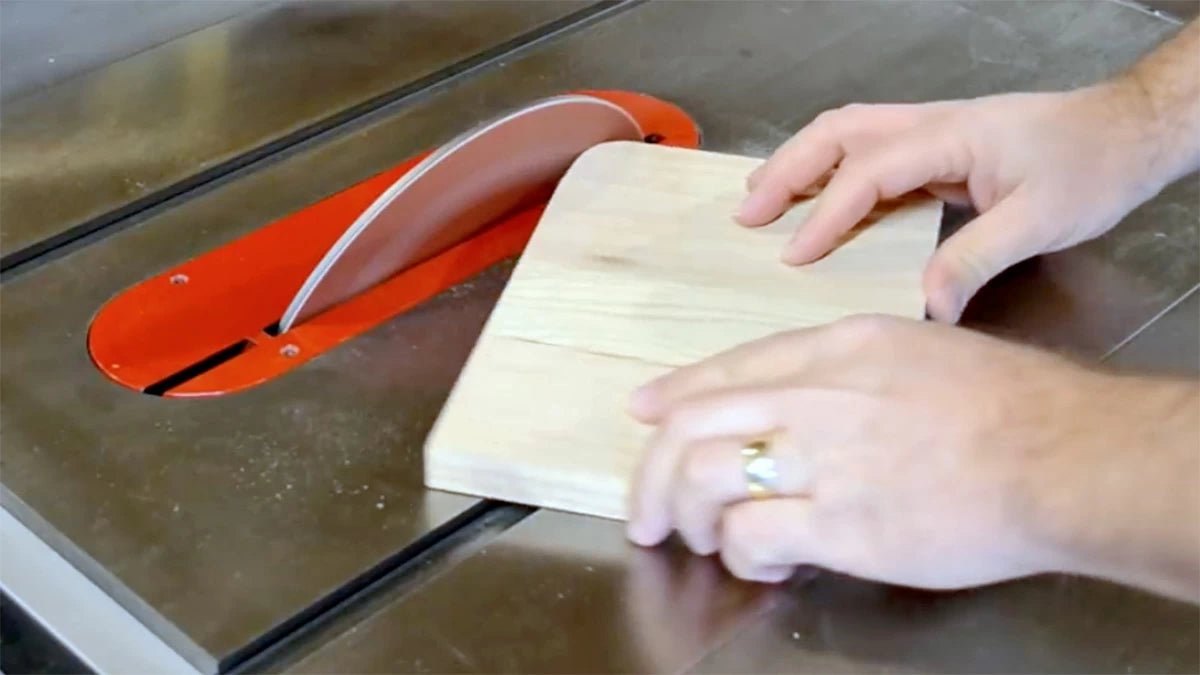
Sanding with a tilted perspective.

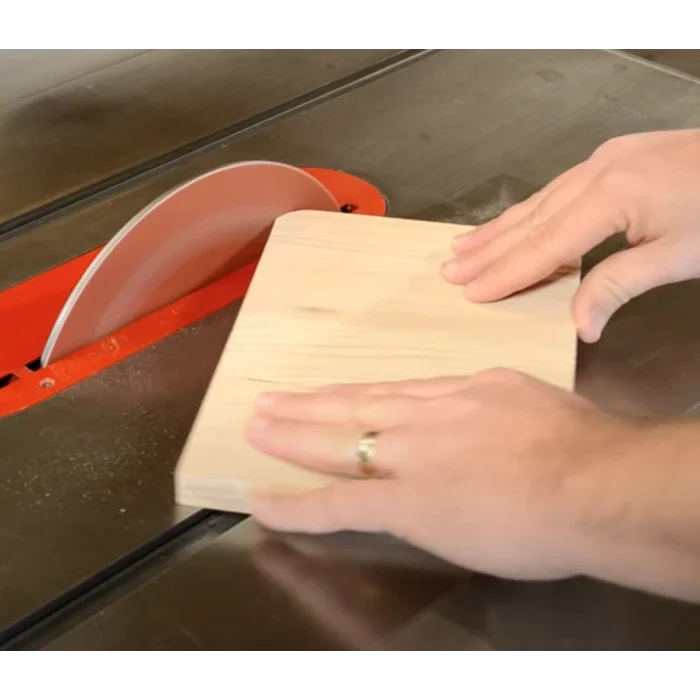
Now you can go to town with your new disc sander! But this one has an extra little benefit as well, title the blade and you have an adjustable angle disc sander!
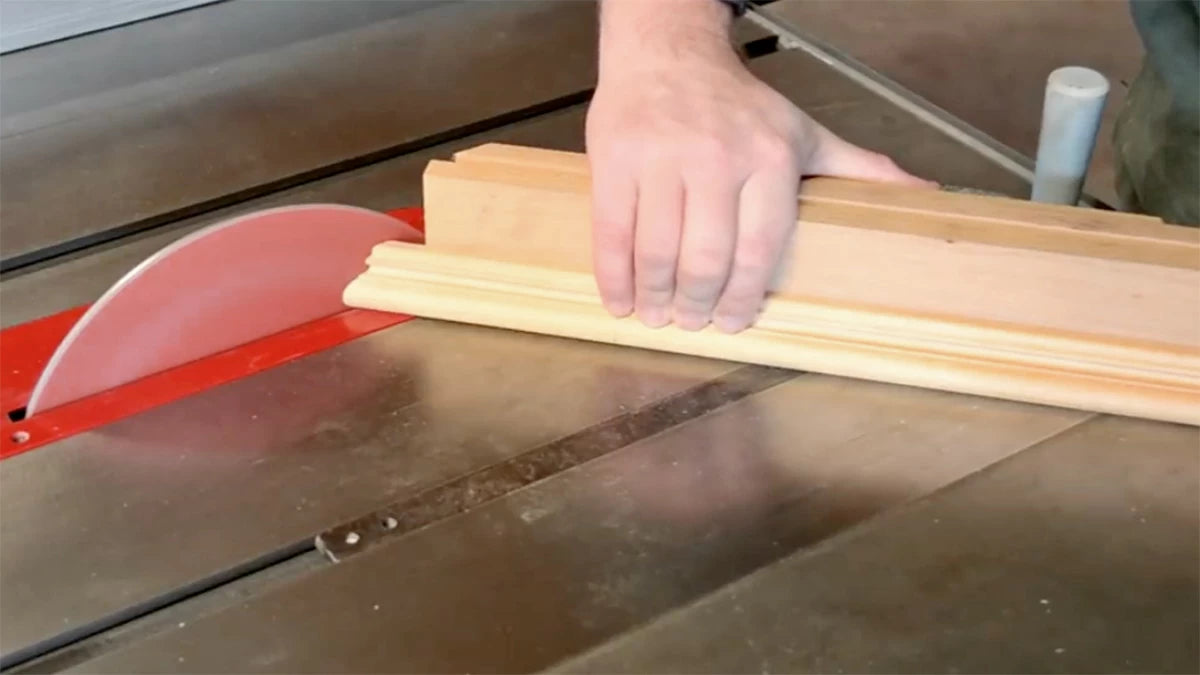
Sneaking up on the perfect miter fit.

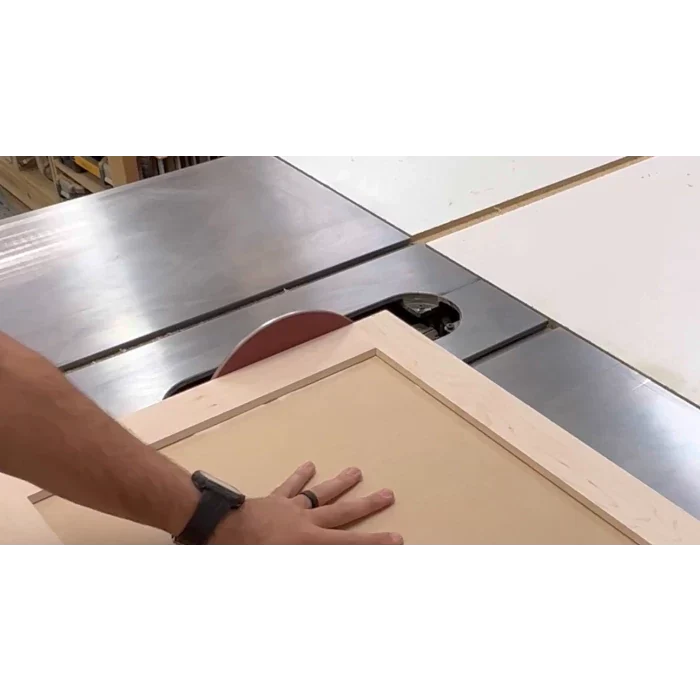
Fitting miters on almost anything becomes even easier with the table saw sanding disc. Your miter gauge can be set to match the perfect angle, then light touches against the sanding disc let you sneak up on the perfect fit!
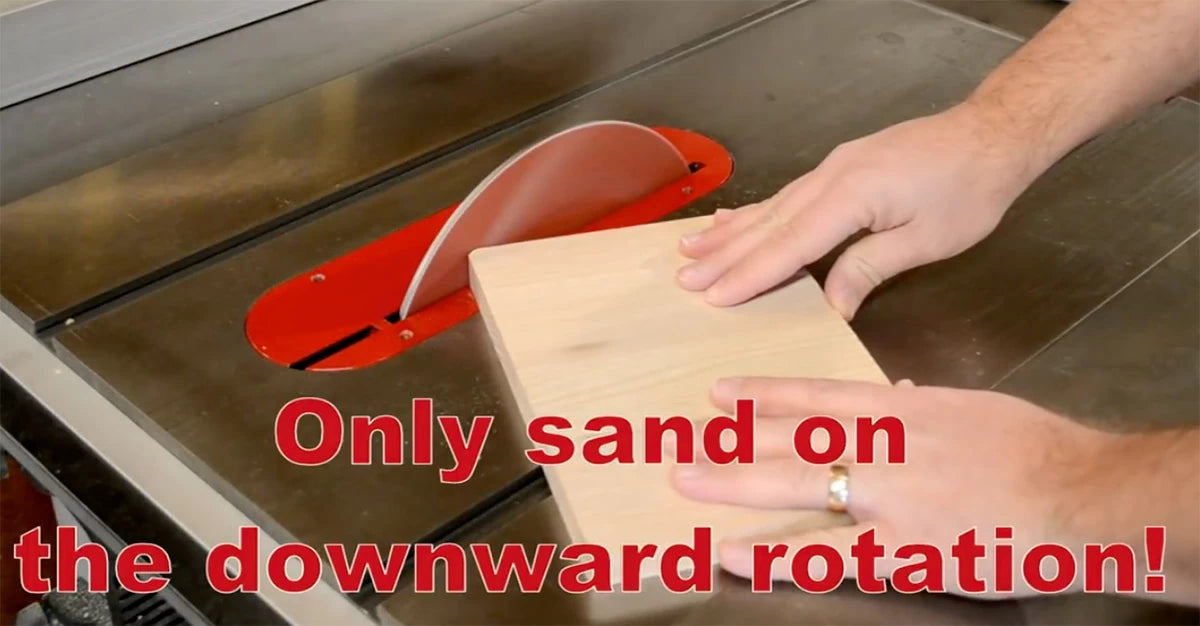
Remember! Only sand on the downward side of the disc to avoid accidents.

One quick safety reminder. Only sand against the infeed half of the disc, not past the center. The rotation of the disc can toss the piece up if you sand on the outfeed side! Upgrade your saw today with the Infinity Setup & Sanding Disc!