Lowest Price Guarantee. Learn More

Over 25,000 5-Star Reviews! Learn More

100% Satisfaction Guarantee. Learn more

SKU: 102-001

Klingspor 10" Sanding Disk w/ 5/8" Arbor'

$8.90
Shipping calculated at checkout.

Grit

Turn Your Table Saw Into A Sanding and Setup Station With This Great Package!

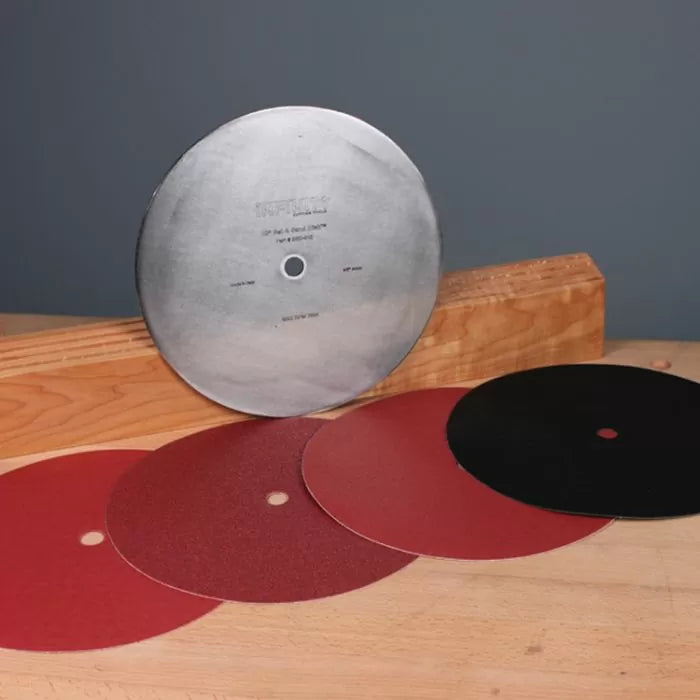
Use these hook and loop sanding disks and 10" Set & Sanding Plate to turn your table saw into a versatile sanding station. With this setup, you can save space in your workshop by converting your 10" table saw into a power sanding wheel.

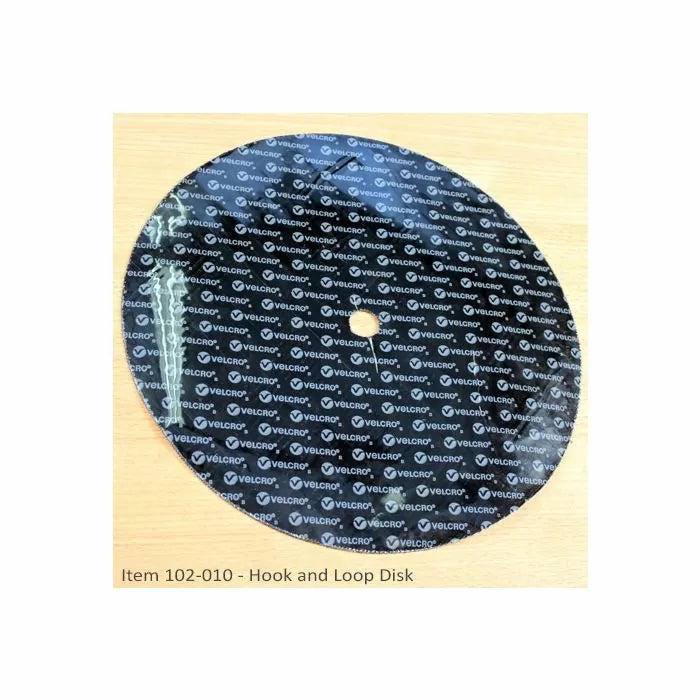
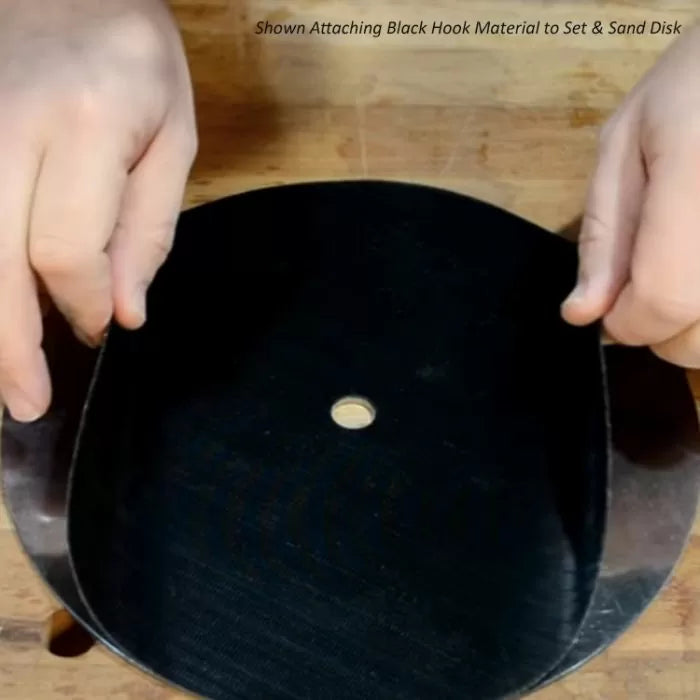
Step 1: Attach the black 10" Hook and Loop Disc (item 102-010) to the Setup and Sanding Plate (item SSD-010)

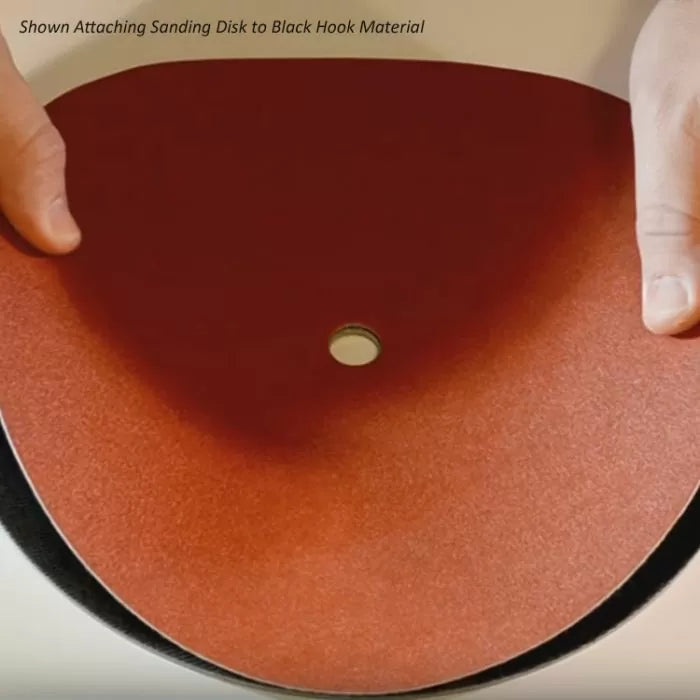
Step 2: Attach the Sanding Disc of your choice to the plate via the Hook and loop material

Step 3: Install the Setup and Sanding Plate to your table saw like a normal table saw blade

Step 4: Get to work sanding on your table saw the same as you would at a dedicated sanding wheel. When you're ready to change grits, just peel the sanding disc off of the hook and loop face and attach the new one.

BONUS

The Setup & Sanding Plate (item SSD-010) makes table saw, radial arm saw, and miter saw calibration faster and more accurate. Like our table saw blades, the disk is laser cut from premium cold-rolled steel plate, and is guaranteed to be within .002" flat. It will allow you to fine-tune your saw for perfectly effecient and clean cuts. It's ideal for checking a machine's arbor for square or setting your miter gauge to the precise angle.

Features Include:

  • Pre-cut 5/8" arbor hole
  • Smoother finish
  • Longer life
  • Saves money
  • Cooler running
  • Black hook material sticks to your sanding disk so the sand paper doesn't have to
  • Sandpaper sticks to Black Hook material via a Hook & Loop system for fast changeover
  • Premium quality sandpaper is perfect for woodworking applications
  • Available in 80

Table Saw Set-Up & Sanding Discs

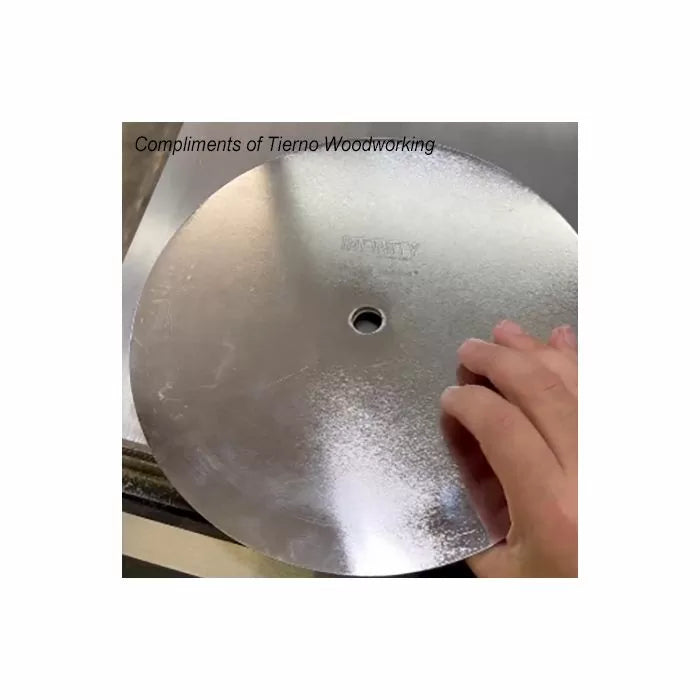
Use the 10" steel setup-plate to perfectly align your table saw, then flip the plate over and use it as a hook and loop sanding station! With this setup, you can save space in your workshop by converting your 10" table saw into a power sanding wheel!

The setup and sanding disc set.

The Table Saw Setup and Sanding Disc set has only a few pieces, but what it can do is impressive! The 1/8"-thick, 10" plate, milled to perfect flatness on both sides, can be purchased separately, and you can buy the self-adhesive hook disc and assorted grit discs as needed. Or you can buy the complete set.
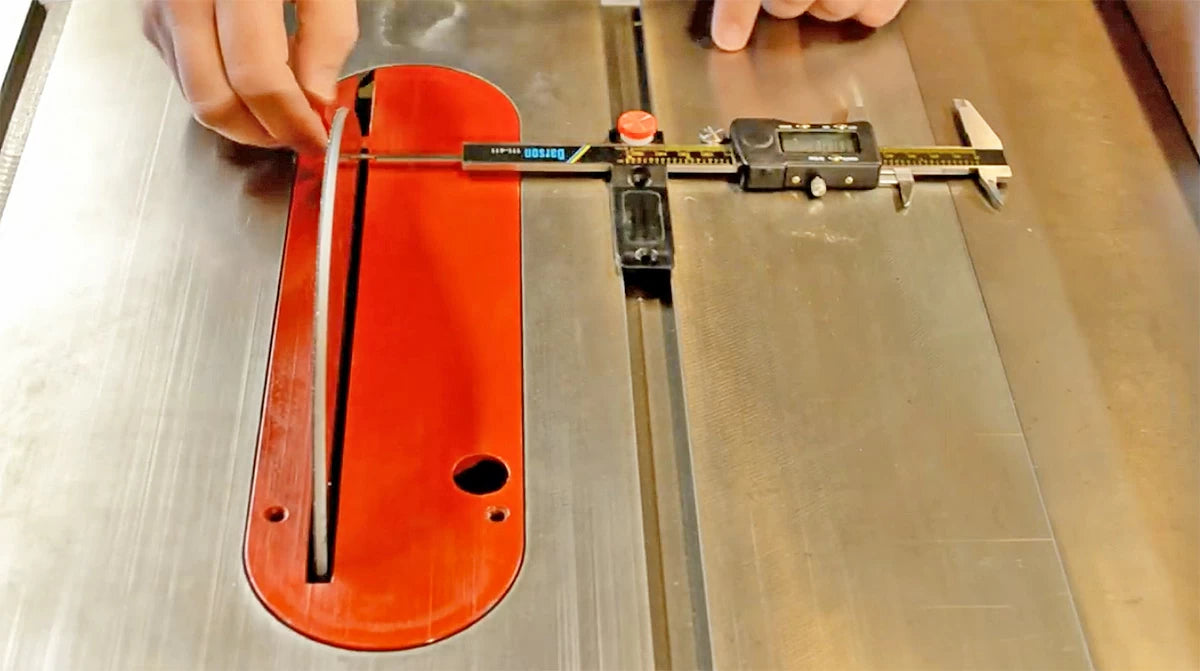
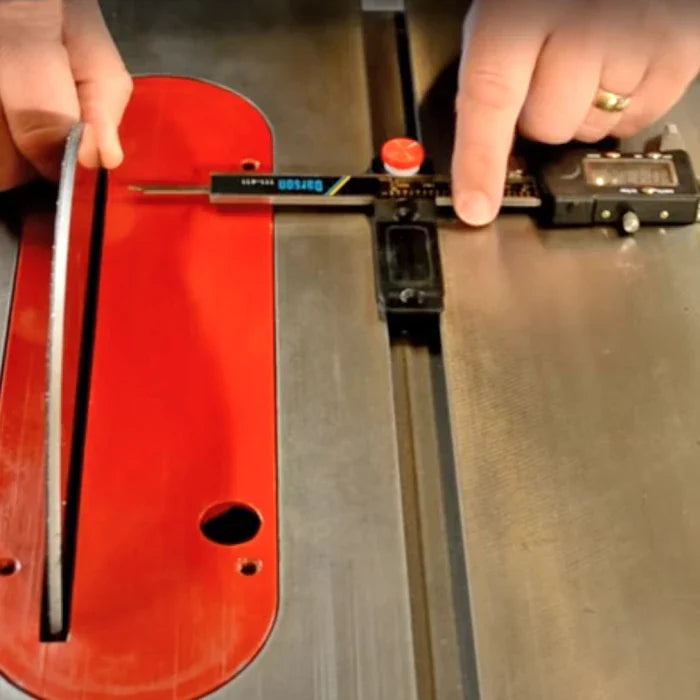
Setting the plate (and arbor) to the miter slot, step one.

The 5/8" arbor setup disc is milled to fit perfectly flat against any table saw arbor. Once in place, aligning the plate to the miter slot is fairly simple. Using a setup gauge with extendable probe, note the distance at the leading edge of the disc.
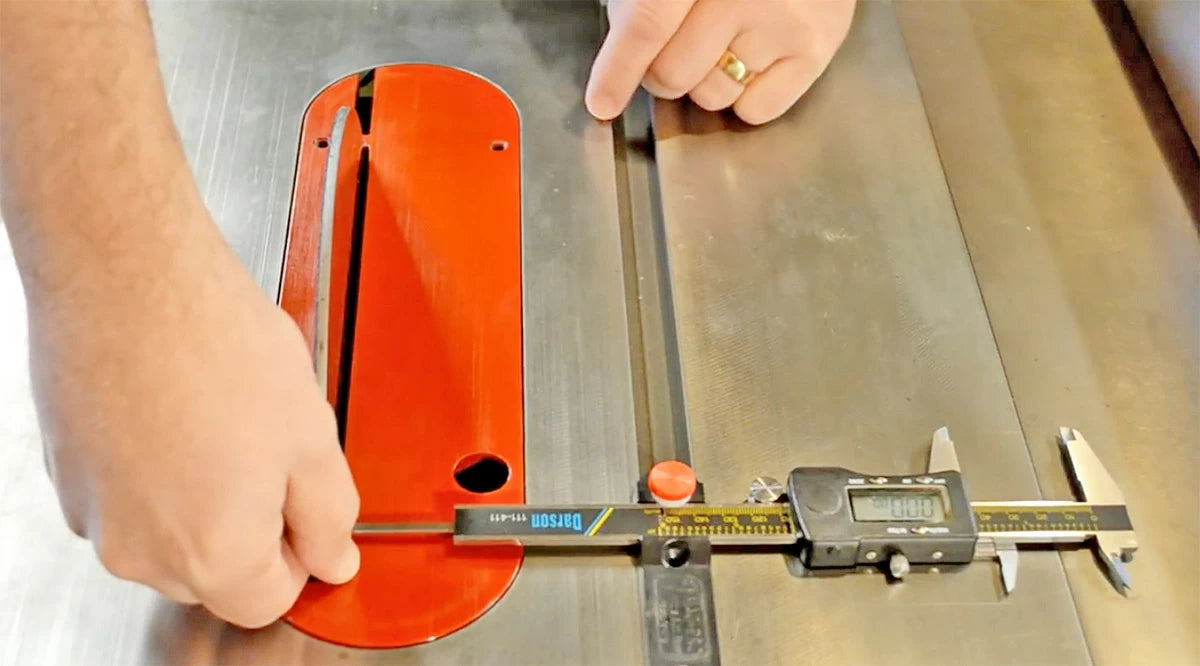
Setting the plate (and arbor) to the miter slot, step two.

Then move the setup gauged to the outfeed side of the blad and measure again. The dimension should match the earlier reading. If there's a significat difference between the two, then you'll need to loosen your table saw top from the base and adjust until the dimensions match, then tighten the top on the saw.
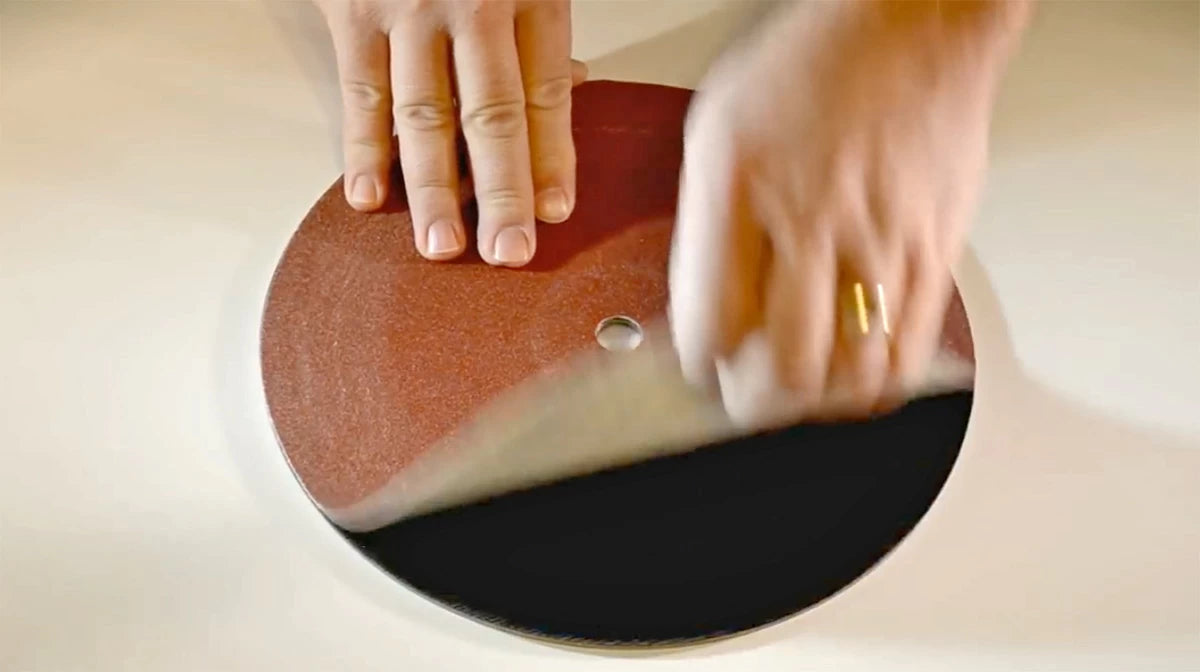
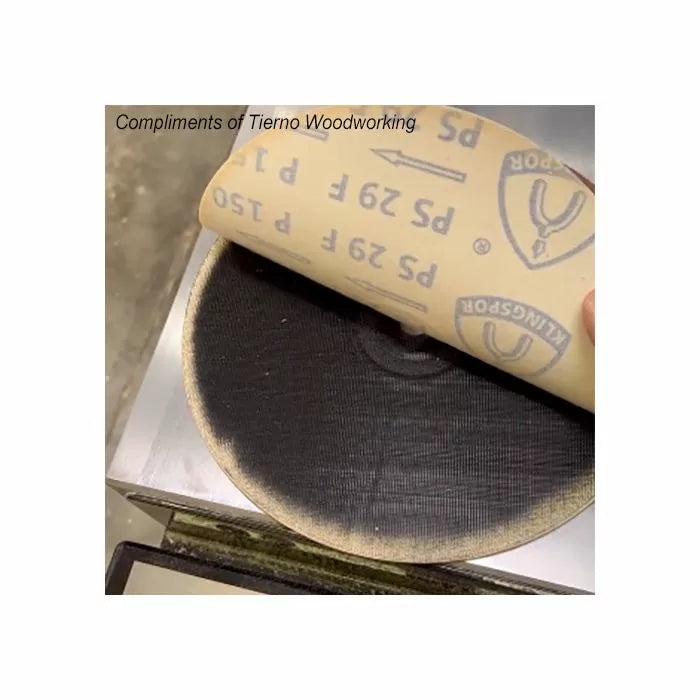
Hook & Loop attachment makes replacing old paper a cinch!

With the blade arbor perfectly aligned to the miter slot, you can use the disc for its other valuable purpose, sanding! The self-adhesive hook-material disc is simply applied to one side of the metal disc, add a sanding disc of an appropriate grit,  and then reinstall on the saw.
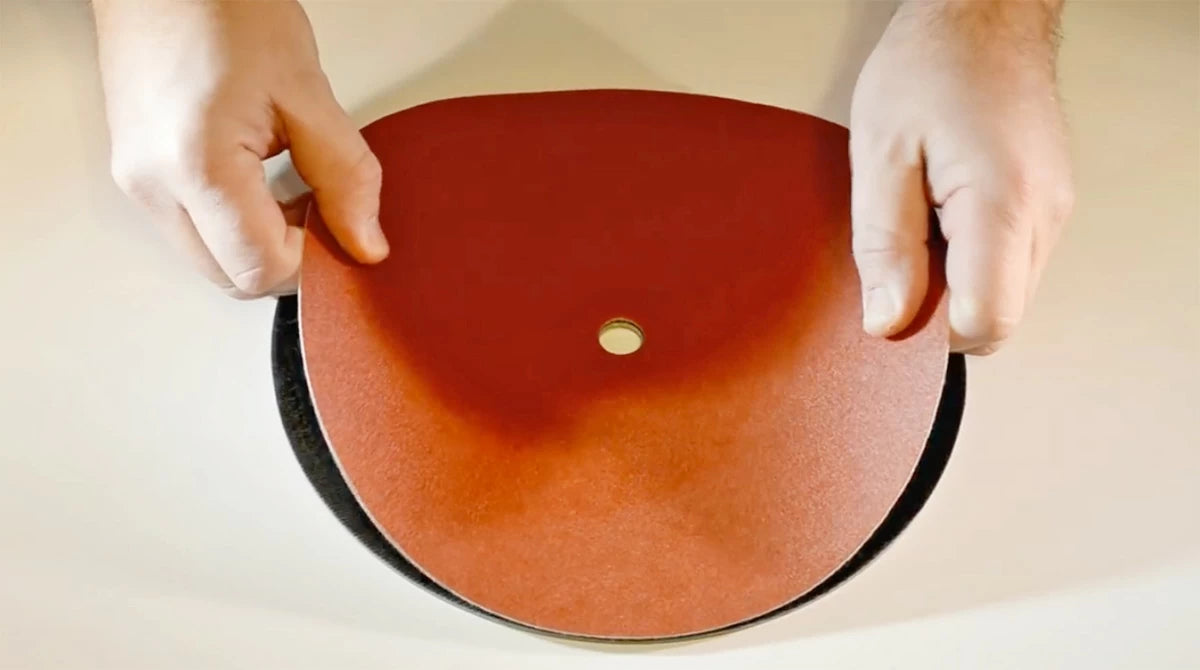
It's also a great way to switch between grits without wasting sandpaper!

One of the other great things about the replaceable sanding discs is that you can move between grits (going higher to achieve a better finish) without throwing away good sanding paper!
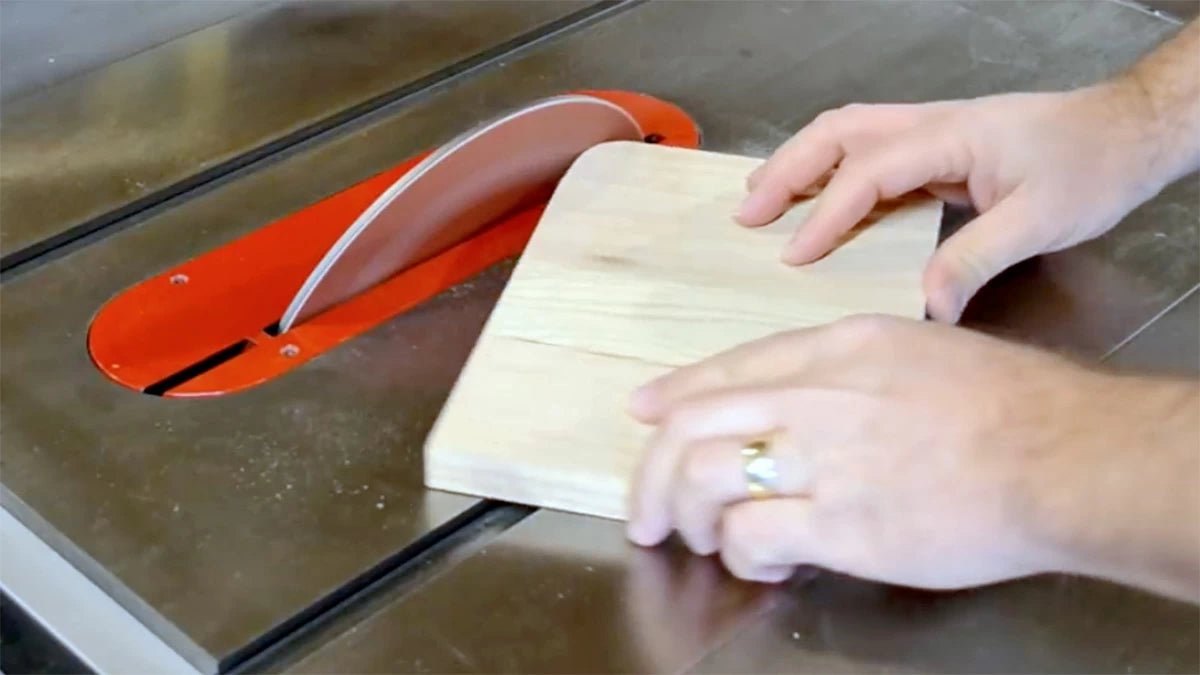
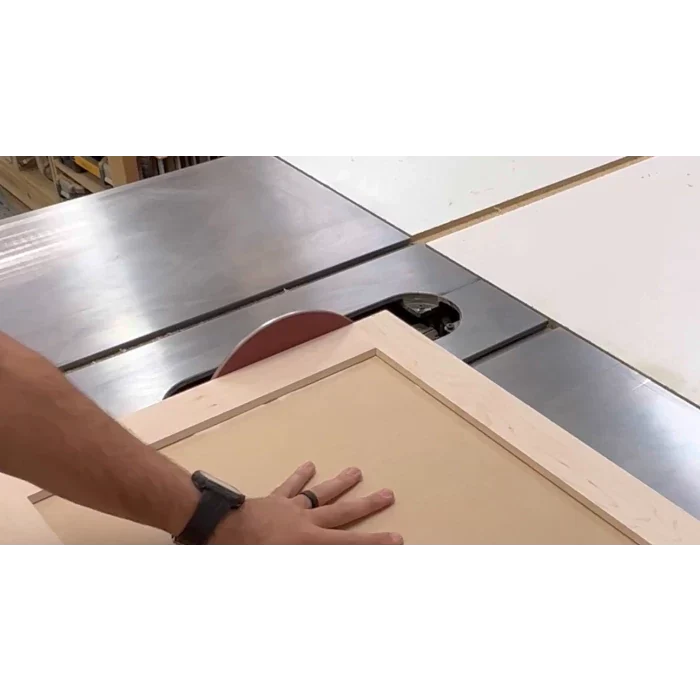
Sanding with a tilted perspective.

Now you can go to town with your new disc sander! But this one has an extra little benefit as well, title the blade and you have an adjustable angle disc sander!
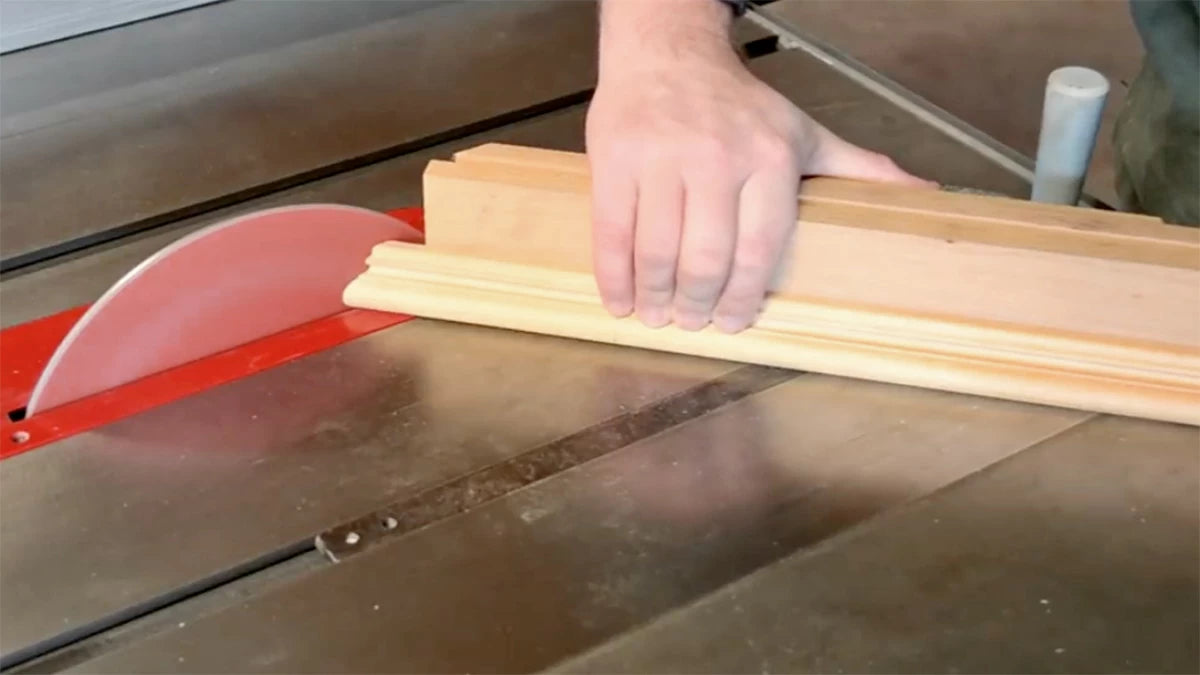
Sneaking up on the perfect miter fit.

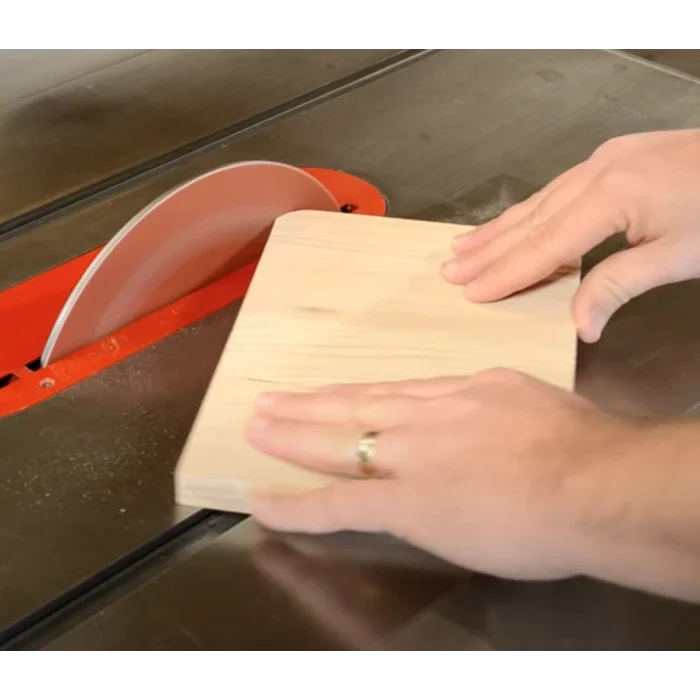
Fitting miters on almost anything becomes even easier with the table saw sanding disc. Your miter gauge can be set to match the perfect angle, then light touches against the sanding disc let you sneak up on the perfect fit!
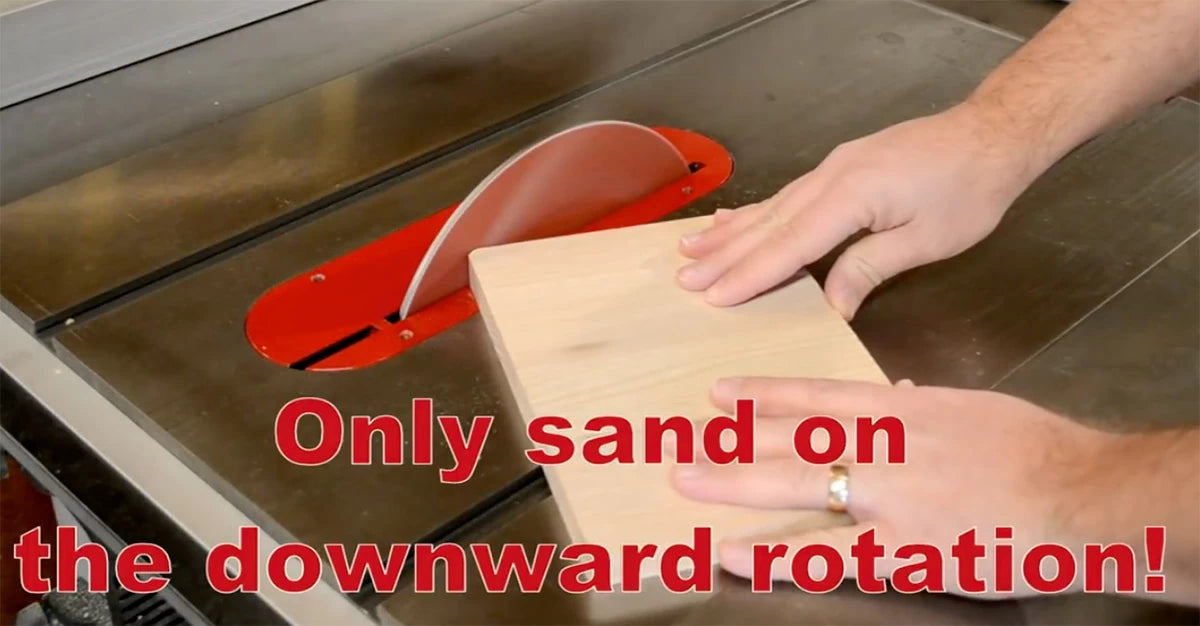
Remember! Only sand on the downward side of the disc to avoid accidents.

One quick safety reminder. Only sand against the infeed half of the disc, not past the center. The rotation of the disc can toss the piece up if you sand on the outfeed side! Upgrade your saw today with the Infinity Setup & Sanding Disc!