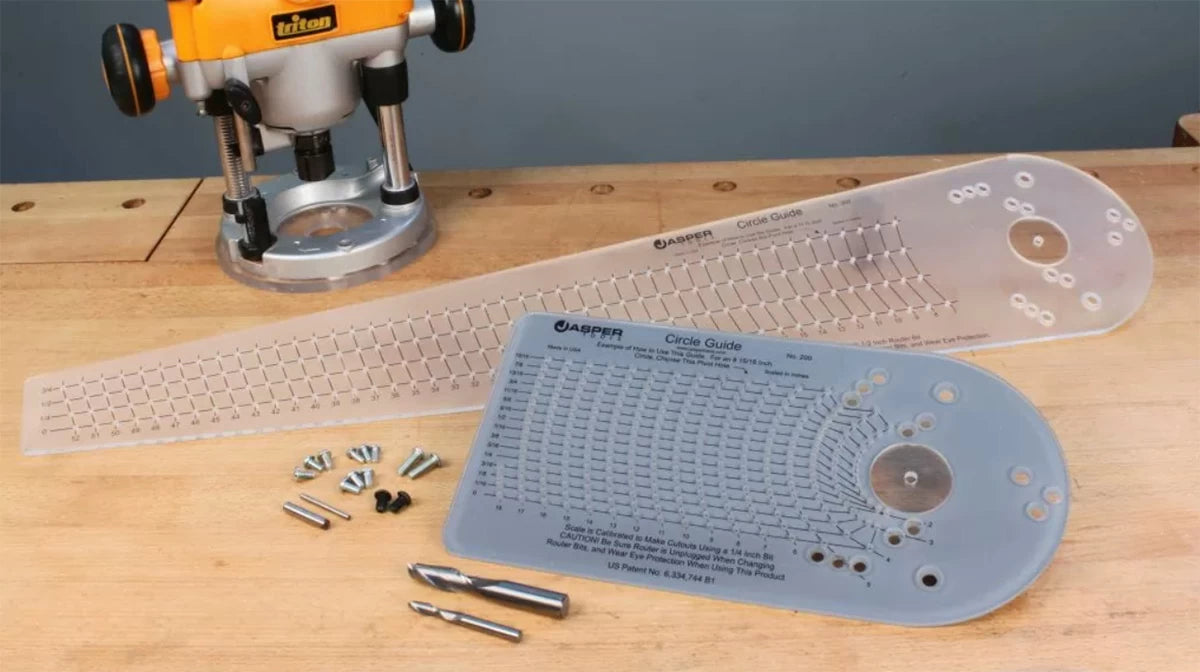
Almost every woodworker comes across a project where he or she needs to cut a perfect circle. Whether you're building a custom speaker enclosure for your car or home or building a round table, having the right tools to cut circles can make a big difference.
You could rough out the circle with a jigsaw then use a template and a flush-trim bit on your router to clean it up. Or you could use a jig on the band saw to cut a circle. These all work to a degree but aren't as easy to use or as accurate as a hand-held router and a Jasper Circle Guide.

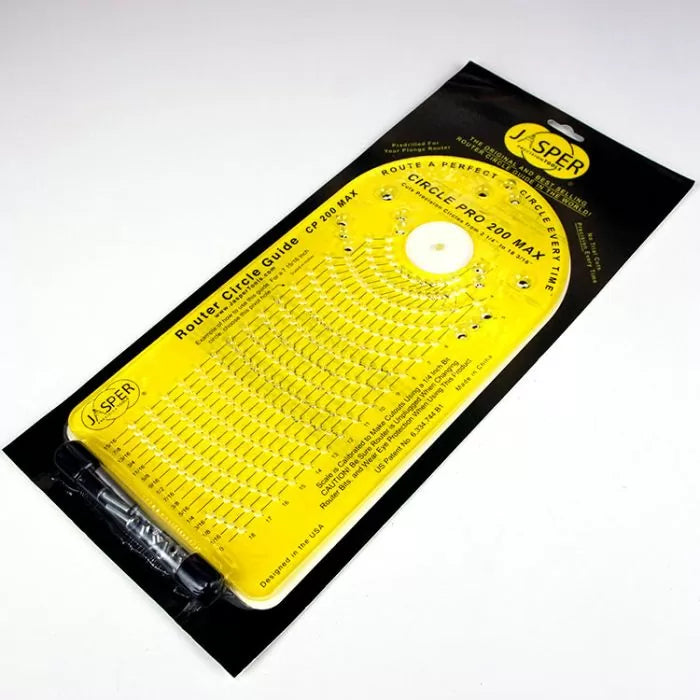
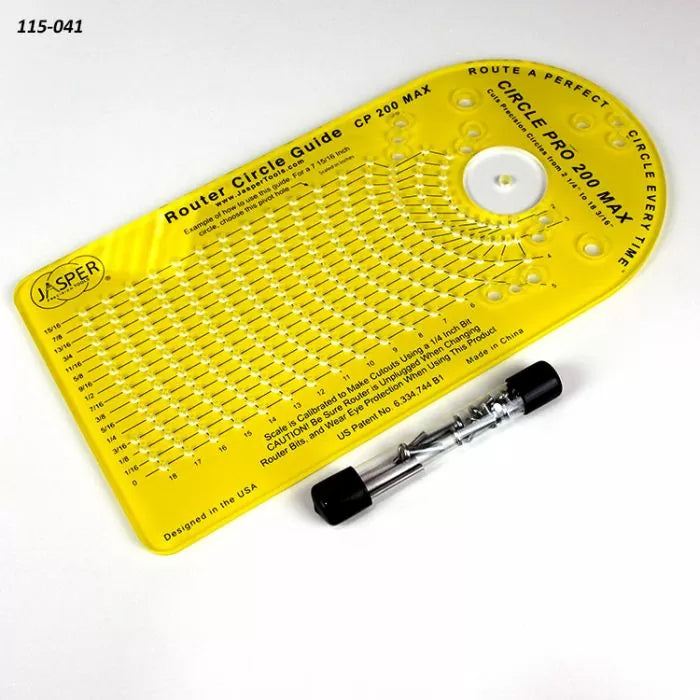
Jasper Circle Guides are designed with details to make it easy to rout perfect, smooth circular cutouts. The smaller Jasper Model 200 Circle guide makes 256 different size cutouts from 2-1/4" to 18"-diameter in 1/16" increments. It's designed to be used with a 1/4"-dia. router bit.

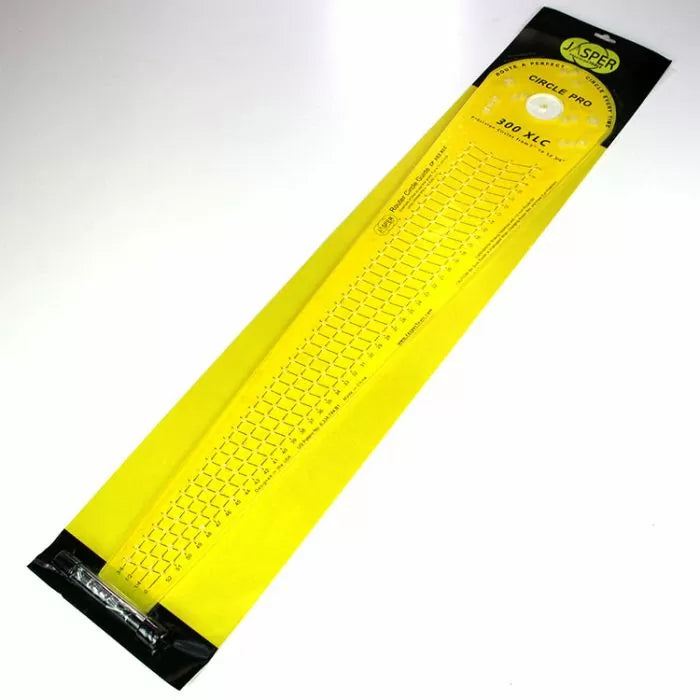
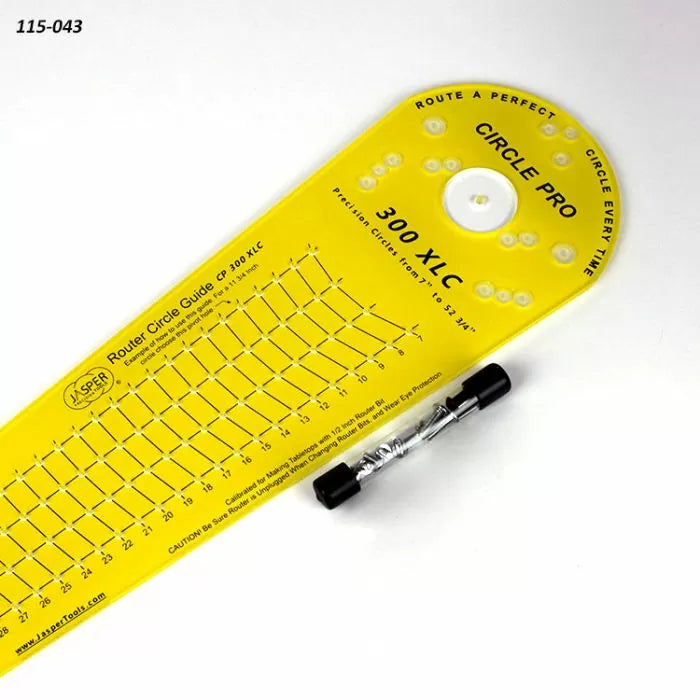
The large Jasper Model 300 makes 184 different circular disks from 7" to 52-3/4"-diameter in 1/4" increments. It uses a 1/2"-dia. router bit. You can use other bit sizes, but you have to do some math to be able to set the jig to the proper radius before cutting a circle. And similar to the Model 200, if you want to make a circular cutout instead of a disk, you'll need to account for the bit diameter.
Setup
The Jasper Circle Guides replace the baseplate on most routers (we recommend using a plunge router). A hardware pack is included with mounting screws to fit your router. The process of installing and centering the Circle Guide is similar for both the Model 200 and Model 300.
Included in the hardware pack is a 1/4" diameter centering pin that's used to make sure the jig is installed centered on the router bit. So the first step is to install the centering pin in the 1/4" collet on your router.

Each Circle Guide includes a centering disk with a 1/4"-dia. hole that's press-fit into the larger center hole of the Circle Guide. After removing the base plate from your router, align the mounting holes on the Circle Guide with those on your router before loosely installing the appropriate screws.
Now, plunge the router so that the centering pin slips through the hole in the centering disk. Tighten the mounting screws to secure the Circle Guide to your router.
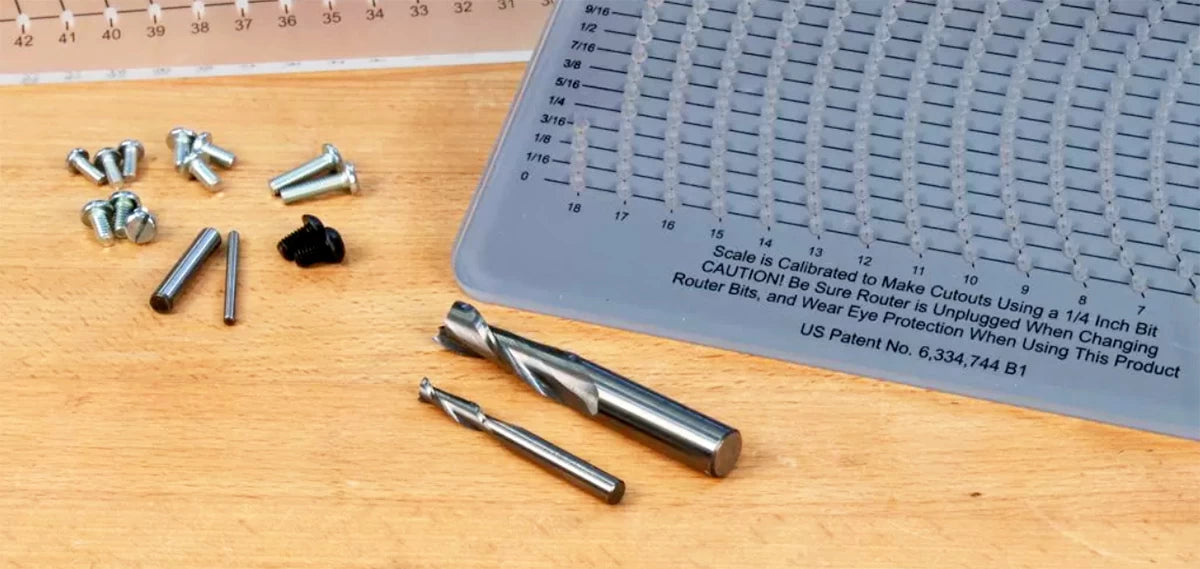
If you're using the Model 200 Circle Guide, replace the centering pin with a 1/4"-dia. bit. We recommend a solid-carbide up-cut spiral router bit. For the Model 300 Circle Guide, use a 1/2"-dia. router bit. While you're at it, tap out the centering disk from the Circle Guide. Just remember to re-install the disk when storing the Circle Guide.
Understanding the Circle Guide Scales
The key to cutting precise circles and cutouts is in the scales printed on the Circle Guides. They may look a little confusing at first, but once you take a few minutes to understand how they work, using the scales becomes second nature.
But before I get into the details, there's one thing I need to mention. The Model 200 Circle Guide was primarily designed for use by car audio professionals making custom speaker enclosures. So the readings for the pivot hole values on the scale are for the diameters of the cutouts and not the size of the disk. You can use the Model 200 to make circular disks, such as small tabletops, but you'll need to account for the diameter of the router bit (more on that later).
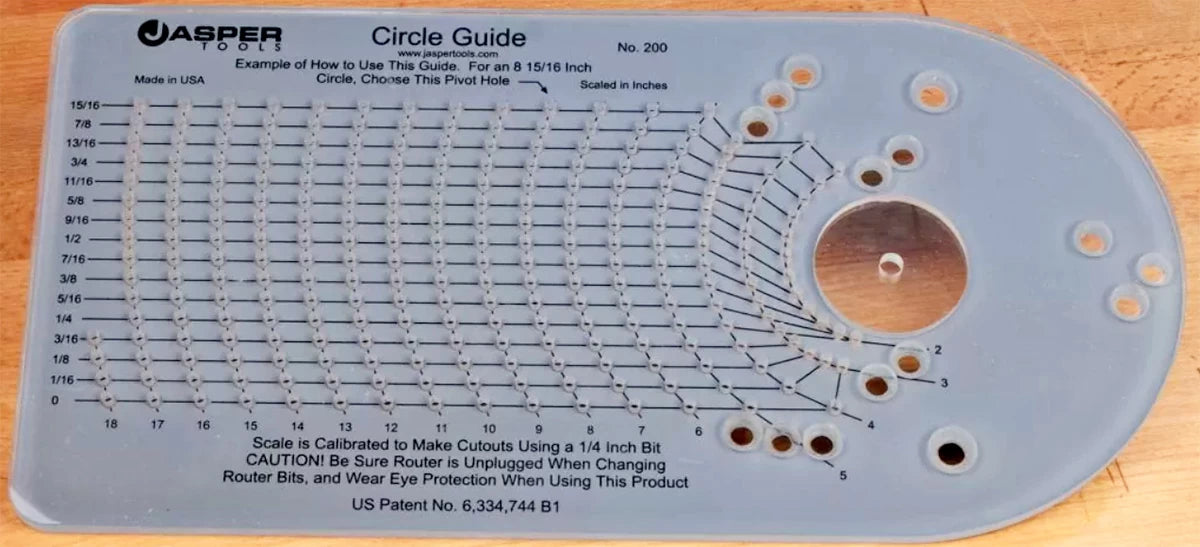
The first, and most obvious, thing to know is the diameter of the cutout you wish to make. Let's use the 8-15/16"-dia. circle example printed on the Model 200 Circle Guide above. You look at the bottom of the printed scale for the whole number of inches, which is 8" in our case. Then you follow the curved grid line above that number until you reach the fractional portion labeled on the left side of the Circle Guide, or 15/16" in our case. Where the two lines intersect is the center of the circle and where the pivot pin will be located. It's that simple!
The process I just described creates a circular cutout or hole at the diameter chosen for the pivot hole value. If you want to create a disk with a specific diameter, you need to use just a little bit of arithmetic. All you do is add twice the bit diameter from the desired hole size. This tells you where to locate the center pin on the pivot hole scale.
In our example, instead of creating a cutout, let's say we want to create a disk that is 8-15/16" in diameter and we're using a 1/4"-dia. router bit. Twice the router bit diameter is 1/2". Simply add 1/2" to 8-15/16" to get 9-7/16". You'd place the center pin at the location for 9-7/16" to create a disk that is 8-15/16" diameter.

The scale on the Model 300 provides you with the pivot hole locations for creating disks (like tabletops) using a 1/2"-dia. router bit. Finding the correct pivot hole location works the same as on the Model 200. To cut out an 18-1/2" disk, for example, find the 18" column along the bottom of the scale, then work up to the row labeled 1/2".
To create cutouts instead of disks with the Model 300, the pivot hole location will be the desired diameter of the cutout minus twice the bit diameter. So for an 18-1/2" cutout, you'll set the pivot pin at 17-1/2".
Drilling a Center Pivot Hole
Included with each Jasper Circle Guide is a 1/8"-dia. pivot pin. So you'll need to drill a 1/8" hole in your workpiece. For cutting out a tabletop where you don't want the hole to show in the finished piece, simply drill a blind hole on the underside of the workpiece.
What if you don't want to drill a hole into the workpiece? There's an easy solution: Use spacer blocks.
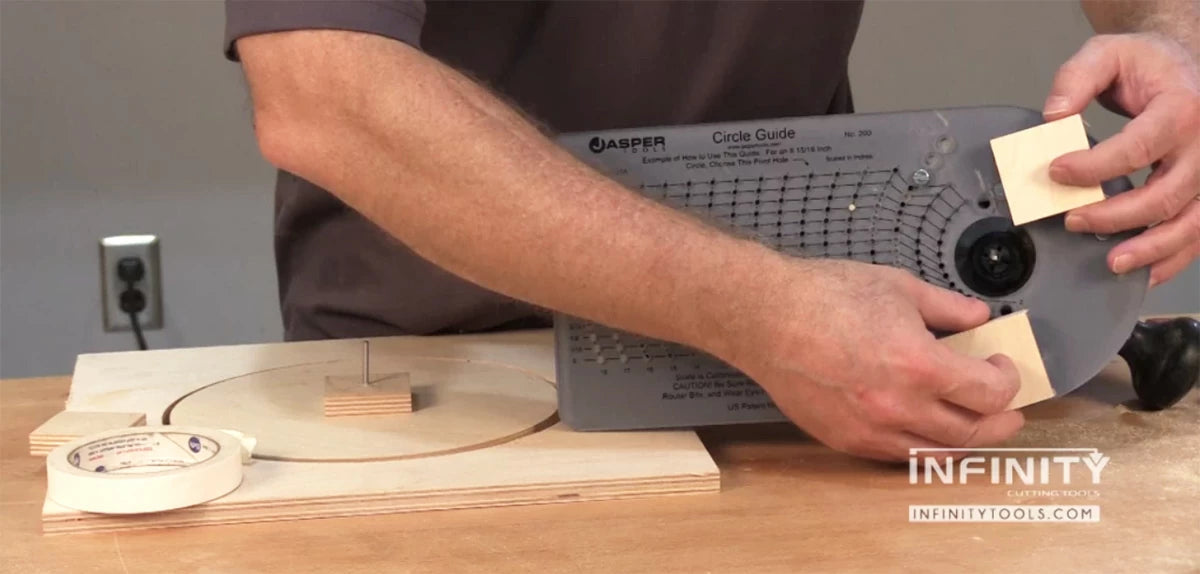
To do this, cut a few squares of 1/2" plywood or MDF about 2" or 3" square. Drill an 1/8" hole through the center of one of the squares and use double-sided tape to attach it to your workpiece, making sure the hole in the spacer aligns with the center point on the workpiece. Then attach a couple squares to the bottom of the Circle Guide, positioning them under the router. The video below shows what I mean.
Routing a Circle
Once the pivot hole is drilled, all that's left to do is position the Circle Guide over the pivot pin at the correct location. But before you start routing, place a sacrificial backer board under the workpiece so you don't accidentally rout into your workbench when cutting out the circle. I like to attach the workpiece to the backer board with double-sided tape. Make sure the entire assembly is secure before routing.
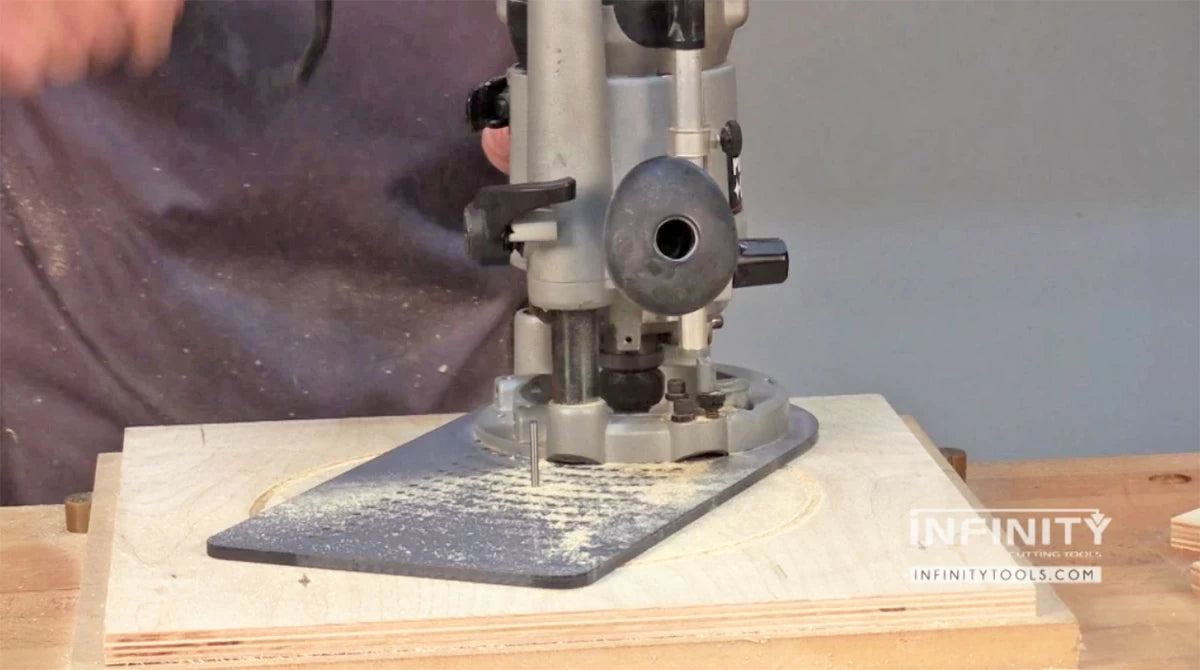
Lower the bit to make about an 1/8"-deep pass and rout counterclockwise. Continue lowering the bit to make several passes until you just cut through the workpiece.
That's it! Using the Jasper Circle Guides makes routing perfect circles quick, easy, and accurate!

