Lowest Price Guarantee. Learn More

Free Shipping on Most Orders $100+. Learn More

100% Satisfaction Guarantee. Learn more

SKU: 115-150

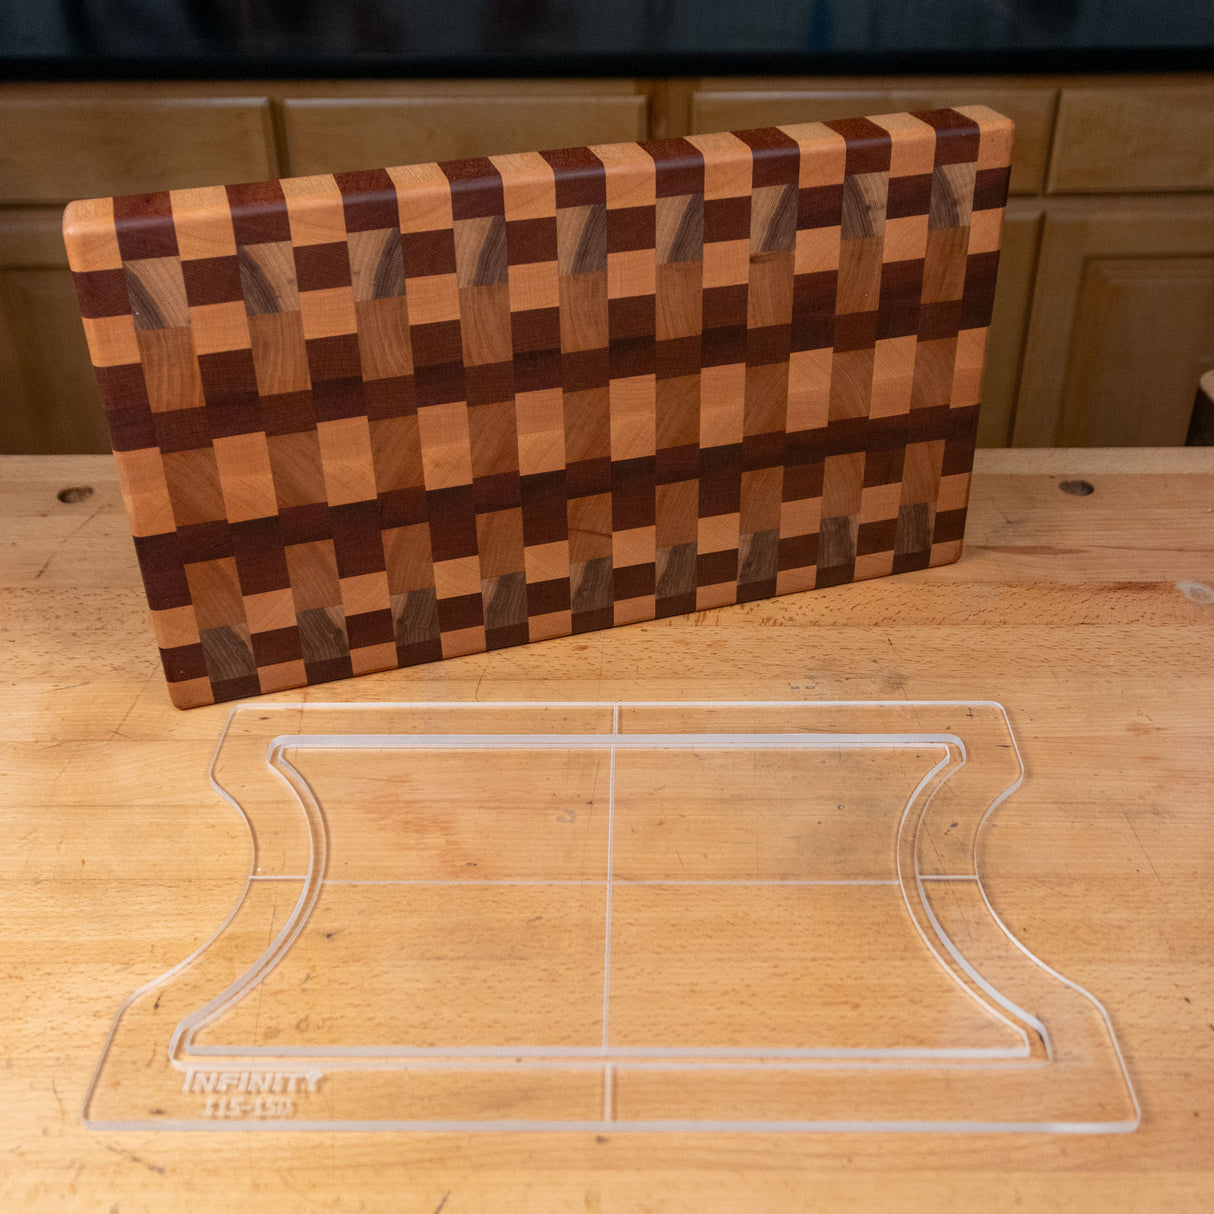
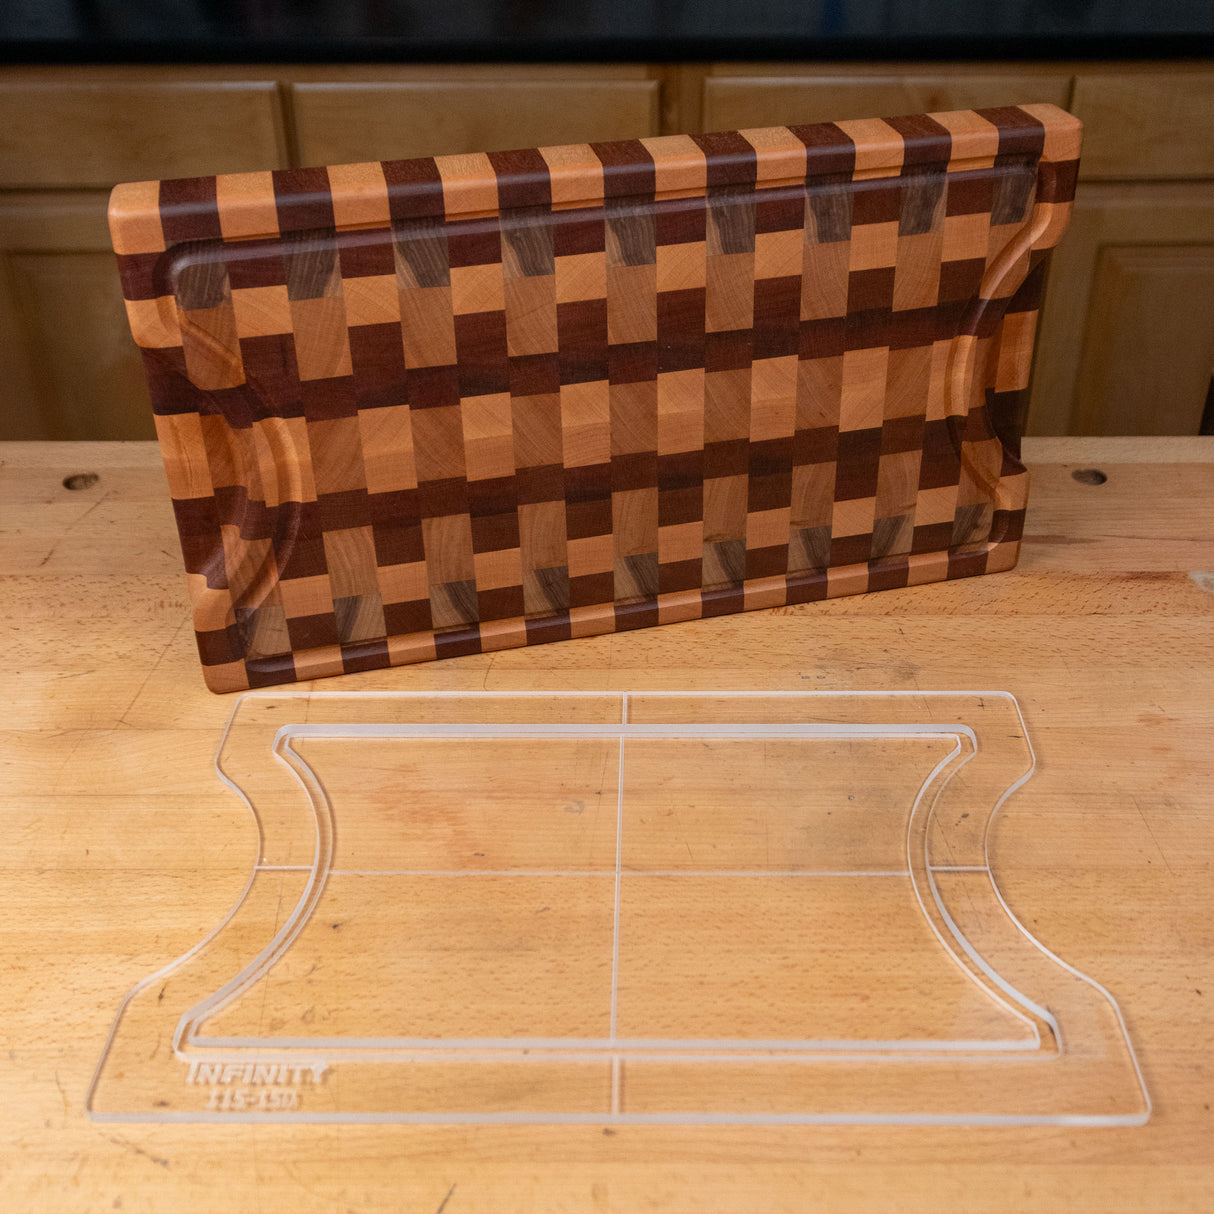
Infinity Tools Butcher Block Cutting Board Template with Plate Cutout

$34.90

Using our exclusive line of Acrylic cutting board templates is a smart and efficient way to achieve consistent, professional-quality results.  Whether you're a hobbyist or a small business woodworker, cutting board templates help streamline the process, ensure uniform shapes and reduce waste.

Our Acrylic templates are precision CNC milled, ensuring complete uniformity between parts.  The templates are 1/4" thick and are clear, letting you orient on your stock for the best grain match. (The templates are shipped with a white adhesive film for their protection during transit.)  

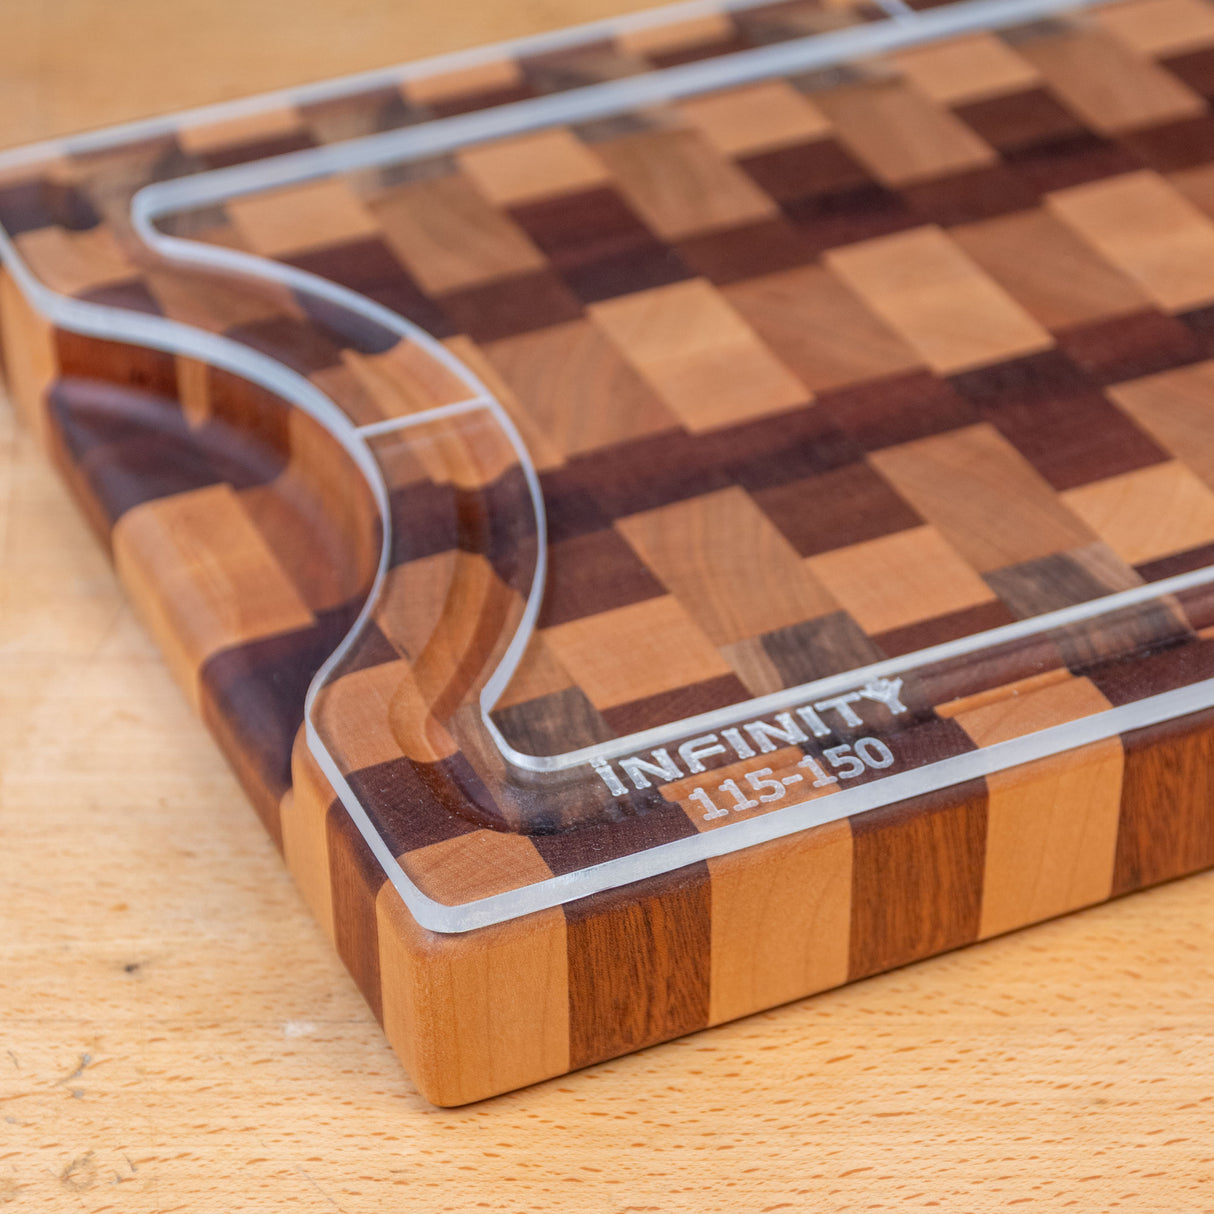
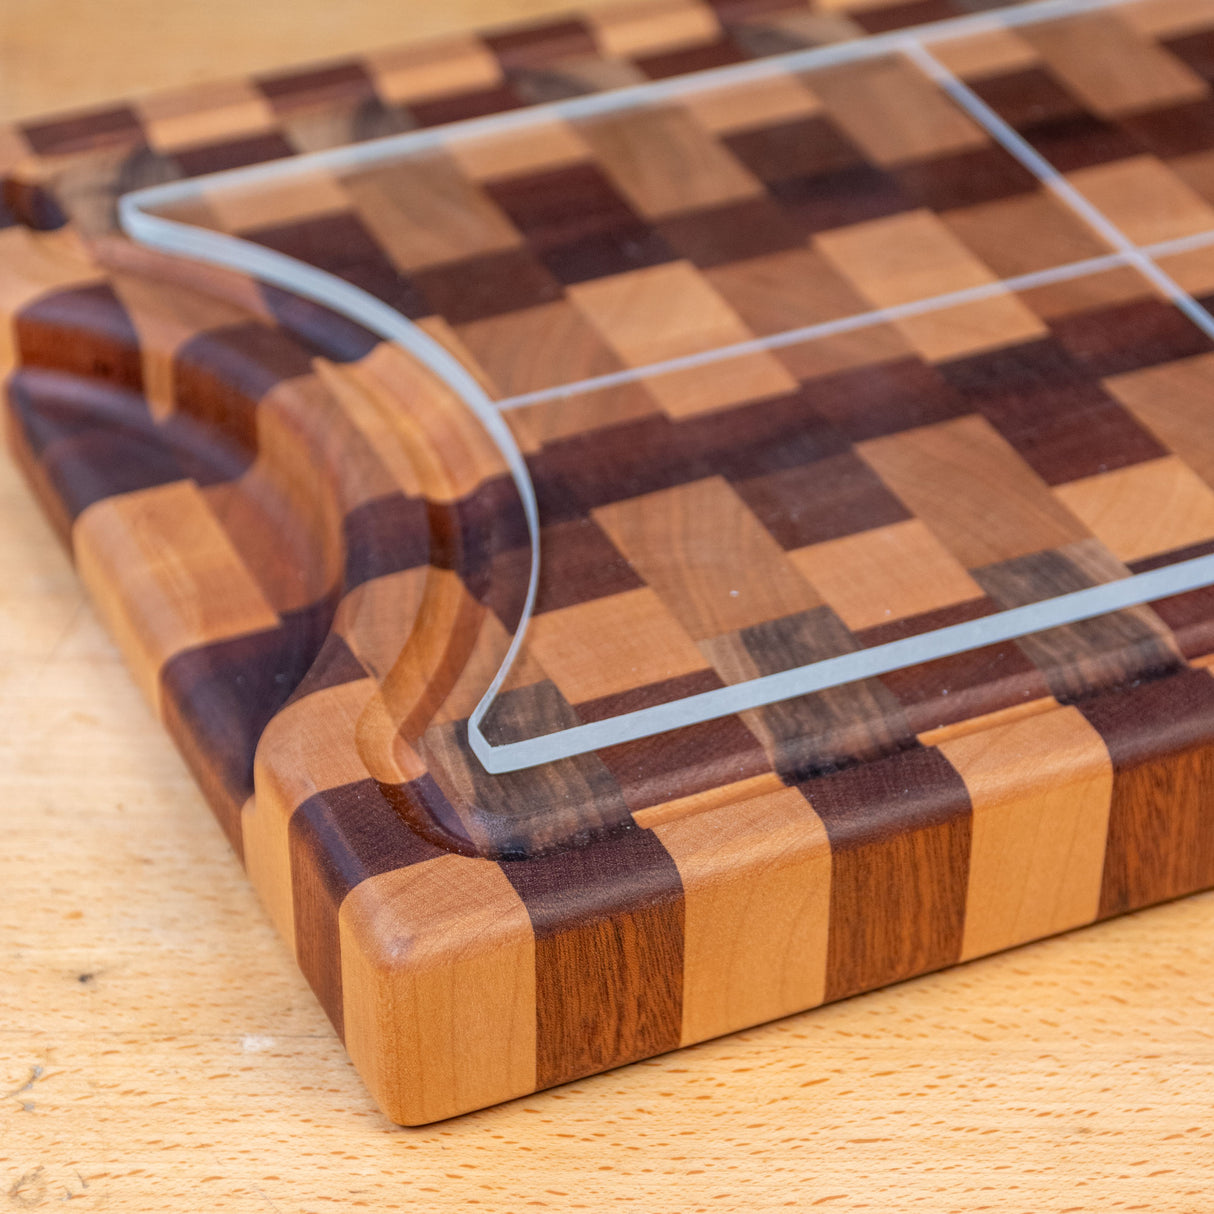
These cutting board templates are made in two parts, letting you choose how to mill for juice grooves, or to help you adapt and customize your cutting boards as your design may require.  And each part is manufactured with a set of centering grooves to help align everything during layout and milling. 

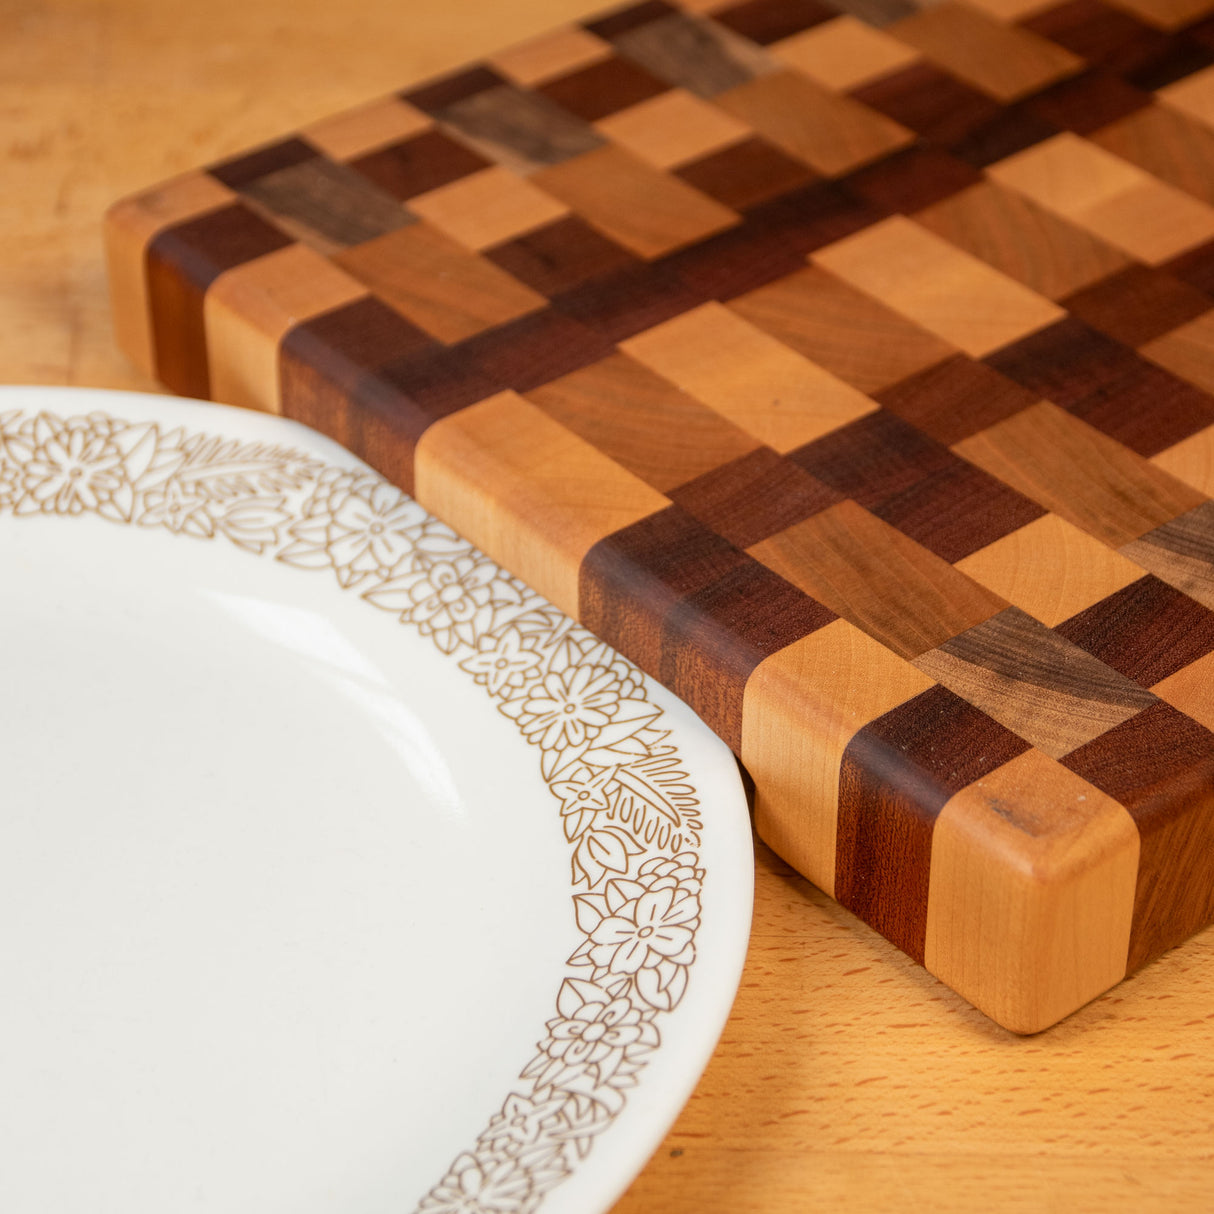
This unique cutting board shape lets you keep an unbroken flat surface on one side, and gives you a cutout shape that's not only a carry handle, but also lets you scoot a plate under the edge of the cutting board.  That's great for moving things from the board to the plate without spills or drops! 

Features:

  • 1/4" thick clear Acrylic to accurately locate the shape on your cutting blank
  • Dimensions are 10" x 15" x 1/4"
  • Center line grooves are milled in two directions, for easy repositioning
  • Works very well with double-stick tape to adhere the template to your stock
  • CNC milled for smooth and repeatable shapes
  • Two-part templates maximize your milling options and aid in customization
  • The large size of this board lets you show off your best butcher block patterns

How to Make a Custom Cutting Board Using Infinity Tools’ Acrylic Templates

A rectangle cutting board, with custom handle.

Looking to create a custom cutting board that stands out? Infinity Tools' exclusive cutting board templates are made from durable, clear acrylic and come in a variety of shapes—rectangular, round, paddle-style, and even specialty handles for one-of-a-kind serving trays.

In this post, we’ll walk you through how to make a unique rectangular cutting board with a custom handle using our templates and premium woodworking tools.


Why Use Infinity Tools’ Cutting Board Templates?

Our cutting board templates are available in a wide variety of shapes and sizes.

Our acrylic templates make it easy to design and build custom cutting boards. Each template features alignment grooves for precise positioning, and their transparent material ensures perfect layout on your wood blank.


Step-by-Step: Build a Custom Rectangular Cutting Board with Handle

1. Choose and Prepare Your Wood

Glue up is an important step to make sure that your cutting board will be stable.

We started with strips of cherry and maple, alternating colors for a striking contrast. After applying plenty of wood glue, we clamped the board overnight to ensure a solid bond.

2. Level and Sand the Blank

As always, the preparation is critical and worth doing right.

The next day, we planed the glued-up board to our final thickness. Once flat, we rough-sanded to remove any milling marks before tracing our shape.


3. Trace the Template Shape and Handle

The built-in alignment lines will make sure your custom handle aligns correctly with the rest of the cutting board.

Using our rectangular cutting board template and a specialty handle template, we traced the outline onto the blank. Be sure to use the built-in alignment marks to position everything precisely.


4. Rough Cut the Shape

Your bandsaw will remove most of the waste, making it easier to rout the rest away.

We used a bandsaw to rough cut the traced shape, staying about ¼" outside the line. This leaves just enough material for a clean final cut with the router.


5. Rout the Handle Shape

Flush Trim router bits excel at creating clean, precise edges.

Using double-sided tape, we secured the handle template to the blank. At the router table, our flush trim compression bit made quick work of forming the handle. This bit’s upcut/downcut spiral ensures clean edges on both surfaces.


6. Cut Out the Handle Opening

Forstner bits do a great job of removing interior waste.

To create the handle opening, we first drilled out the waste using premium Famag Forstner bits. Then, with the router OFF we positioned the template over the bit.

Make sur to place the board over the STOPPED router bit, then start the router.

Once everything was in place, we routed counterclockwise around the inside of the template, taking light passes until reaching the final shape.


7. Shape the Cutting Board Perimeter

A smooth cut means less sanding!

We removed the handle template and applied the main body template with double-sided tape. Using the same flush trim bit, we routed the outer edge of the board, following the template with precision thanks to the alignment grooves.


8. Add a Juice Groove

Not necessary on all cutting boards, but if fruits are in the future, a juice groove is a smart addition.

For added function and a polished look, we added a juice groove using a ¼" round nose bit in a trim router with a guide bushing. We followed the inside of the template shape for a perfect groove.


9. Ease All Edges

Nothing says "finished" line softened corners.

To soften the feel of the board, we used a ¼" roundover bit to ease all edges—top, bottom, and inside the handle. This step gives your cutting board a professional, comfortable finish.


10. Final Sanding and Finish

And a protective finish is the true final touch.

After some light sanding, we applied Odie’s Oil, a food-safe finish that enhances the natural beauty of the wood while providing lasting protection.


Show Off Your Work or Gift It with Pride!

With Infinity Tools’ cutting board templates, making a professional-quality, custom cutting board is both accessible and fun. Whether you're keeping it for your own kitchen or giving it as a handcrafted gift, your cutting board is sure to impress.


Shop Our Full Line of Cutting Board Templates Now

Explore Acrylic Templates →

Looking for more DIY woodworking projects? Subscribe to our blog and follow us for more tips, templates, and tool reviews.

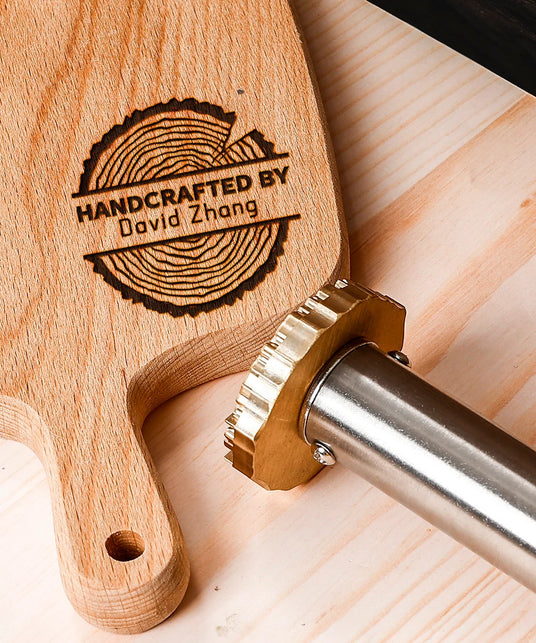
Leave Your Mark

Our custom branding irons are the perfect solution for crafters who want to add a personal touch to their creations. Here’s why you should invest in one:

  1. Professional Appeal: A branded tray not only enhances its aesthetic but also elevates your work to a professional level. Your mark speaks volumes about the quality and craftsmanship behind each piece.
  2. Build Your Brand: Consistent branding helps establish your identity in a crowded market. A recognizable maker's mark fosters trust and loyalty among customers, making them more likely to return for future purchases.
  3. Versatility: Whether you’re crafting trays for gifts, personal use, or to sell, our branding irons are perfect for any occasion. They allow you to customize your work and create a lasting impression.
  4. Easy to Use: Our branding irons are designed for simplicity. Just heat, press, and leave your mark! It’s a quick and effective way to enhance your items without complicated processes.
  5. Unique Personalization: Stand out from the competition by adding a personalized touch. Whether you choose text, an image, or a combination of both, your branding iron will make your trays truly one-of-a-kind.

You can incorporate your maker's mark by branding it directly onto the tray's surface, perhaps in a corner or as part of a design. Alternatively, consider using it on labels or tags attached to your trays for a professional finish. Delve into different placement options to find the ultimate look that complements your work!

Don’t just create; leave your legacy! Invest in a custom branding iron today and watch your craftsmanship shine like never before. Your trays deserve that final touch—your mark!