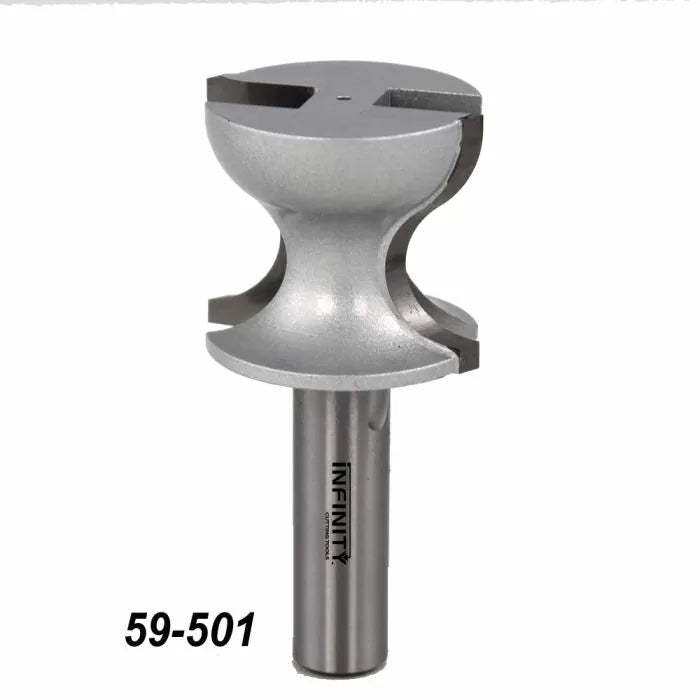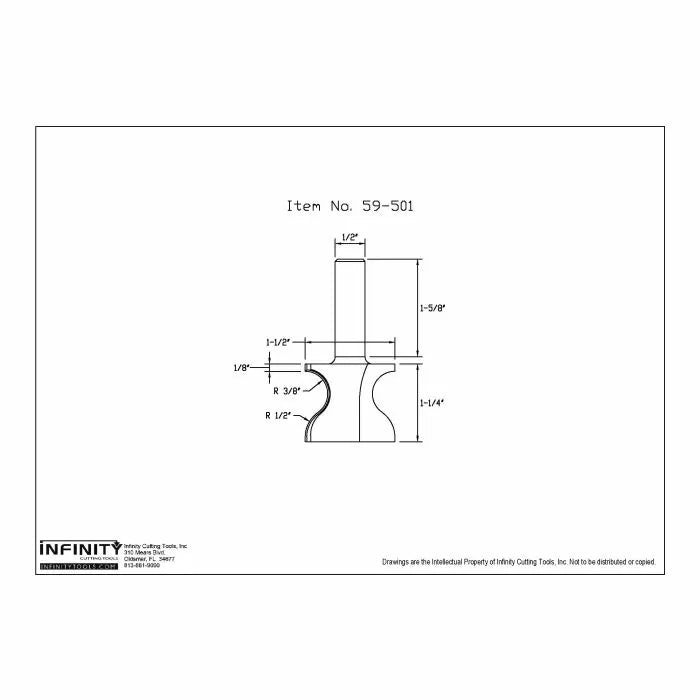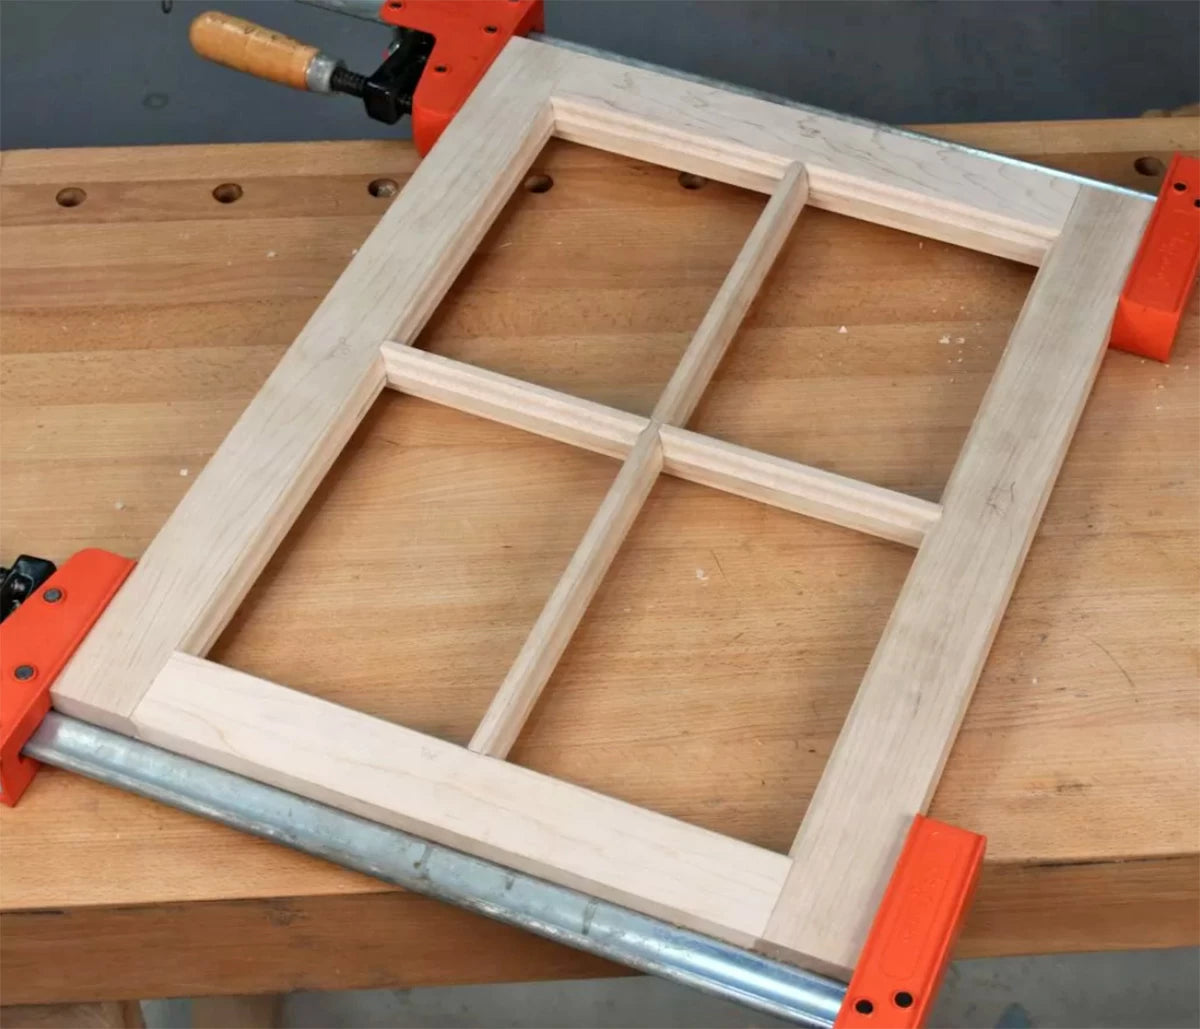
It amazes me how many fellow woodworkers out there have questions or seem a little skittish about the prospect of making wood window sashes or French doors. When I stop and think about the number of old homes and buildings around the world that have wood windows, I suppose it really shouldn't be a surprise at all. If you're thinking about making some windows and are looking for a primer on what is involved, watch the video and keep reading as I walk you through the steps of making a window using the Infinity Cutting Tools 55-801 standard window sash router bit set.
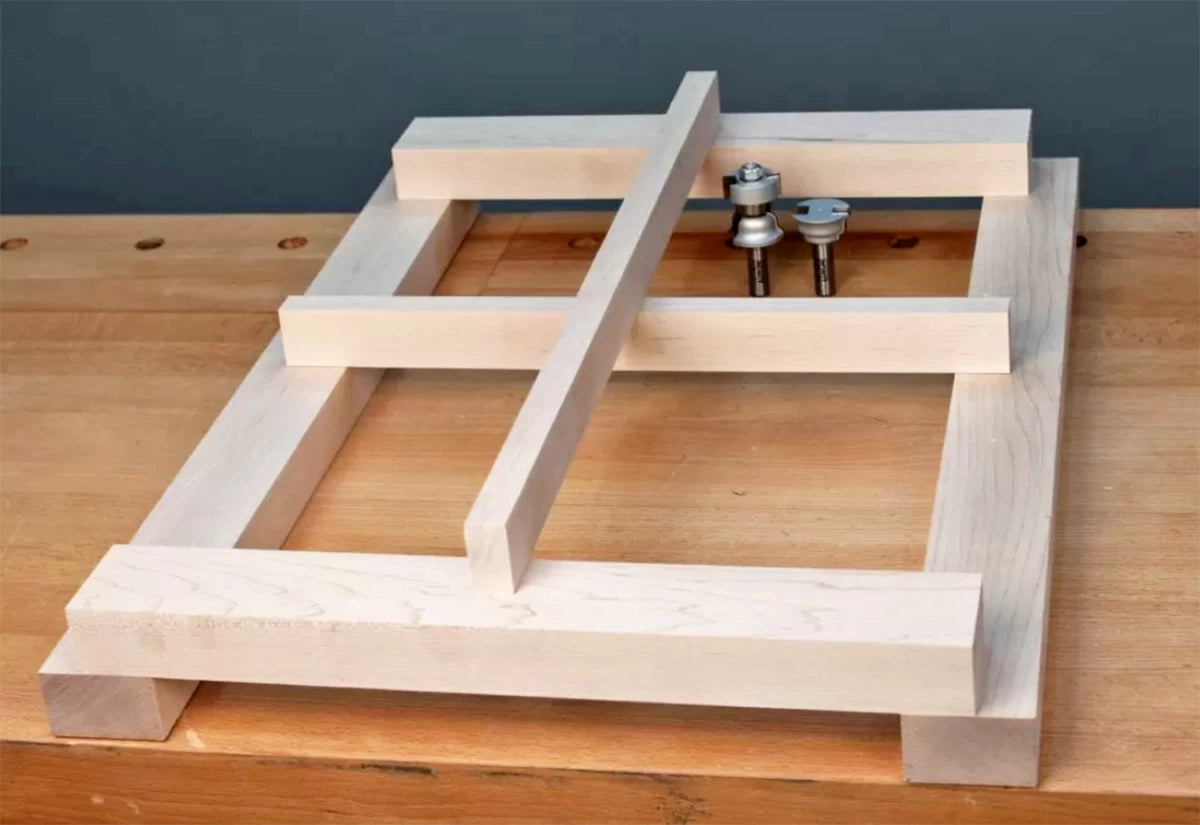
The first step to making a window is to determine the outside dimension of the sash and cut the rails and stiles to size. The overall size of my window is 18" x 24". The rails and stiles measure 2-1/4" wide x 1-3/8" thick. The muntins measure 3/4" wide x 1-3/8" thick. The length of the vertical stiles is easy to figure as they run the full height of the window. The rails, being shorter, require a little math:
Rail Length = 18" total sash width minus the combined width of the two stiles (2-1/4 x 2 = 4-1/2"), adding the width of the profile twice (1/4" x 2 = 1/2"), and adding the length of the tenon twice (1" +1" = 2"), which equals 16". This leaves a rail with a 1" tenon on each end. In a divided light window the horizontal muntins are the same length as the rails. To figure out the length of the vertical muntins follow the same procedure you did to figure out the length of your rails. For my window, the vertical muntin is 22".
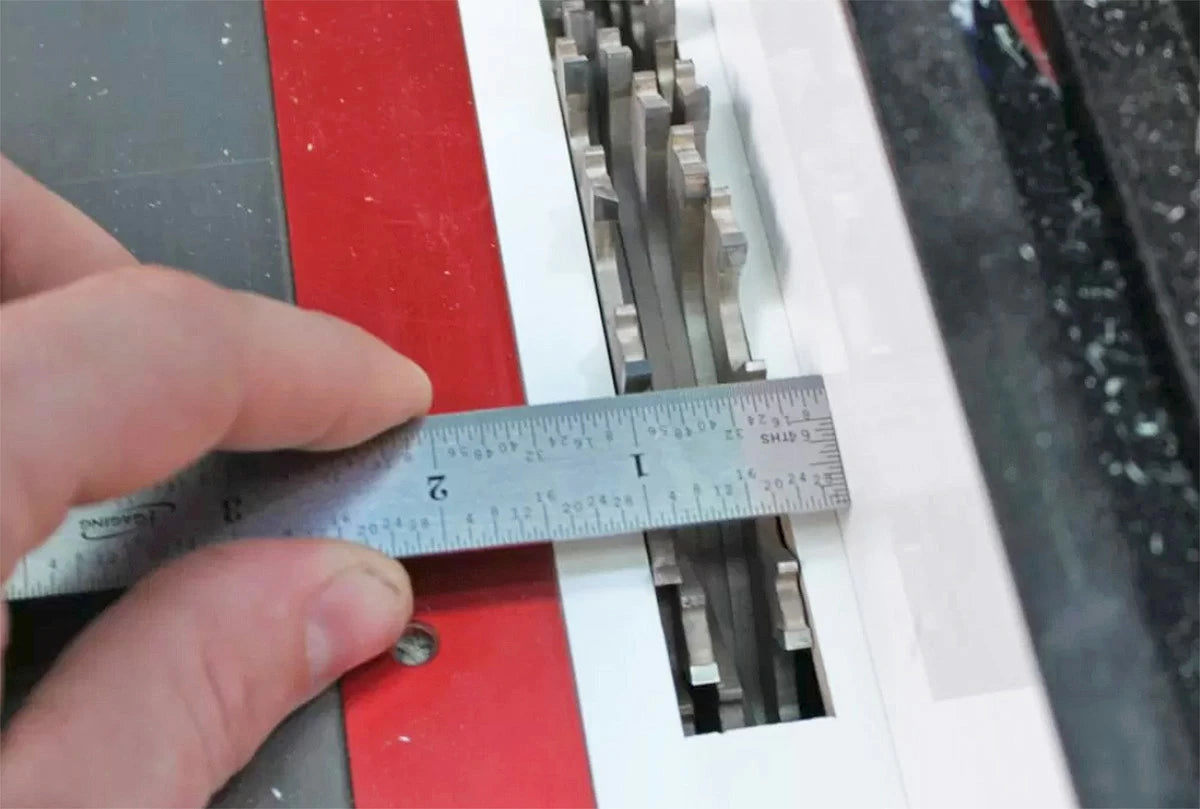
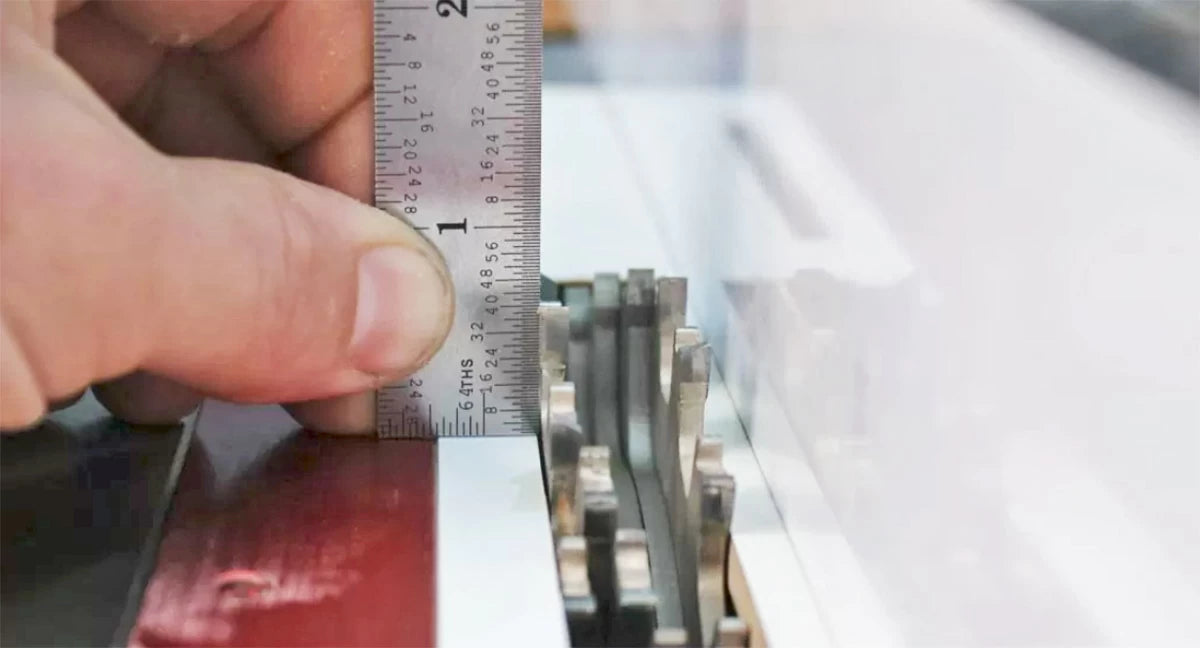
Some confusion always comes up when discussing the vertical and horizontal division bars in a divided light window. I will refer to both the vertical and horizontal bars as muntins. Also to make things easy I will refer to the side of the window with the profile as the front, or face, and the side of the window with the rabbets for the glass as the back.
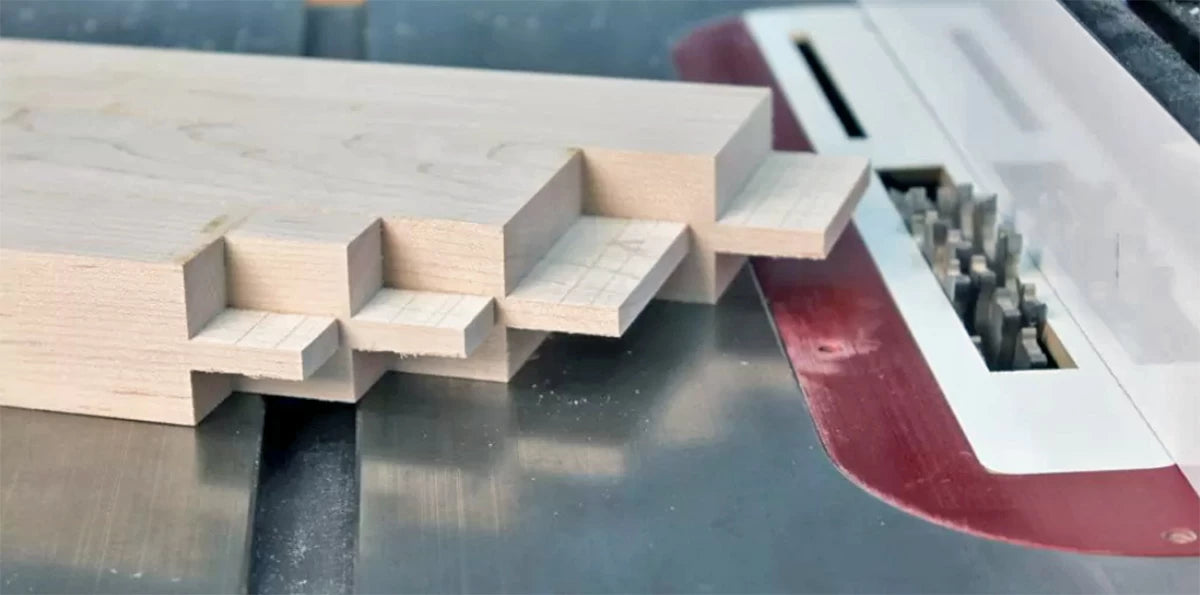
With all pieces cut to size and length, it is time to cut the tenons on the ends of the rails and muntins. The important dimension to remember is that the tenon must be 1/4" thick when using the Infinity 55-801 bit set. Where that tenon falls depends on the thickness of the material, how deep you want the rabbet for the glass, and how much of a fillet you want on the face of the window. In my case, the tenon is 5/8" from the face and 1/2" from the back of the rails. I used an Infinity Dadonator on the table saw to create the tenon, setting the fence to 1" and the blade height to 5/8". I nibbled away the waste on the face side of my rails. I then lowered the dado to 1/2" and removed the waste from the back side to create a 1/4"-thick tenon. The final step is to stand the rail on edge and use the dado blade to cut 1/2" from the width of the tenons.
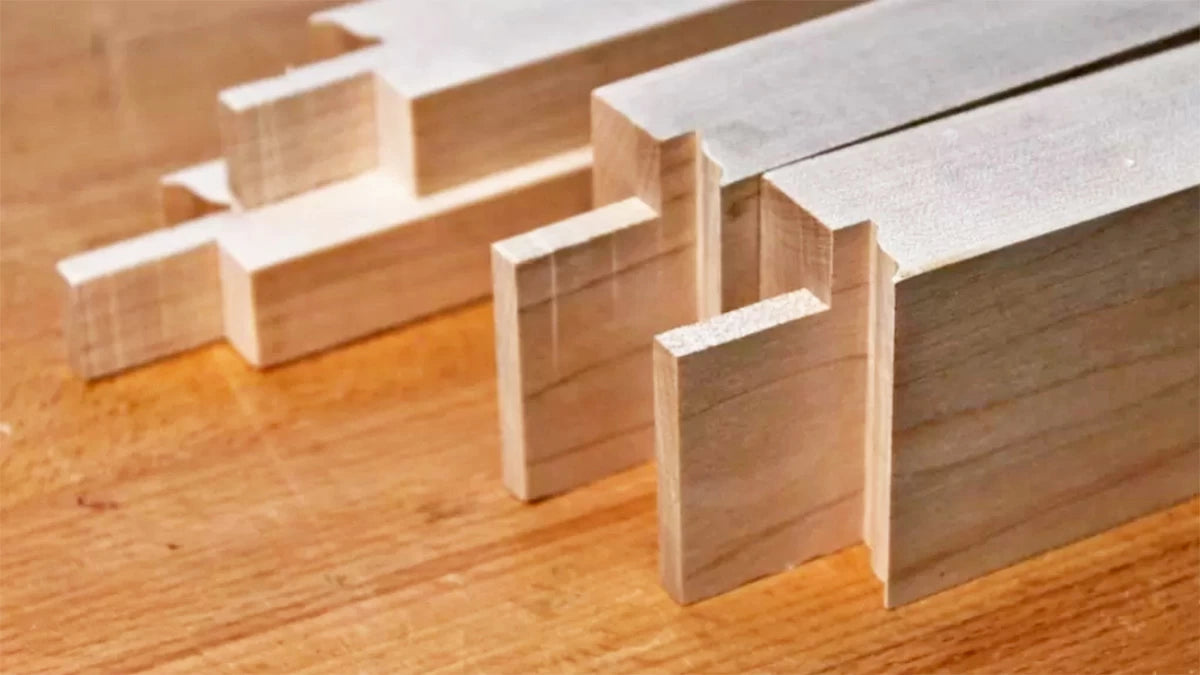
Once the tenons are cut it's time to make the coping cuts. The cope cutter is set up in the router table so that the top of the cutter just brushes the underside of the tenon with the rail face down. The fence is set at 1-1/4" from the leading edge of the cutter. With this setting, both rails and all the muntins can be coped. To feed the pieces through I use a miter gauge to support the workpiece and a backer block to reduce tearout.
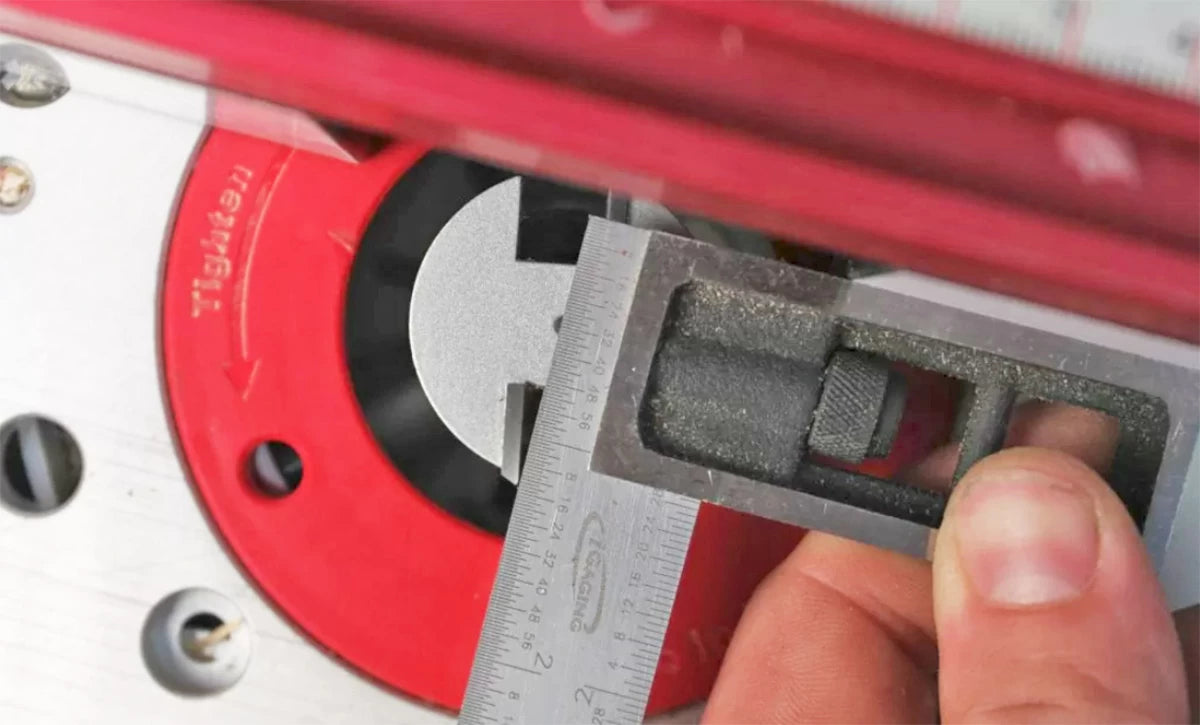
With the tenons formed and cope cuts made on the ends of the rails and muntins, it's time to lay out the mortises. A wheel marking gauge is quick to set up to define the width of the mortises. The tenons themselves help locate the length of the mortises. A little measuring is required to locate the mortises for the muntins. I gang both rails and corresponding muntins together and mark all the way across the pieces. This ensures that if I'm slightly off-center, I still get square intersections between pieces. The same goes for the stiles.
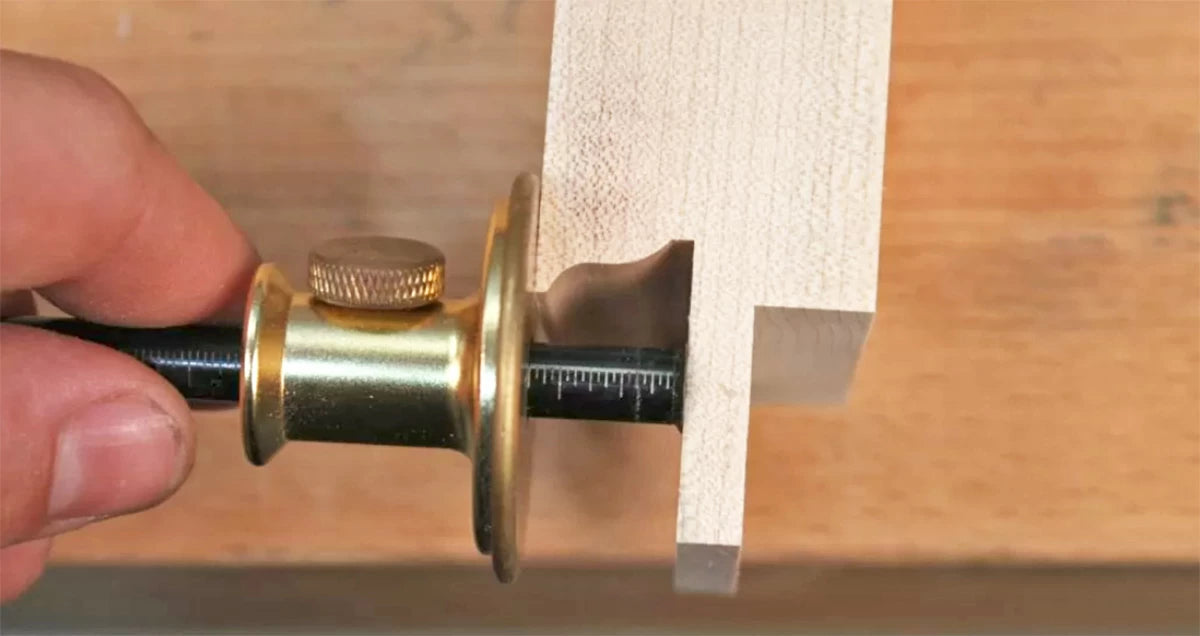

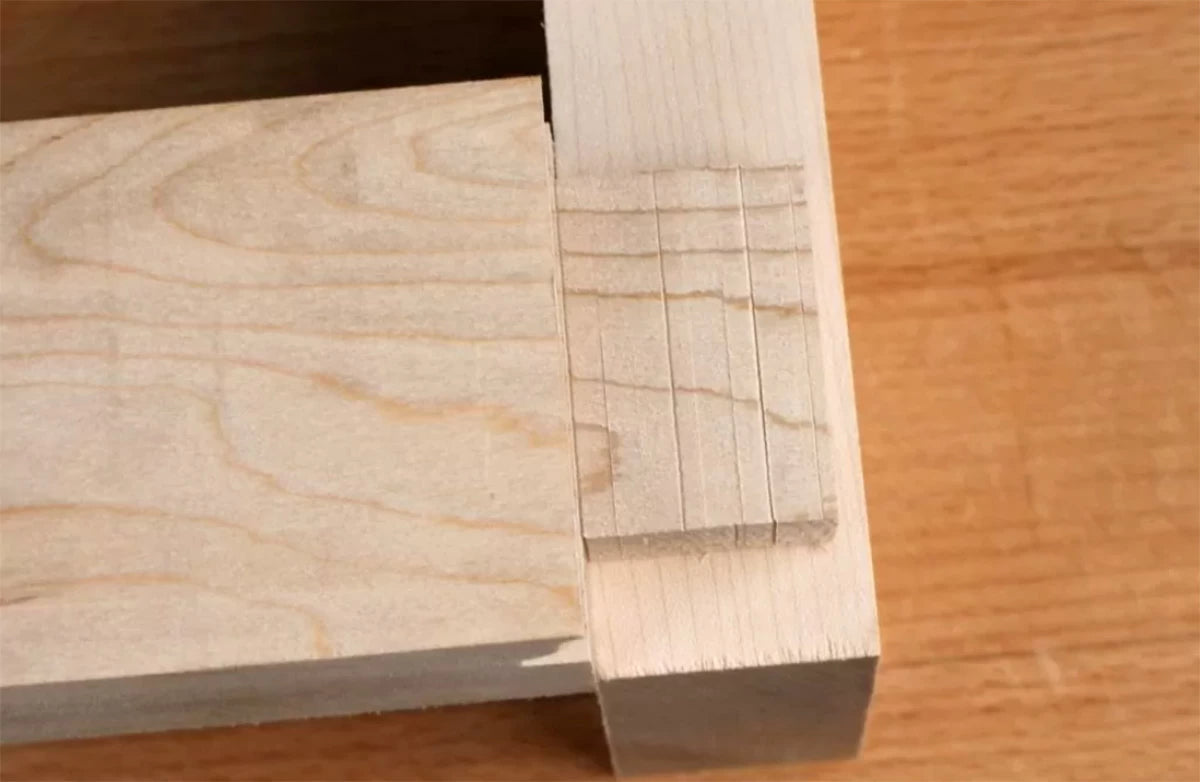
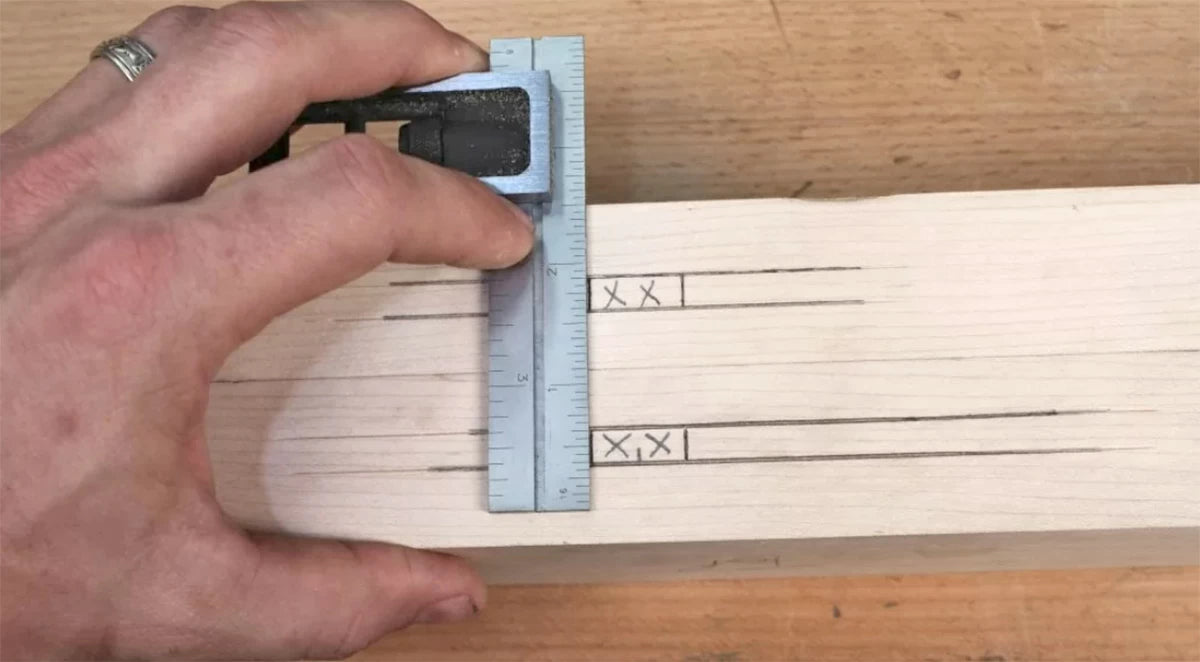
The mortises can be cut a number of ways. The easiest would be with a hollow chisel mortiser. The most traditional method would be to use a mortise chisel. I split the difference and drilled out the majority of the waste at the drill press with a drill bit and cleaned out the waste with a couple of chisels. You can also set up a straight bit at the router table and plunge away the waste. As long as you end up with a straight, clean mortise the method is not important.
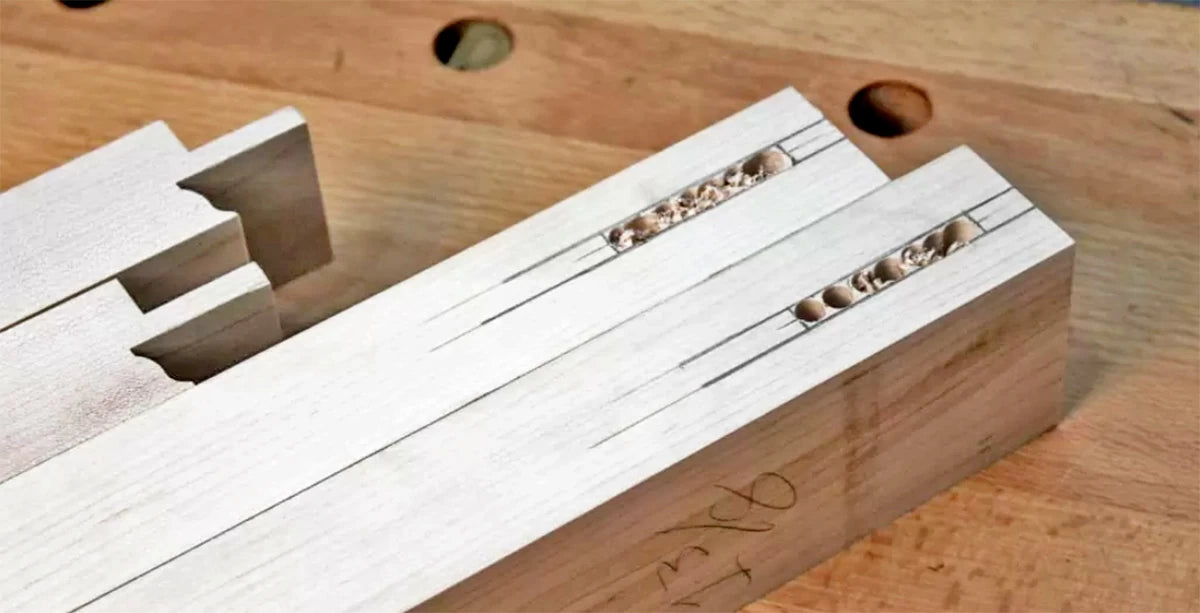
After making the stile cut at the router table, notch away the little square of material on the ends of the stiles as marked in the photo below. Removing this material allows the pieces to drop together and the cope to match the profile. I use a backsaw for this, but a sharp chisel will also do the trick.

Now it is time to make a couple of jigs and fixtures that make the rest of the process of making the window a little easier. Using a piece of scrap wood roughly the same dimension as the window frame and about 8" longer, use the cope cutter to run a cope the length of the scrap piece (photo below).

Now mark the scrap piece so that you can remove the material up to the end of the tenon on the back side of one of your rails. I did this at the table saw using an Infinity Cutting Tools 1/4" flat top blade. With the material in the middle removed you will have a piece with the reverse profile of the window sash.
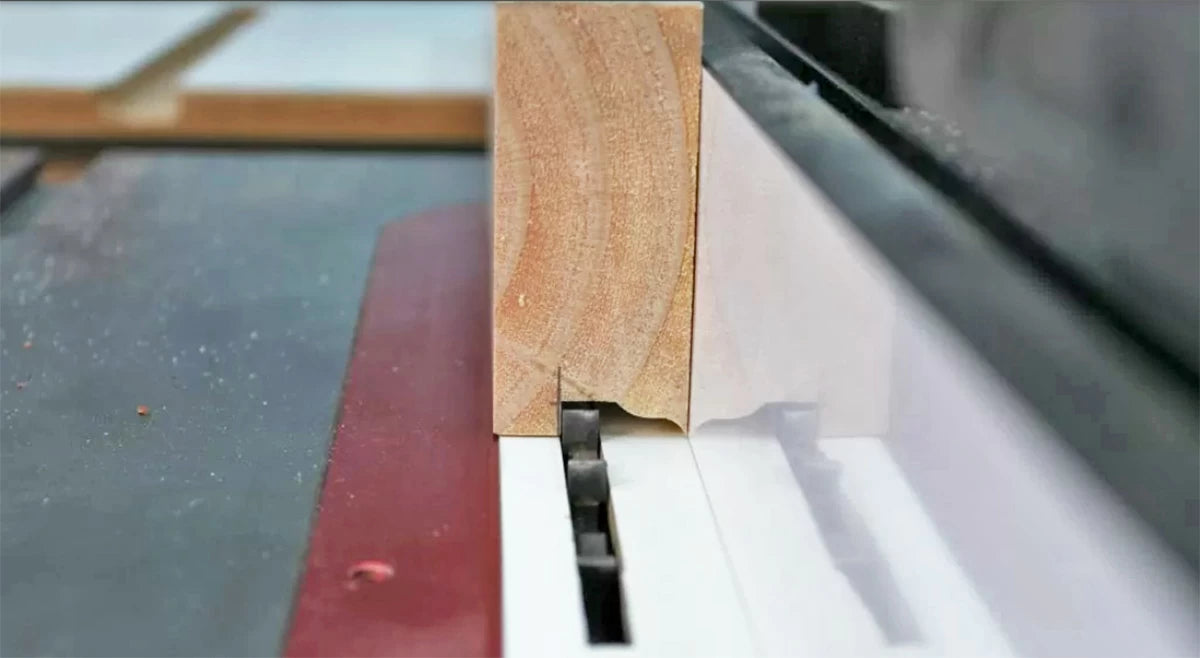
When making the push block, the last little bit of material is easily removed at the table saw with a flat-top blade or at the router table with a straight bit.
Cut about 8" off of one end of your profiled scrap piece and miter the ends at 45°, as pictured below.

Now take the remainder and add a hook to one end. This becomes the push block for profiling the muntins. Without this block the process of profiling these skinny pieces can be tricky at best. When adding the hook, make sure that it projects no more than 3/4" on the flat side and 1/2" on the profile side.
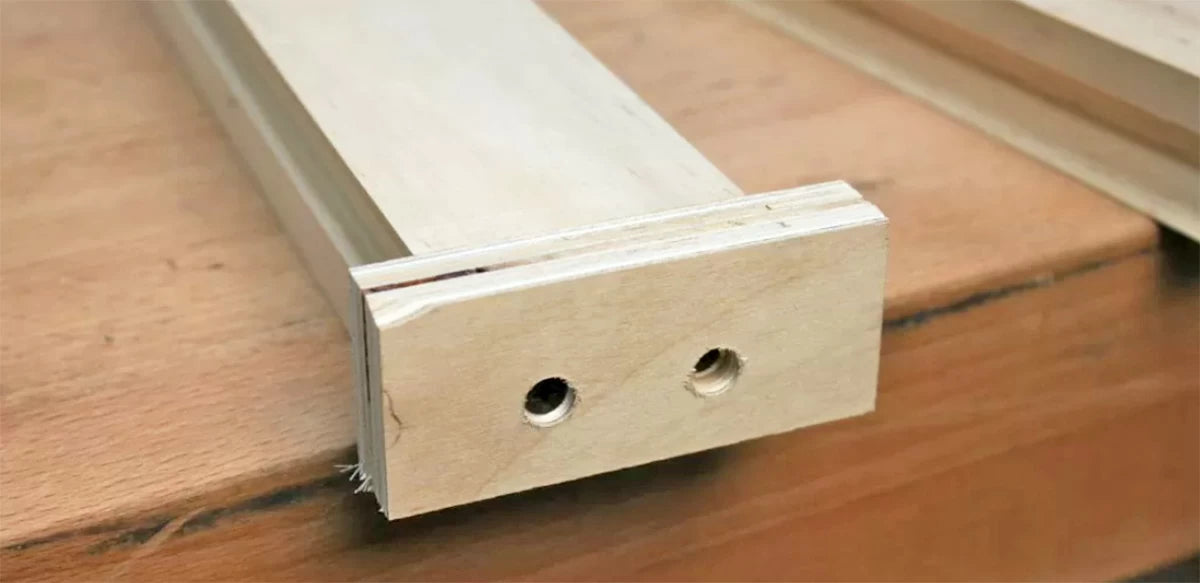
With the push block complete it's time to change out the bit in the router table and profile all the pieces of the window. I use the cope end of one of the rails to help set the bit to the proper height. When the rabbeting cutter brushes the top of the tenon, and the fillet at the bottom of the profile lines up, everything is set correctly.
The rails and stiles are easy to run as there is plenty of meat to hold onto, but the muntins are a different story. This is where I grab the push block. A little double-sided tape does a great job of securing the muntin to the block on the first cut to ensure a clean cut. The second cut is even easier — just flip the push block over and nest the muntin into the profile in the push block. The block holds the muntin in place and keeps fingers clear of the router bit.


With the muntins cut, the window can be dry fit to ensure that the muntins are the correct length. This is when you'll do any fine-tuning of the mortises for a perfect fit. At this point, the muntins can be tested for proper length by checking the verticals and horizontals separately.
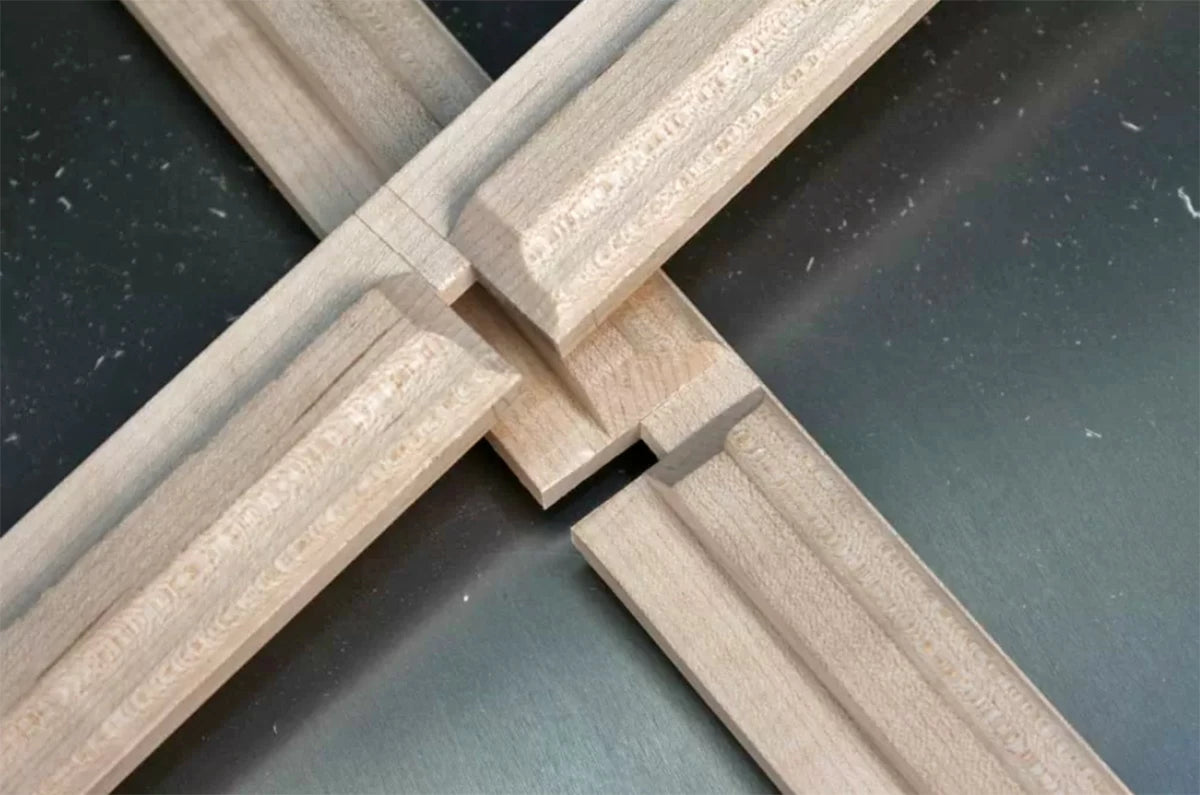
My favorite part of the process is making the overlapping joint in the muntins. With the little miter block and a sharp chisel this is a much easier joint to make than you might think.
The first step is to create a 1/4" notch through the profile at the center of the intersection of each piece.
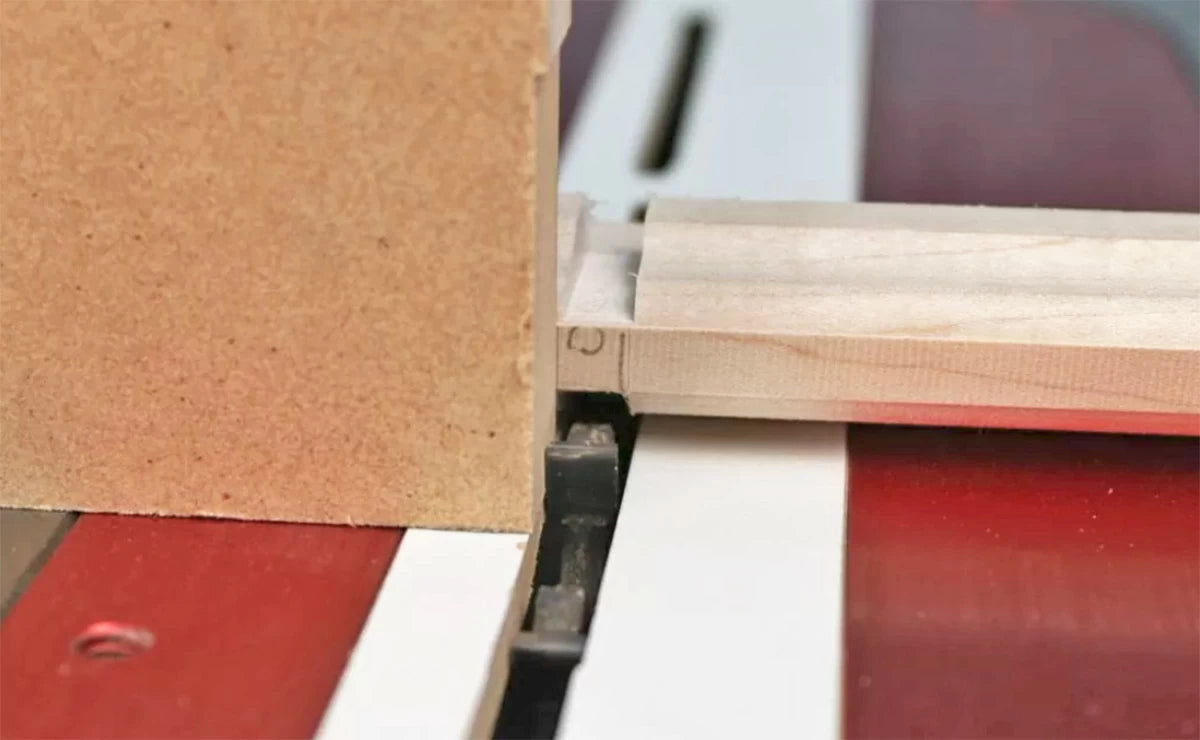
The first step in making the half-lap is to make a 1/4" groove centered at the intersection of the muntins. For this, I use a 1/4" flat top blade at the table saw, but this could also be done at the router table. This cut is made only through the profile portion on both sides of the muntins.
With the notches cut, it's over to the workbench to cut the miters. I used my push block as a jig to hold the muntin stable. The miter block is clamped on top of the muntin. The miter is made with a chisel by paring away the waste until the 45° miter is formed. You're done when the miter meets the flat at the middle of the muntin.
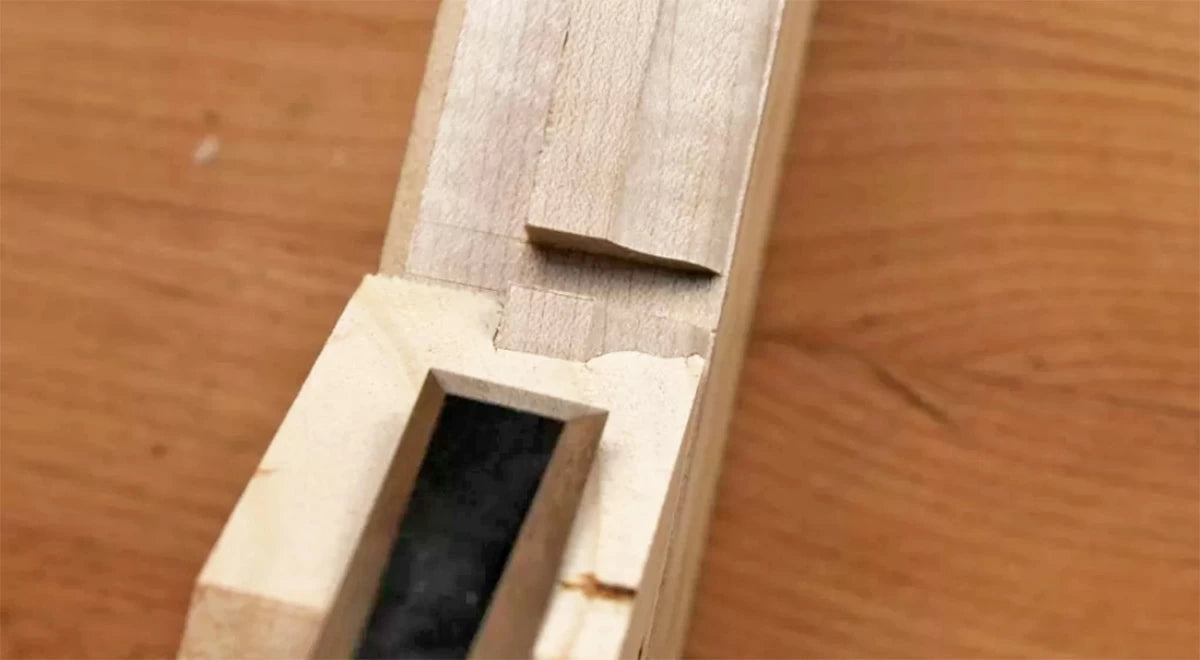
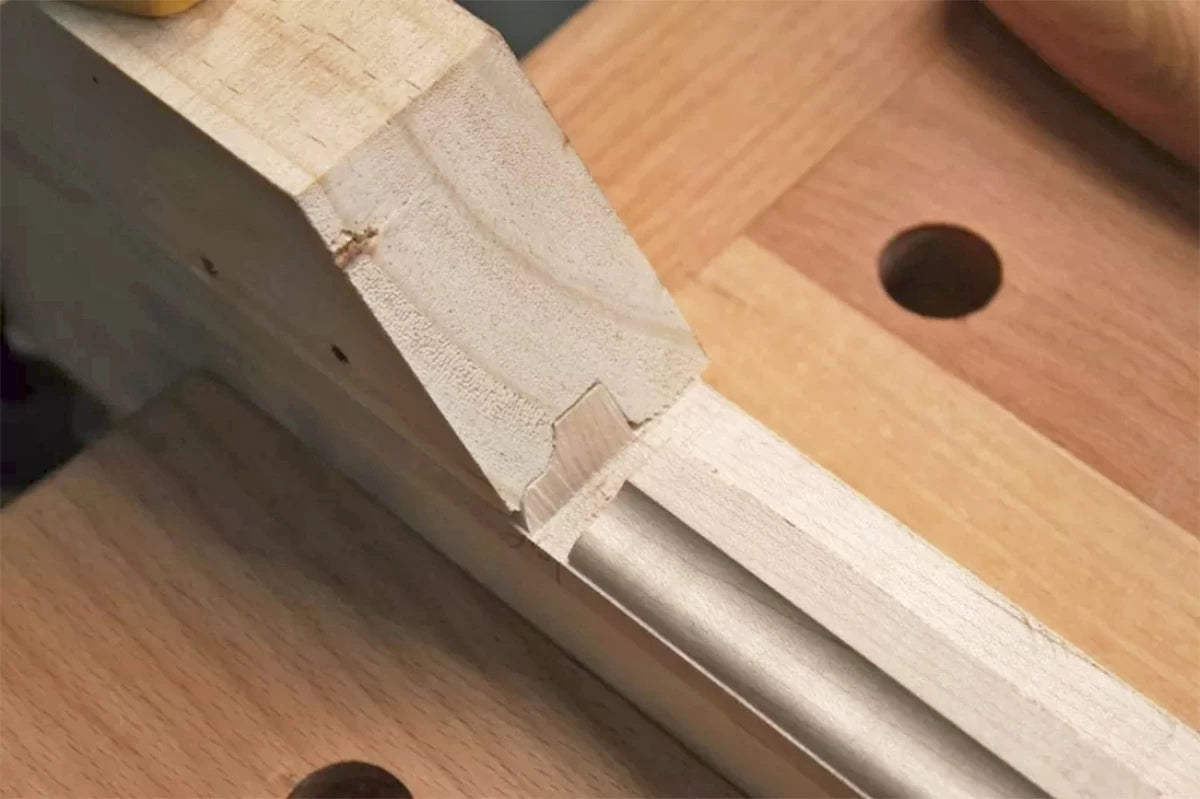
After one side is mitered, it's a matter of flipping the muntin around and repeating the process on the other side. Finish up all the muntins and the job is 90% done. With a sharp chisel this process goes fast.
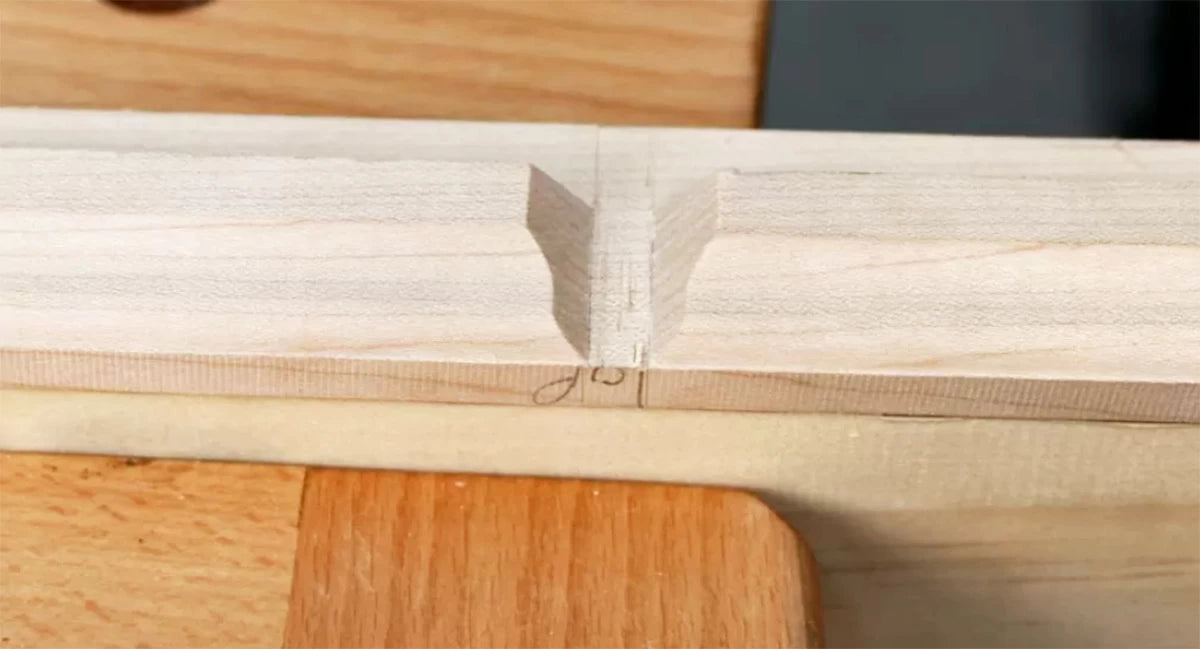
The final step is to head back over to the table saw and notch both muntins so they can lock together. Using the 1/4- kerf blade, I adjust the blade height to half the thickness of the muntin ( in this case 11/16") and notch one muntin at the front edge and one on the back edge.

Do not force the pieces together if they're tight. Take them back to the bench and with the miter block, pare away the tight spots.
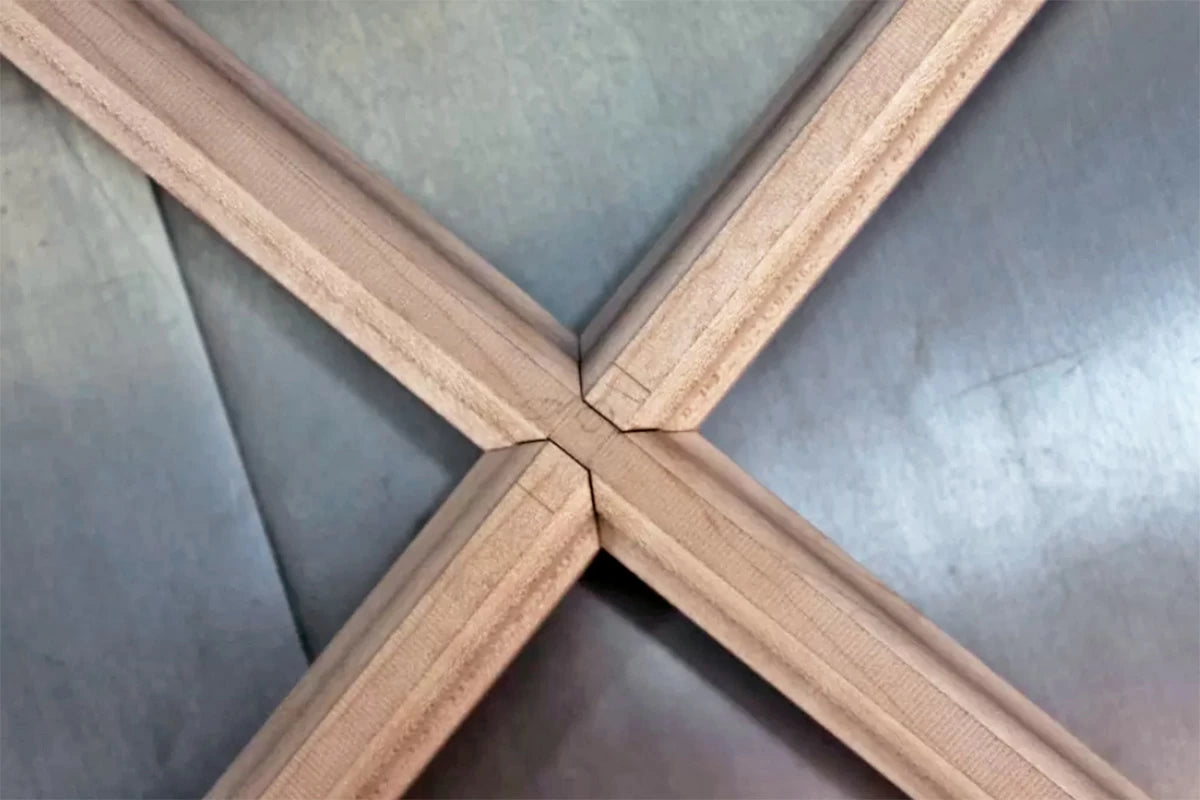
With the muntins mitered together all that is left is to dry-assemble the window and final glue-up. Take your time dry-fitting the window. If your mortises are not lining up you may have been off slightly when you marked them out. Rotate the muntin assembly 180° and see if they slide together. Once everything fits together as desired all that is left is to add glue to the tenons and clamp up the sash. The sash is complete and is ready for sanding and applying your finish of choice.
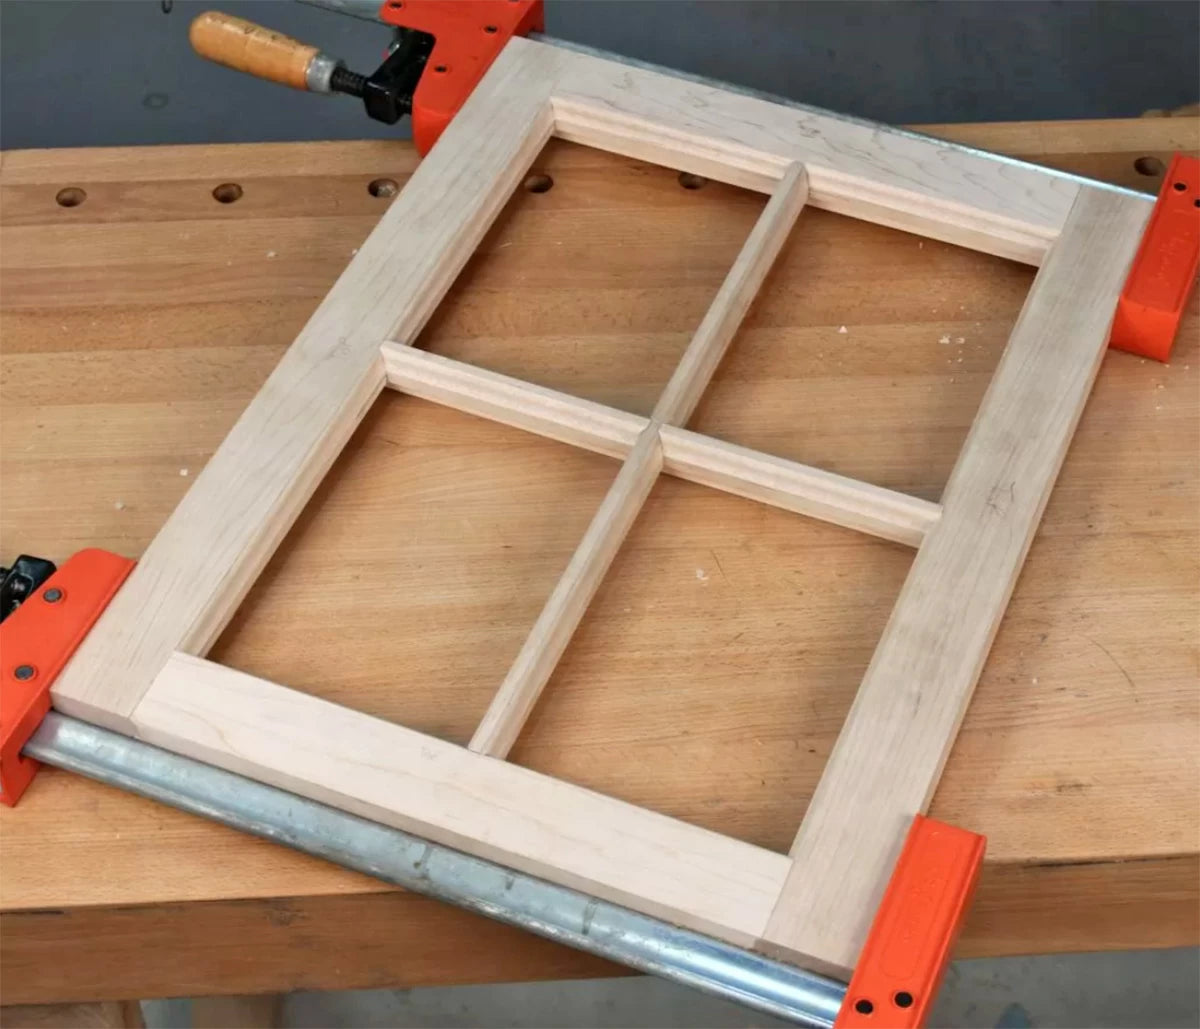
The final step is some glue and clamps and the window sash is ready for sanding and your finish of choice.
Join us for Part 2 to move to make a thinner version of this window style.

