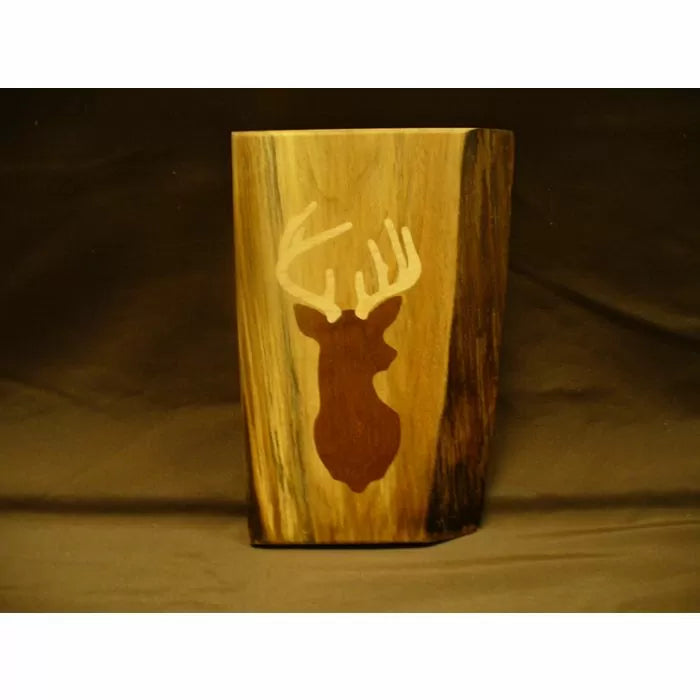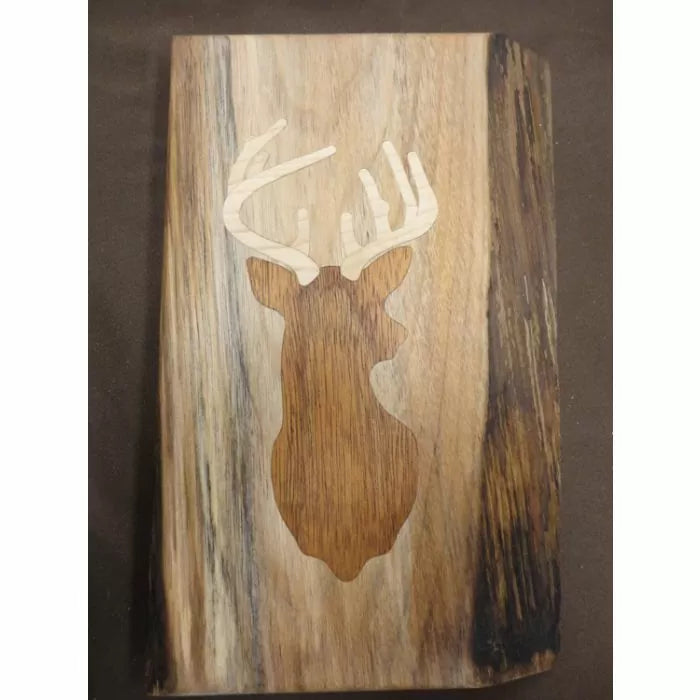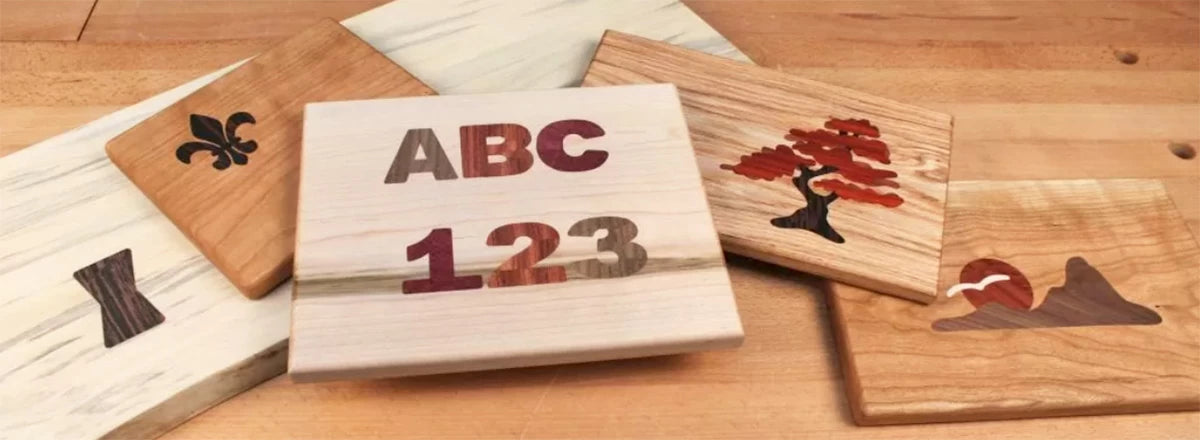
Creating inlays is one of those skills that, for most woodworkers, is so far out of our comfort zone that the idea of adding it to a project makes us break out in a cold sweat. But it doesn't have to be that way. With a Multi-Layer Inlay System (MLIS) you can add all sorts of decorative details to a wide variety of projects. The MLIS is a new line of products that makes the process of creating inlays straightforward. There are designs available for everything from letters and numbers to more intricate, decorative details like a Bonsai Tree, a Clown Fish, or a Monarch Butterfly.
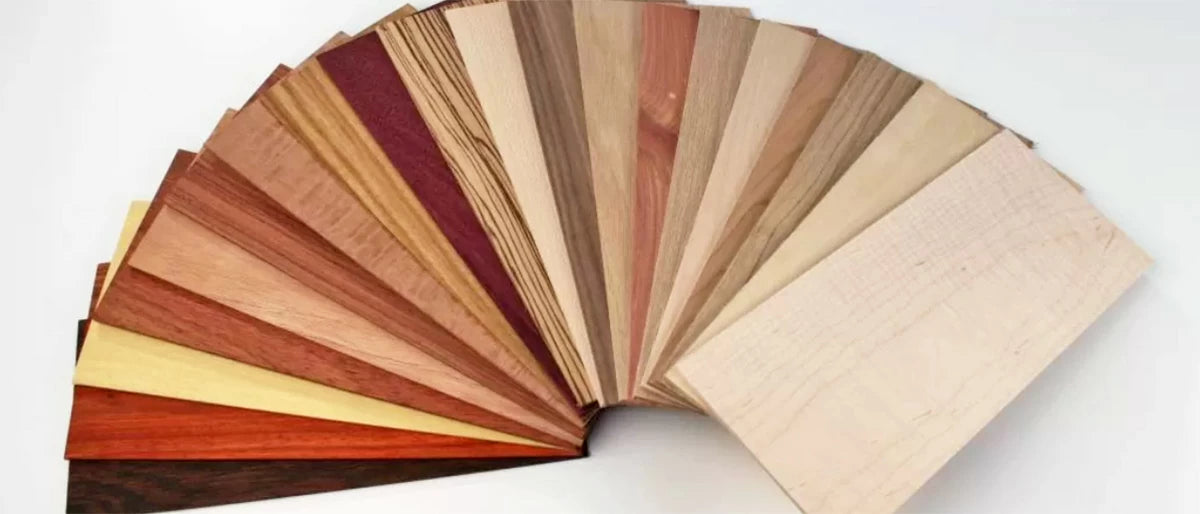
The first step in creating an inlay is to choose the inlay design and the wood you want to make the inlay from. This is your chance to get creative and choose woods that will really bring the design to life. Infinity offers packs of 1/8" thick hardwood in both domestic and exotic species. These are ideal for adding just the right touch of color and texture to your inlay, so be sure to check them out.
Next, you need to install a brass inlay guide bushing into your router. I really like using a compact router with a plunge base. The smaller size of these routers makes them easy to control when cutting out the small pieces for the inlays.
In order to achieve the best results, use the centering pin that comes with the guide bushing to center the bushing in relation to the router bit. Also, be sure to use a 1/8"-diameter down-cut spiral router bit. Infinity has put together an MLIS starter accessory pack that includes the brass inlay bushing kit with router bit and centering pin, MLIS positioning plates, and double-sided tape. This makes it easy to get everything you need in order use your choice of MLIS inlay templates to create the inlay.
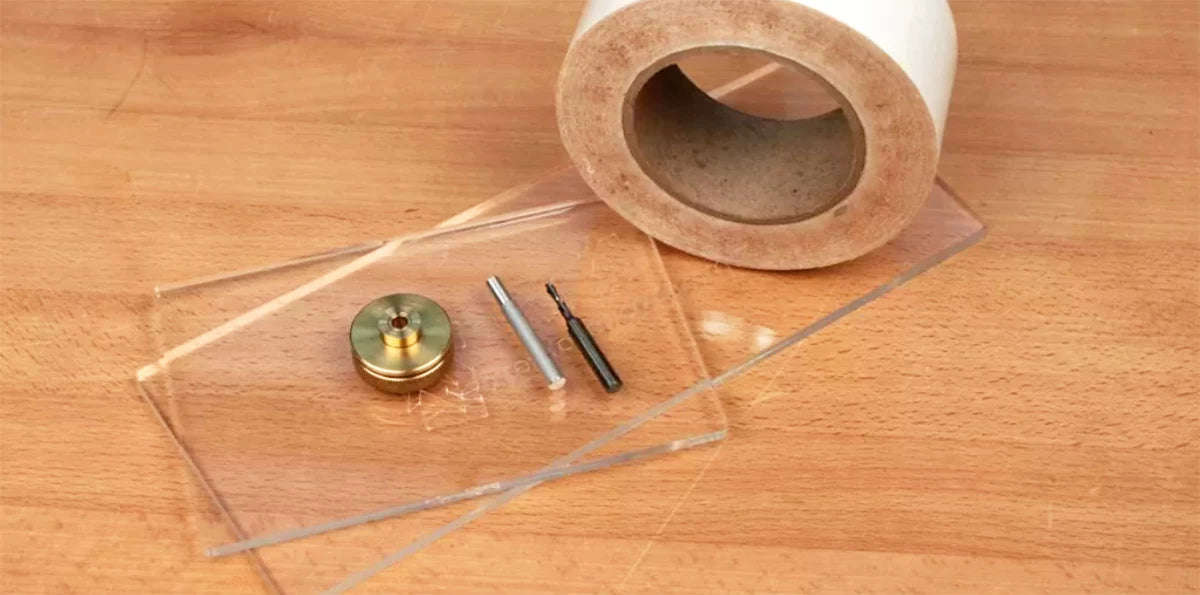
The beauty of the brass inlay guide bushing is that it allows you to make both the inlay piece and the pocket for the inlay to fit into using the same template. The guide bushing has a removable sleeve that creates the correct offset for a 1/8"-diameter router bit. To cut out the inlay you remove the sleeve from the bushing and follow the template.
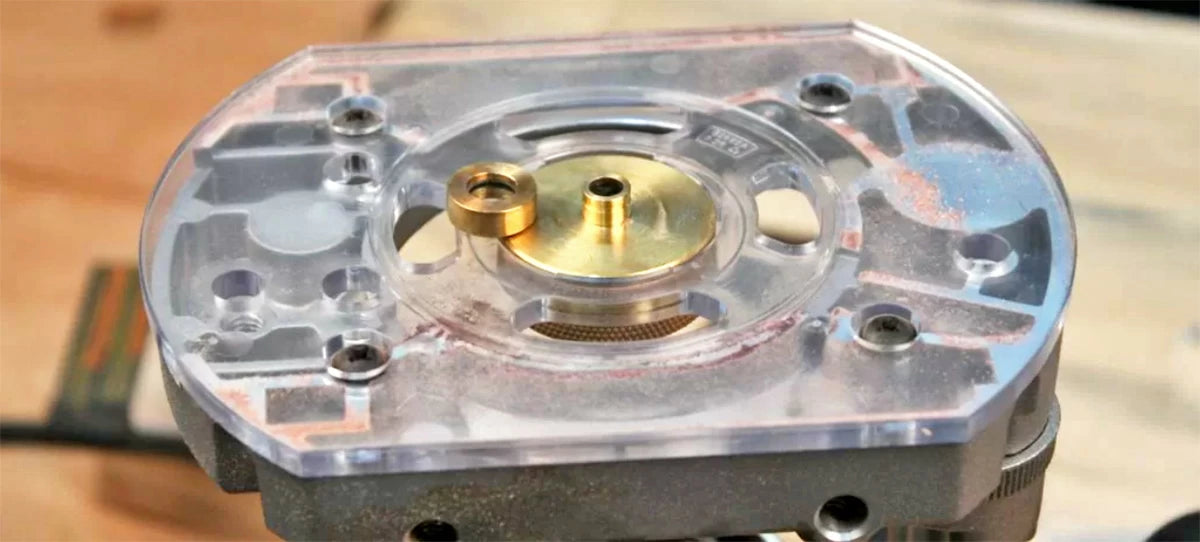
We recommend using double-sided tape to secure the inlay blank to a backer board. When you route all the way through the inlay blank the inlay will eventually become free and could move, damaging the inlay. I make sure to cover the back of the inlay blank with tape where I will be routing and press firmly to ensure that the inlay doesn't move. Once the inlay is routed out I use an awl or knife to gently pry the inlay free of the backer and then remove the tape.
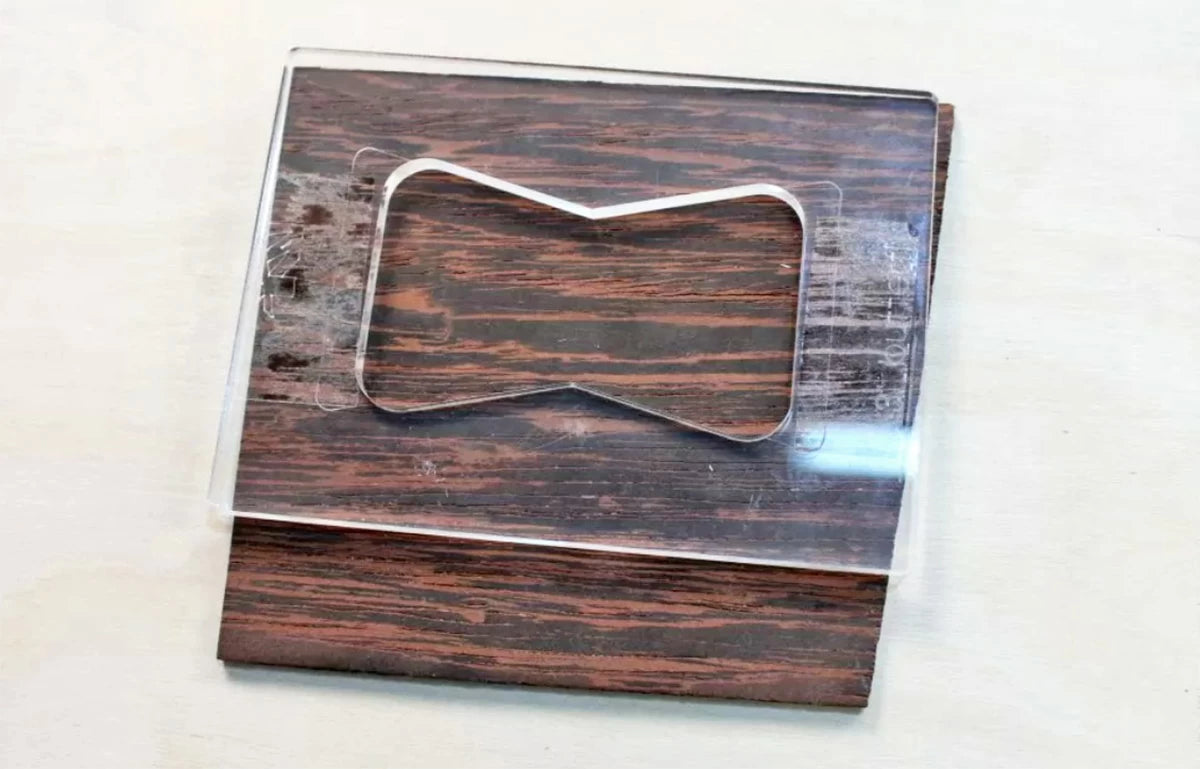
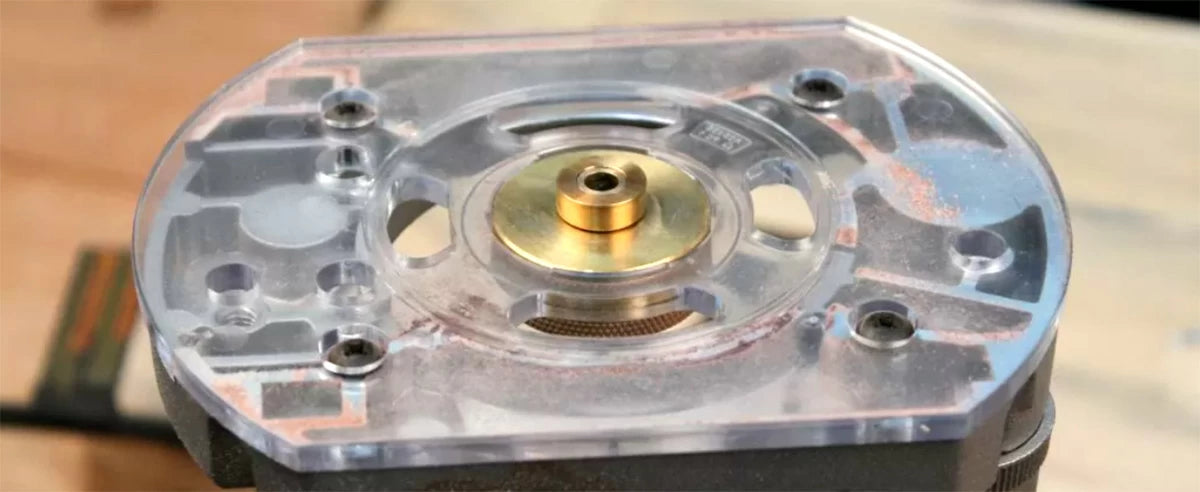
To make the recess for the inlay, reinstall the sleeve and use the same template to rout out the pocket. Using the same template guarantees a perfect fit.
For some inlay designs there will be multiple templates in the set. Each of these templates are numbered in the order in which they are to be used. Some of the templates also have laser-etched notations like "Flip V" of "Flip H." This means that you flip the template over either vertically or horizontally to create the final design.
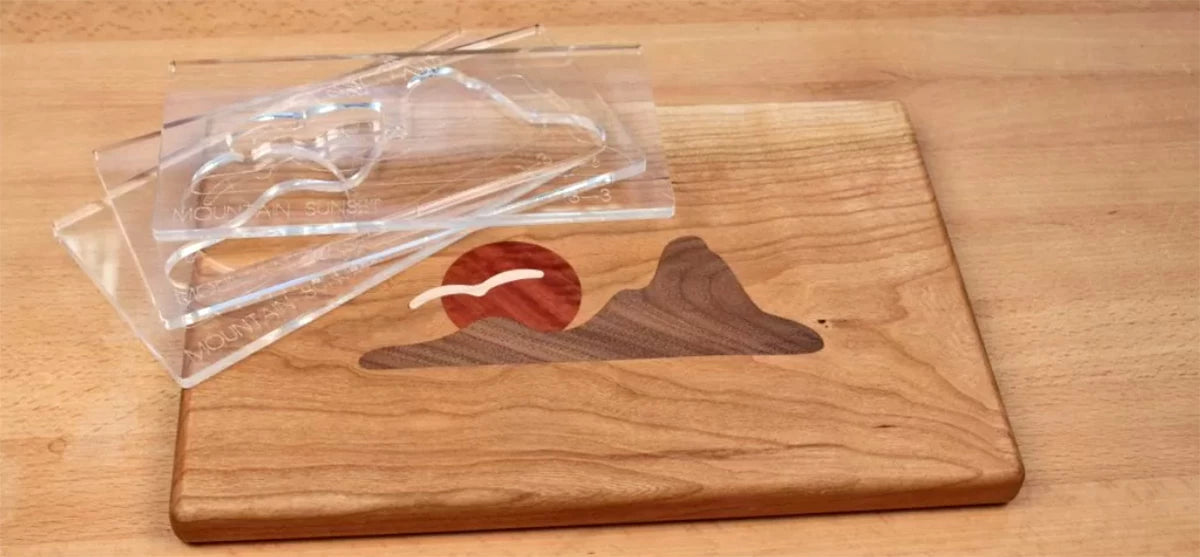
Whenever multiple templates are used in layers, you'll need a set of locating plates. They precisely locate each template in the set for each step of the inlay process.
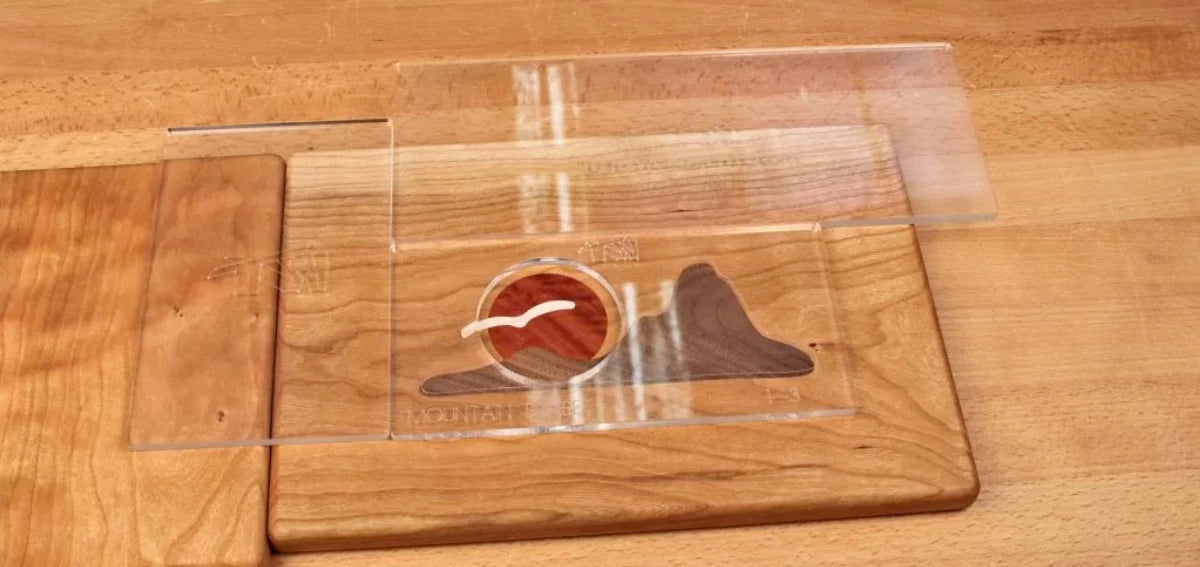
When gluing the inlay into the pocket I find it helpful to lightly sand the edges and bottom corner of the inlay with fine-grit sandpaper and remove all of the dust and debris from the pocket. Otherwise, the inlay may not easily fit. I also like to apply a thin layer of glue to the inlay rather than the pocket. Using too much glue can be a problem because the tight fit of the inlay makes means no room for glue squeeze-out plus, the glue can prevent the inlay from seating fully in the pocket. Because you use the same template to make both the inlay and the pocket, they should be a perfect fit, so don't over-sand the edges. You only want to remove any fuzz left by the router bit while routing.
Once the glue is dry and all pieces of the inlay are complete, all that's left to do is a little sanding and applying your finish of choice.

