We talk to a lot of woodworkers who want to build their own router table for many different reasons. Small shops may have limited space or a custom table is needed for specific applications. A custom table makes a lot of sense when you stop and think about the different ways we work and the different spaces we work in. The perfect table for a cabinetmaker is not always the same as one for a craftsman making custom speaker enclosures for car audio. A large table may not be an option in a small shop.
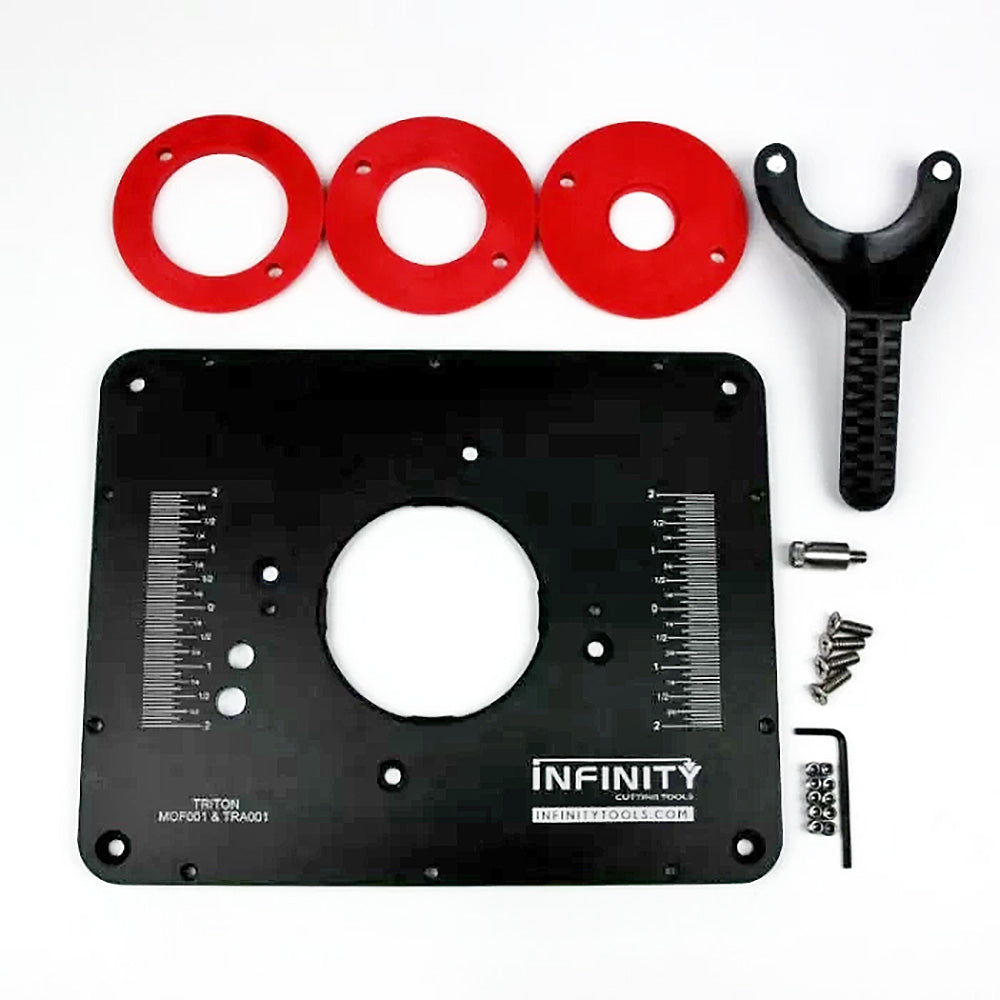
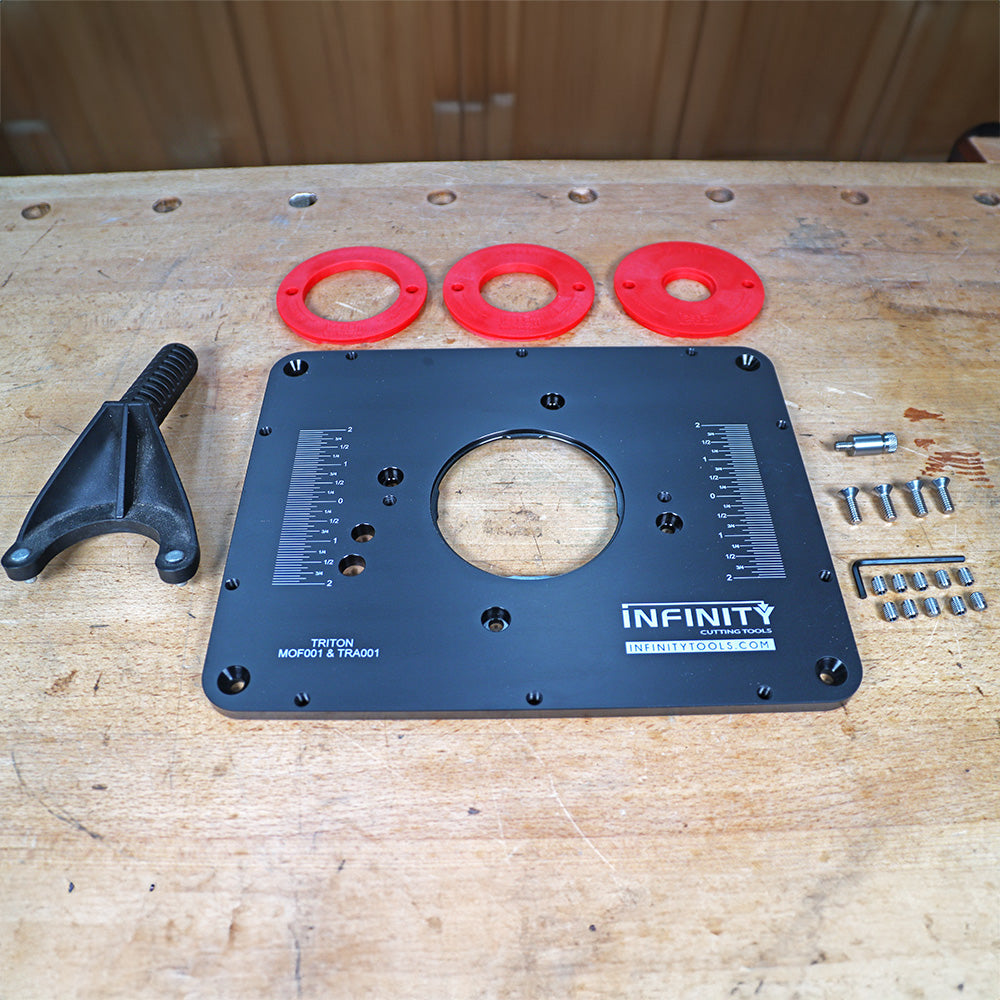
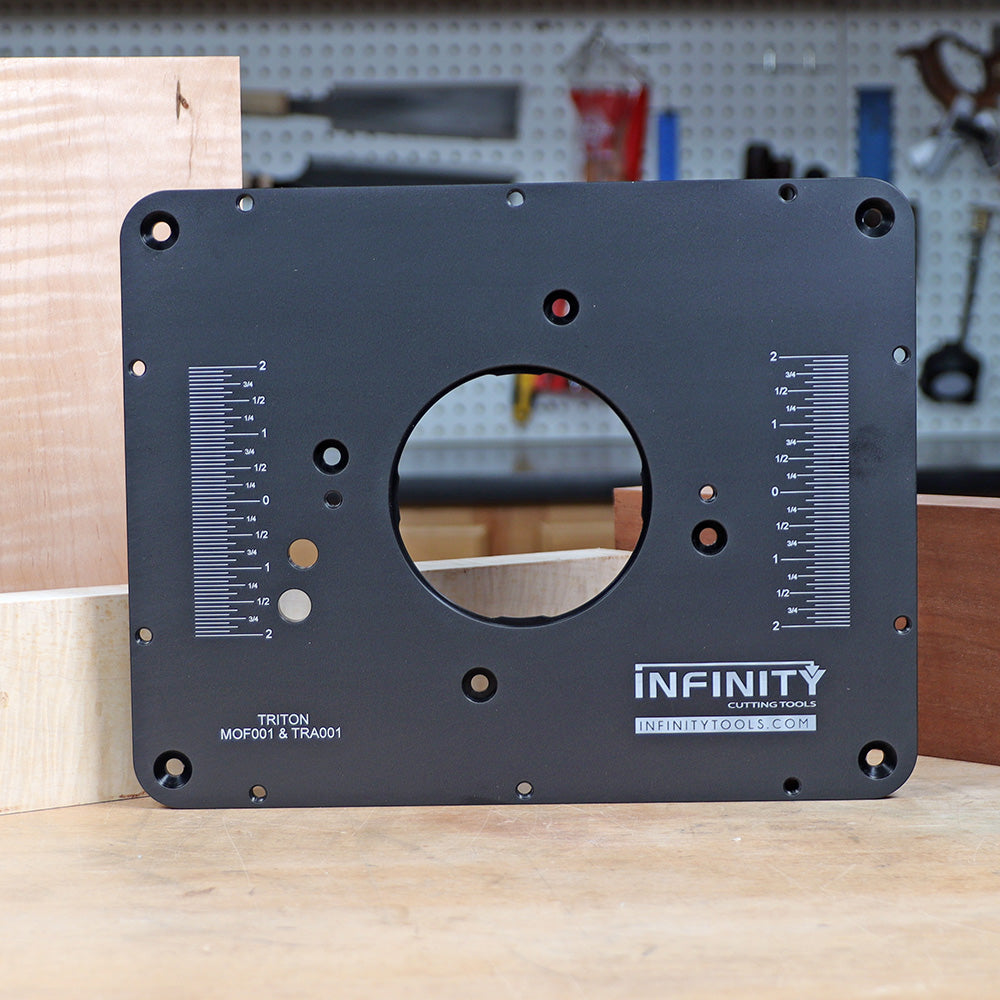
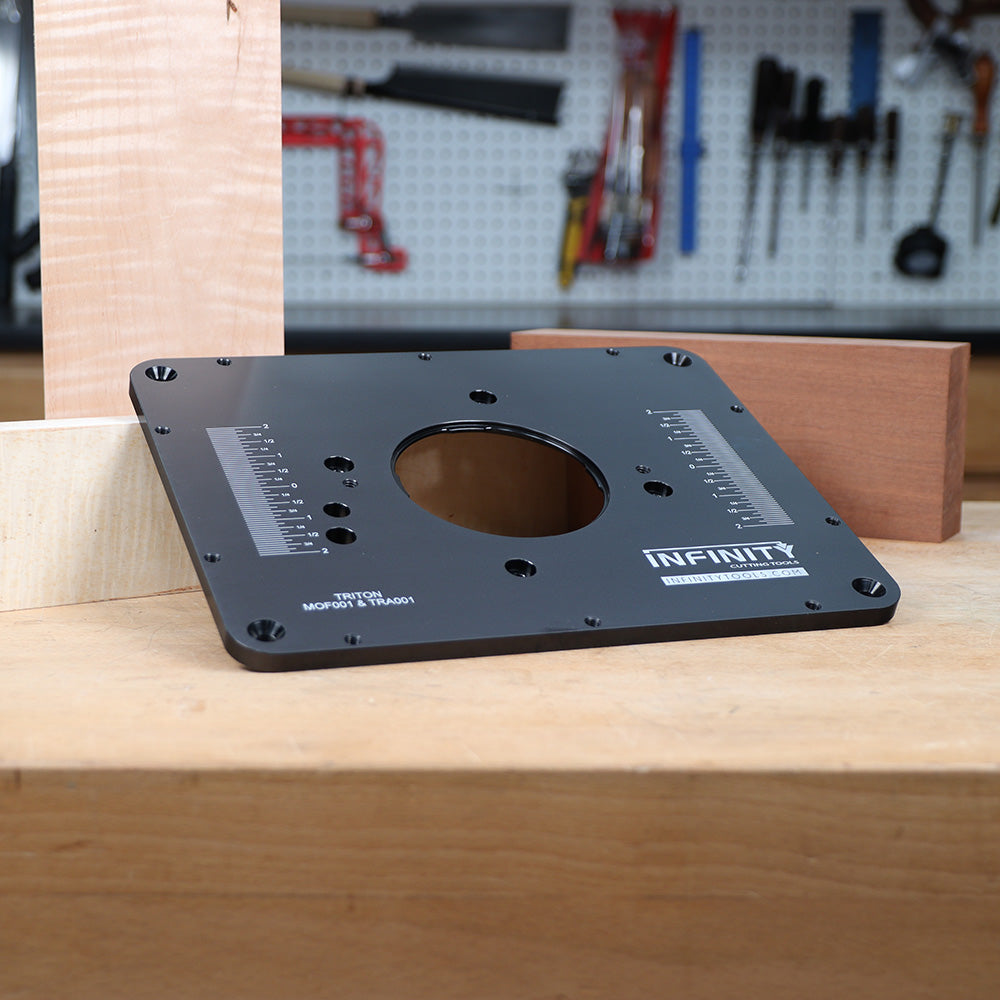
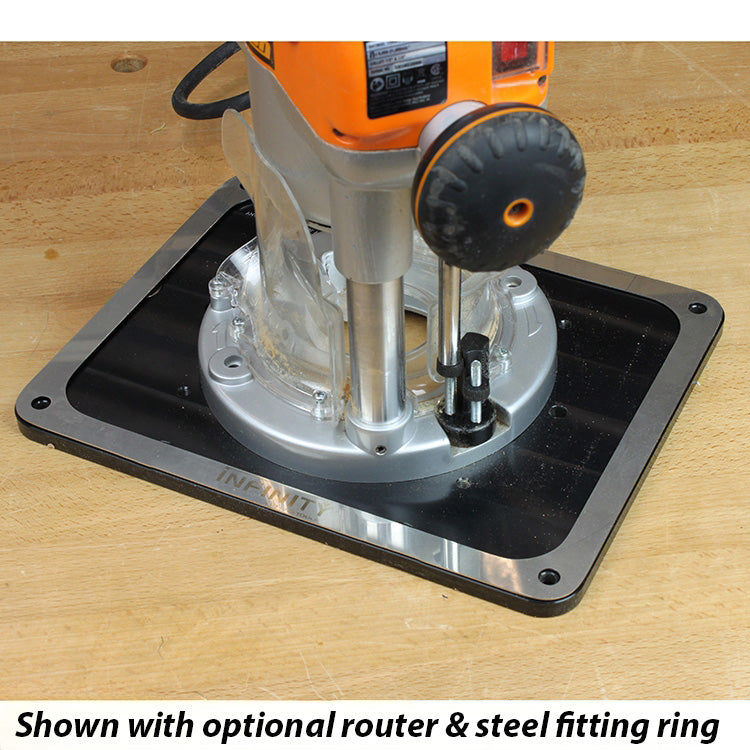
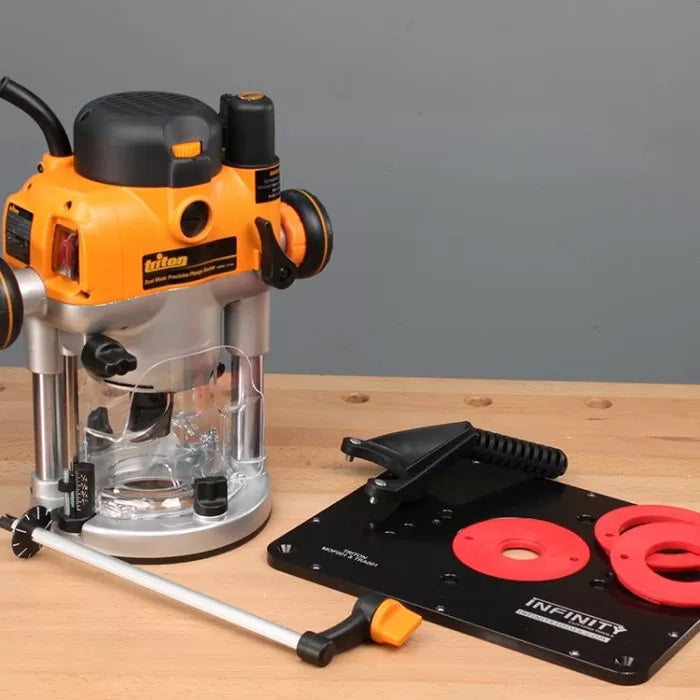
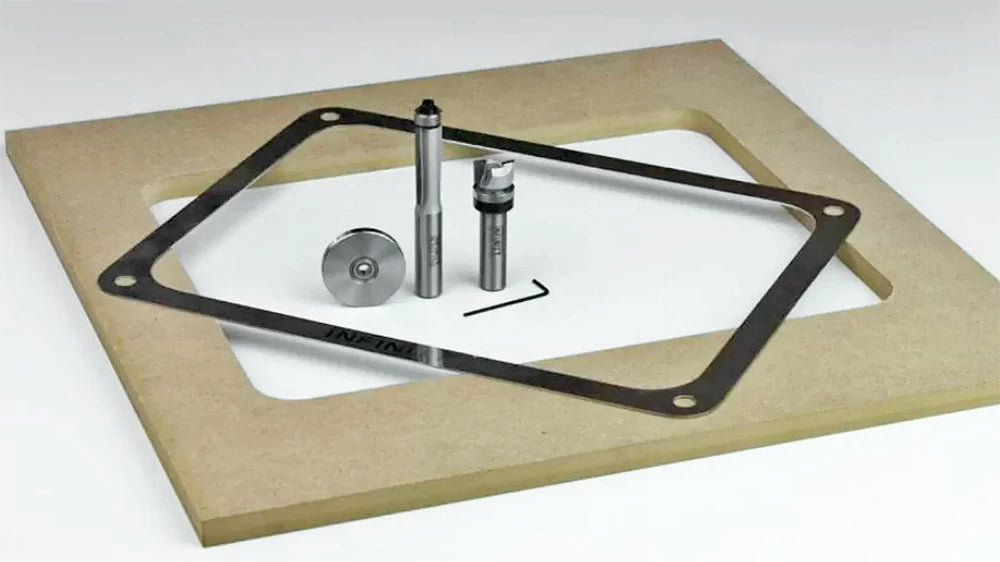
One thing we all do have in common is that we want to be able to use readily available routers and lifts, and take advantage of the convenience of modern router table components and accessories. The main component of any router table is the 9-1/4" x 11-3/4" insert plate system that has become the standard. It attaches to and supports the router in the router tabletop. The RTI-DIY Router Template Package has everything you need to add a router table insert plate to almost any flat surface.The Infinity RTI-DIY package includes a template, a pair of router bits with bearings to make a perfectly sized opening in your tabletop, and the Infinity steel insert ring that sits under the insert plate. This kit takes the guesswork out of an intimidating project. The only tools you'll need in order to complete this project are a drill, jigsaw, and a router.

The MDF template is cut to the perfect size for a 9-1/4" x 11-3/4" router insert plate or router lift. The RTI-DIY package also includes two router bits that work together with the template to make a perfect-sized opening and rabbeted lip that supports the router insert plate. One router bit is a 3/4" diameter mortising (pattern) bit with bearing and is used to create the rabbet. The second router bit is a straight/flush-trim bit with an oversized bearing to perfectly trim the opening in tops up to 1-7/8" thick.
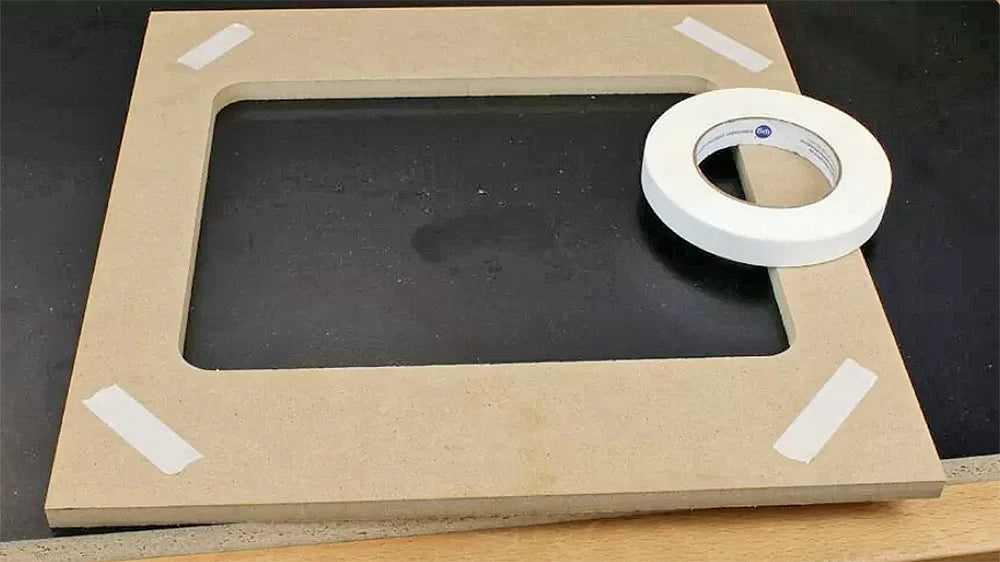
The first step is to locate where you want the router positioned in your table and use some double-sided tape to hold the template in place.
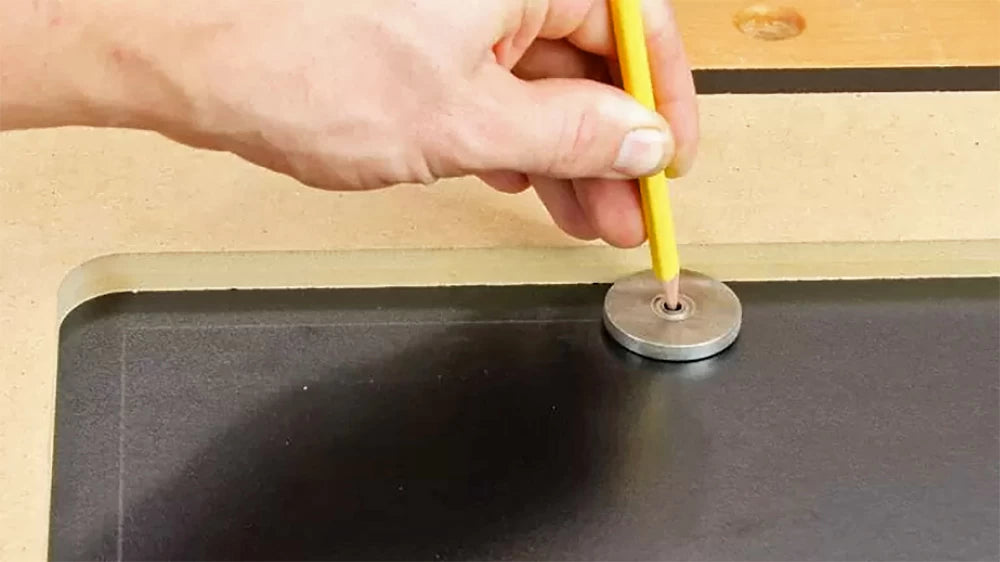
Next, using the 1-1/2" bearing included with the kit and a pencil, scribe around the inside of the template to mark the rough opening you'll cut with a jigsaw. Using the bearing makes it easy to mark the rough open and leaves about 1/8" of material to be trimmed away later for a smooth finish.
I also mark the outer four corners of the template, this will make it easy to reinstall the template accurately.
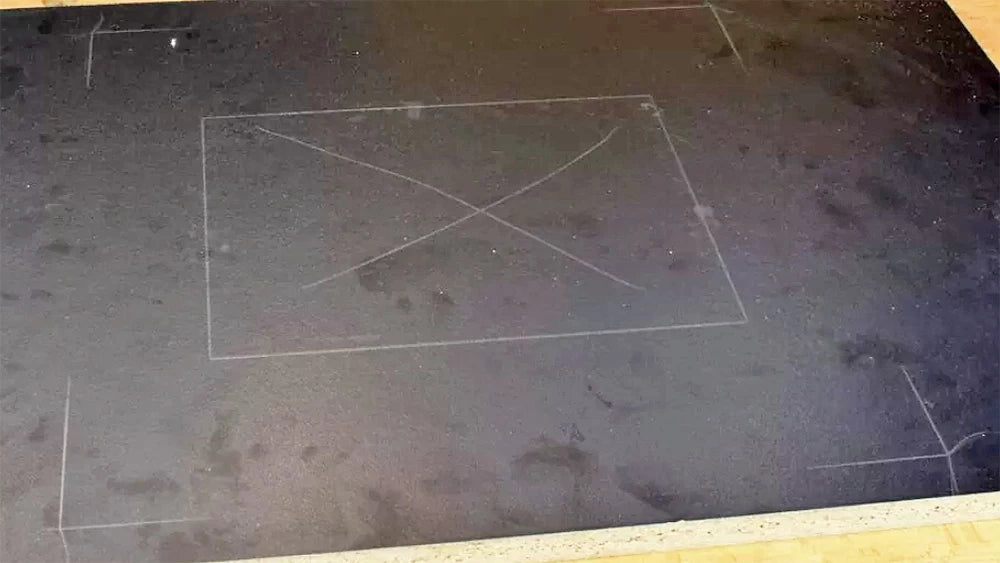
Be sure to mare the four corners of the template before removing it to cut out the rough opening in the router tabletop. These marks will allows you to accurately place the template for routing our the opening later.
With the opening marked, remove the template, drill a starting hole larger than the width of the jigsaw blade.

Cut out the rough opening with the jigsaw, staying just inside the layout lines.
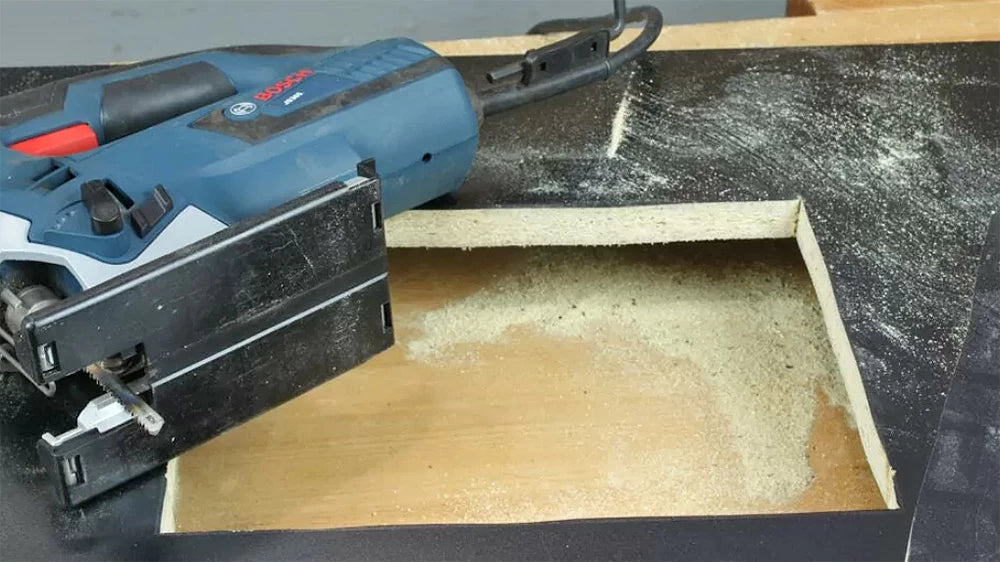
Once the rough opening is cut, reinstall the template using the layout lines you marked previously as a guide. Use plenty of double-sided tape so that the template won't shift while routing.
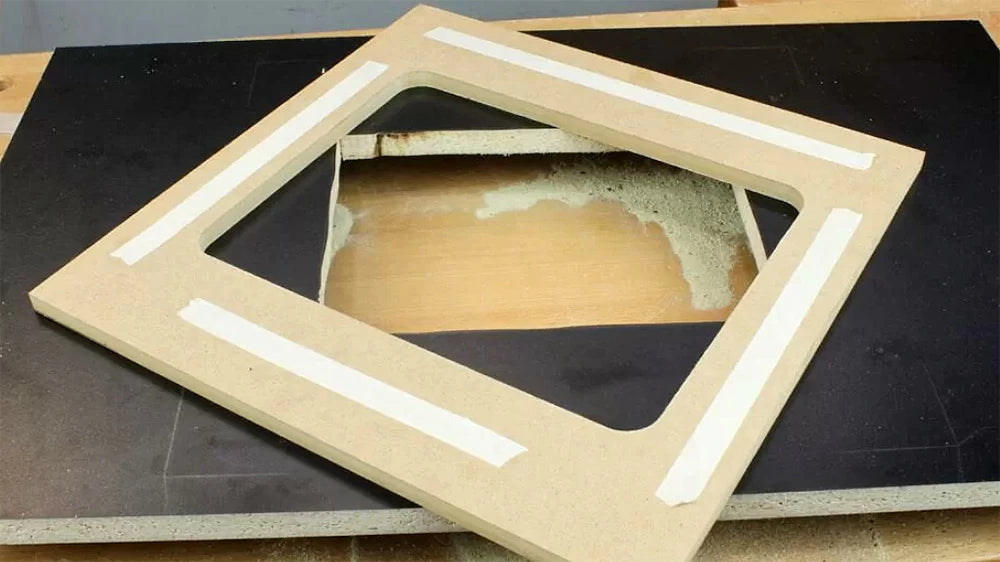
Install the mortising bit in the router and set the bit height to cut roughly 1/8" deep. Check that the bearing on the bit contacts the template and then rout the rabbet. Increase the depth of the rabbet until it is deep enough for your router plate and the Infinity steel insert ring to sit slightly below flush with the top. Most inserts are 3/8" thick and the Infinity steel insert ring is roughly 1/32" thick. We recommend making the rabbet deep enough so the plate rests between 1/32" and 1/16" below the table surface. A 7/16"-deep rabbet is a good place to start.
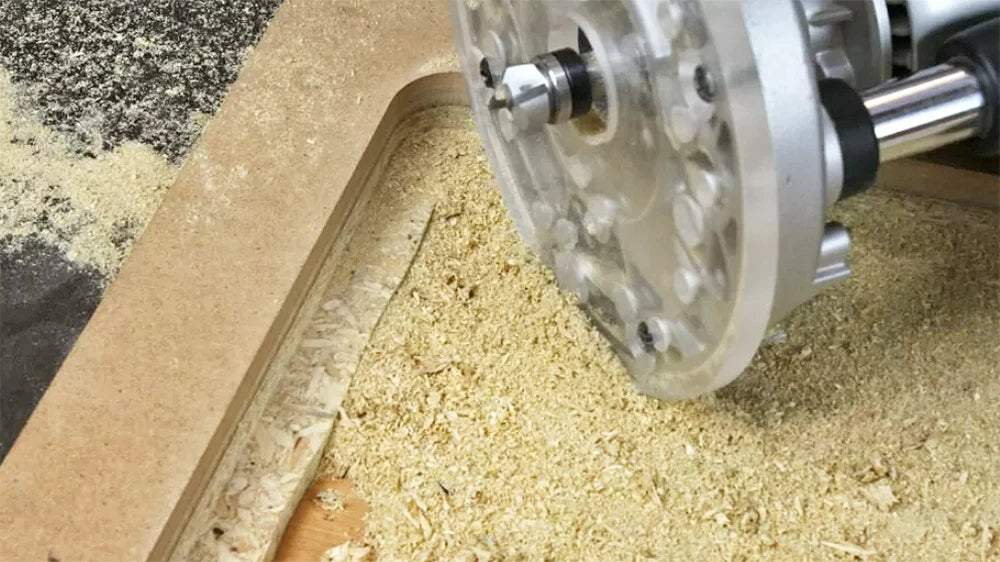
Finally, flip the table over and install the 1-1/2" bearing onto the 1/2" straight bit. Adjust the bit height so the bearing rides against the template or the side of the rabbet. Rout away the excess material to remove the rough surface left by the jigsaw. The end result is a 1/2"-wide rabbet for the router plate to rest on.
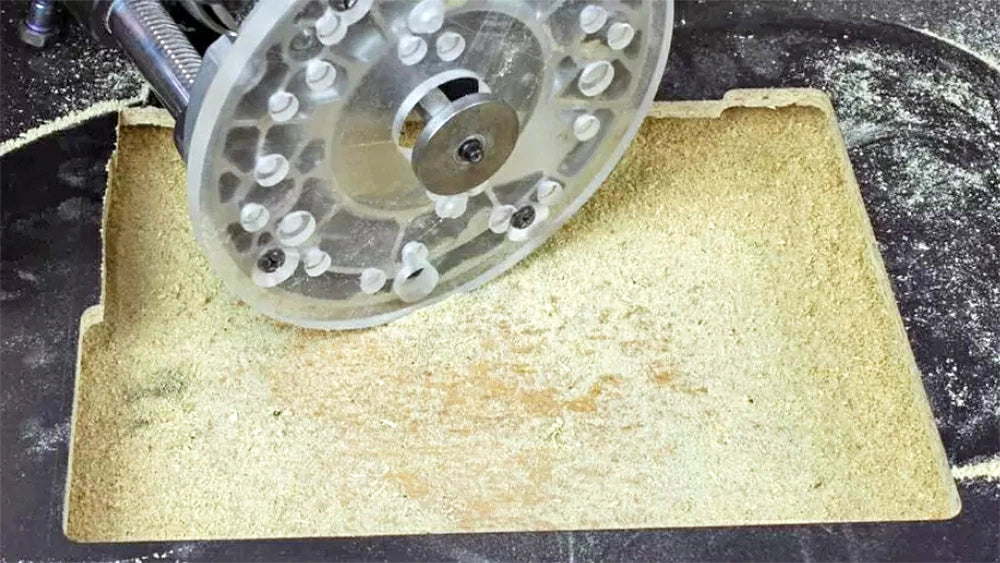
The opening for your router plate is done! Flip the table back over and make sure the rabbet is deep enough. If everything is good, remove the template. Now it's time to install your router into your table.
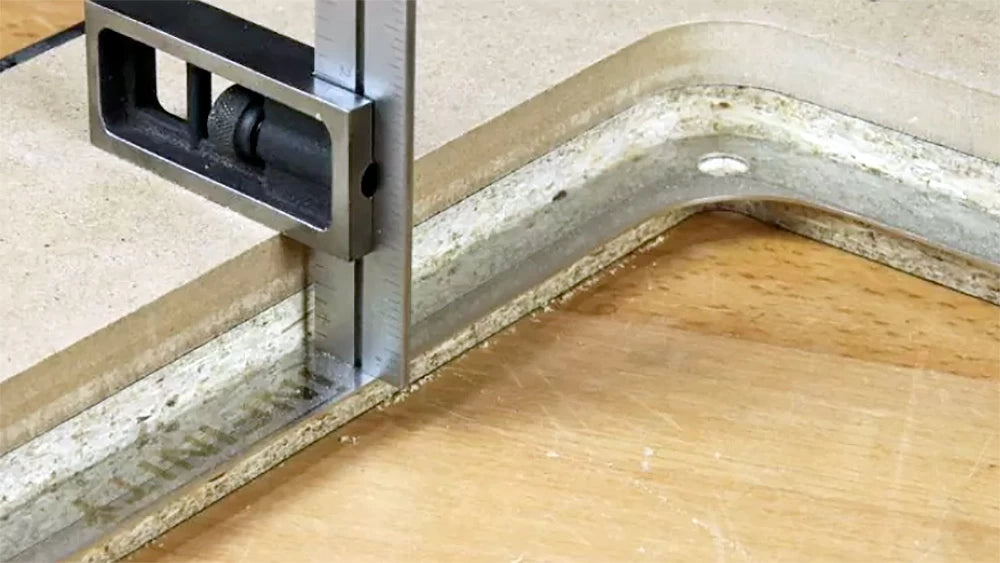
Materials such as melamine are popular for router table tops but have particleboard or MDF core. While these materials are relatively hard and stable the leveling screws of a router plate can dig in. This can cause your router table insert plate to gradually drop into the opening over time and loose adjustment. The Infinity steel router table insert ring solves that problem.
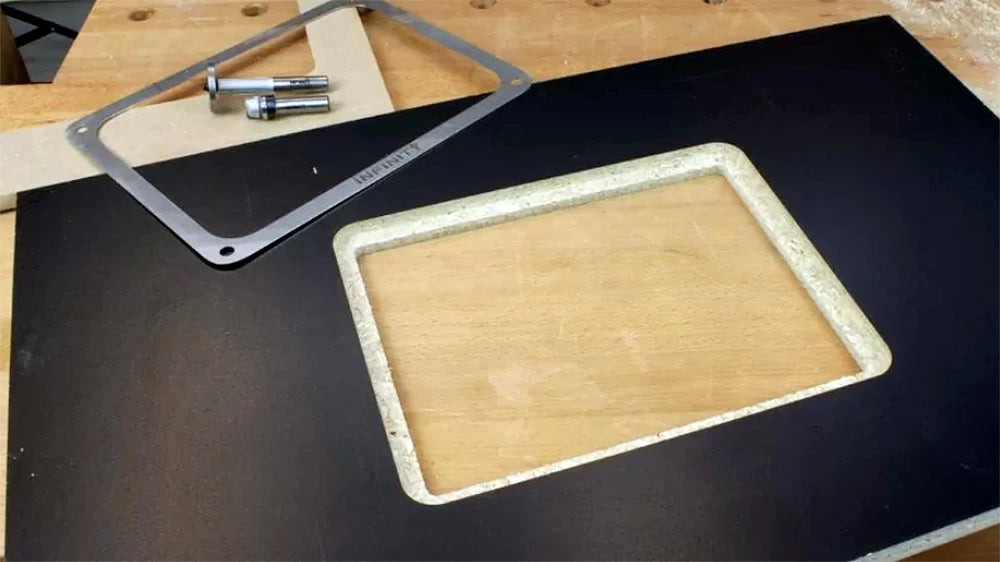
This is a stainless steel insert that drops into the opening and provides a hard, flat surface to prevent the leveling screws in your router plate from wearing away the rabbeted surface. You could think of it as a stainless steel washer for your router lift.

Even if your table is made from solid wood this ring is a great addition to your tabletop and makes for a table that will rarely need adjustment. This allows you to take advantage of the flat and stable characteristics of man-made sheet goods like MDF without the drawbacks.
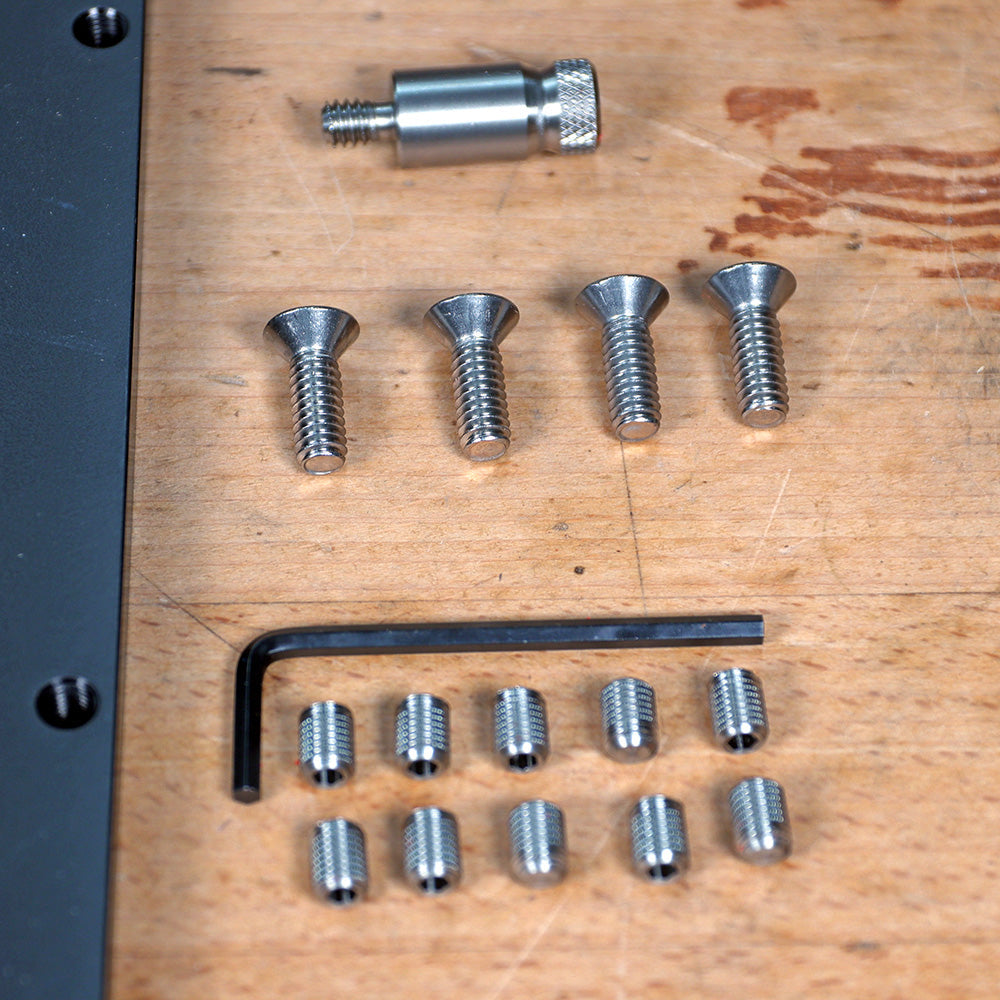
It is important to note that if you would like to use the optional 4-corner screws (optional but not necessary) that come with the Infinity router plate you will need to provide your own 1/4-20 hardware. The reason for this is that the rabbet created with this DIY package will be more narrow than the rabbet found on the Infinity Tools router table top, RTT-002 and it will not accept a threaded insert. It will require the use of alternate hardware which will be dependent on your specific application and which you must supply.
If you've wanted to make your own custom router table but worried about cutting a correctly sized opening for your router without ruining the top, pick up an Infinity RTI-DIY kit and get to work.


