


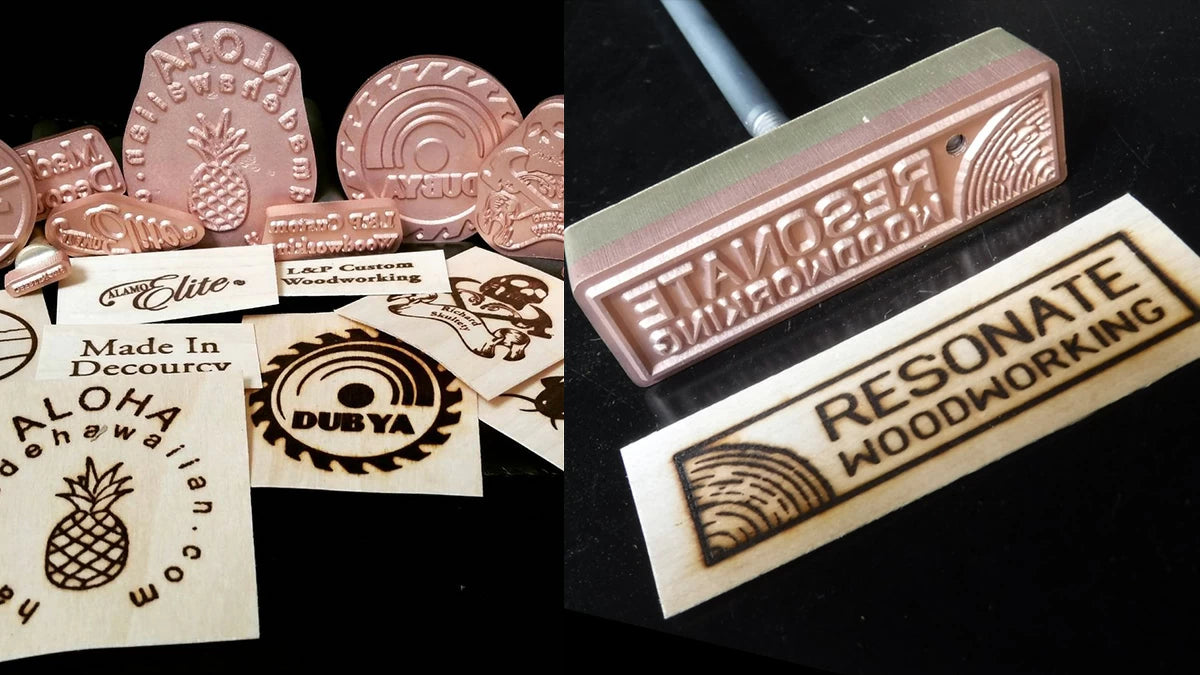
When the project you've worked so hard on is complete, don't miss the chance to personalize, protect, and add value to your handcrafted work with a custom branding iron. These handsome brands, (some semi-custom allow you to just add your name or initials), will make any gift made in your shop more special for generations to come.
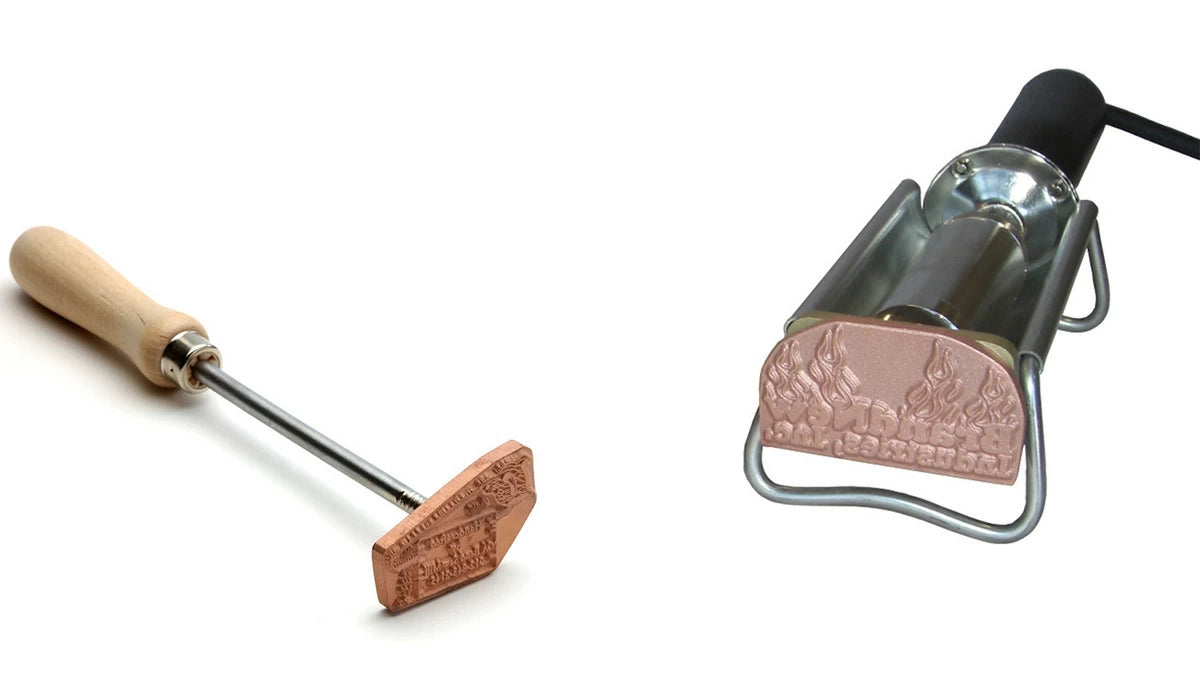
Branding irons are availabe in and electrically-heated version (right), or you can use and external heat source (propane torch, brazier, etc.) to heat the brand (left). Some will say that it's easier to regulate the heat with the electric version, but they are a bit more expensive.
Personally, I like a flame! Maybe it's a throwback to a cave-dwelling ancestors, but watching the fire heat the brand is an awful lot of fun ... you'll see!
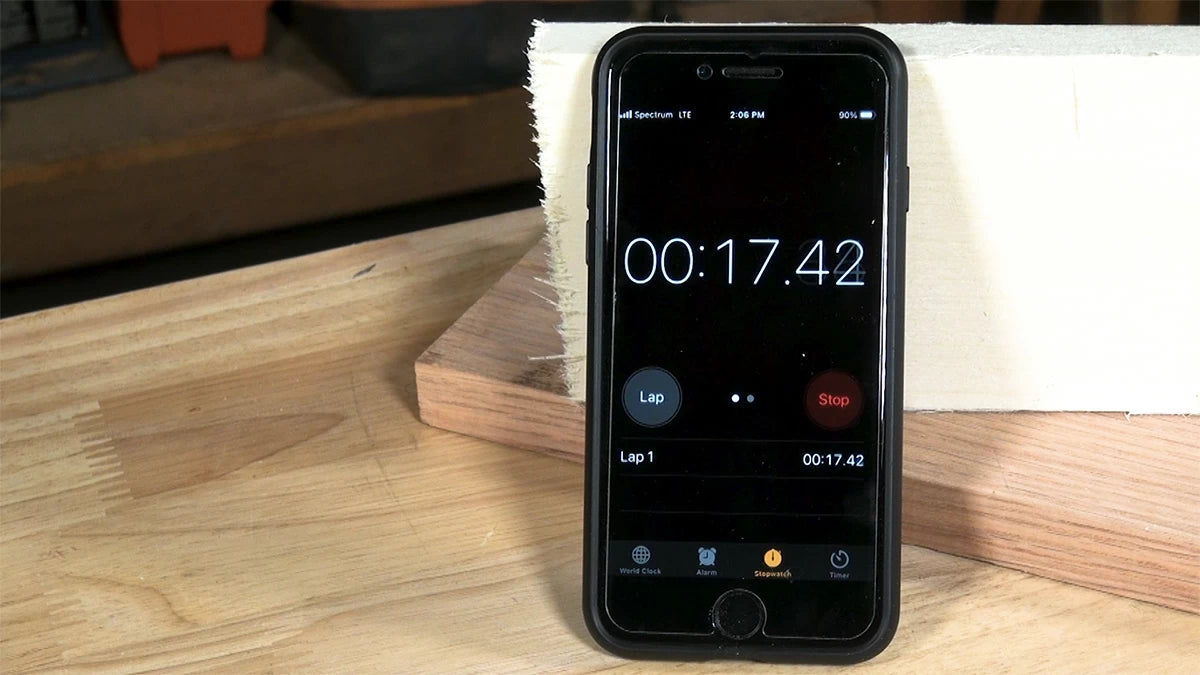
I will say, when working with fire, it's valuable to get a sense of how your personal brand works. So documenting the results as you learn (and timing those exposures to the flame) will help you get more consistent results.
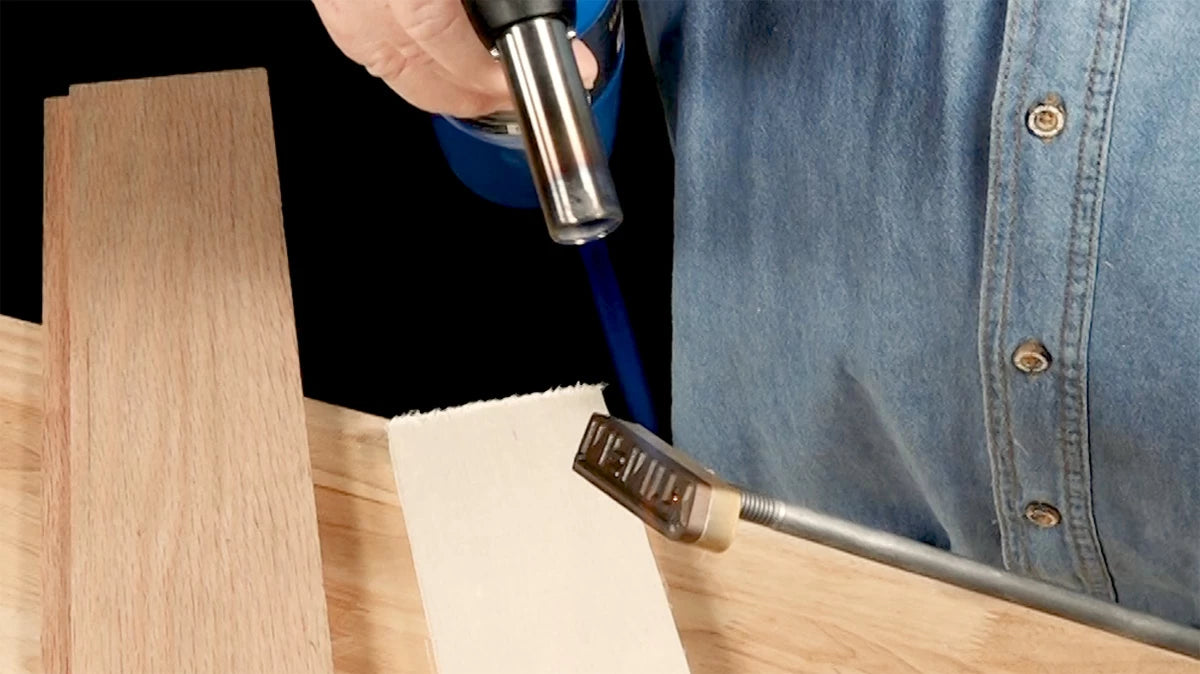
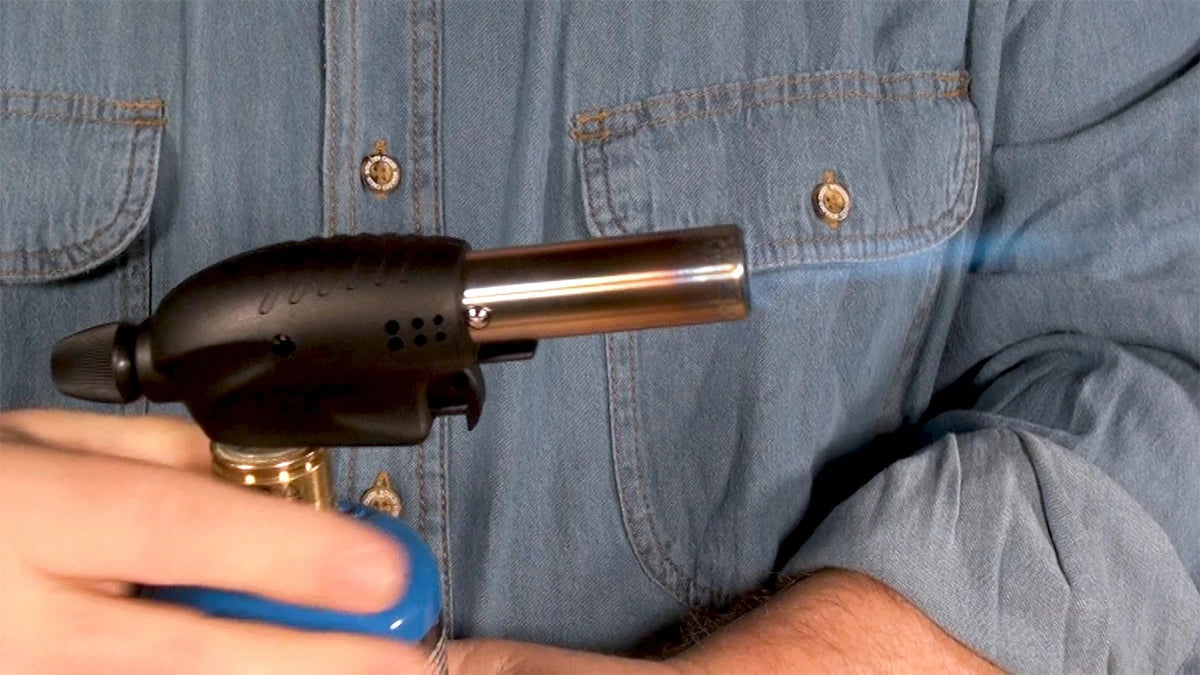
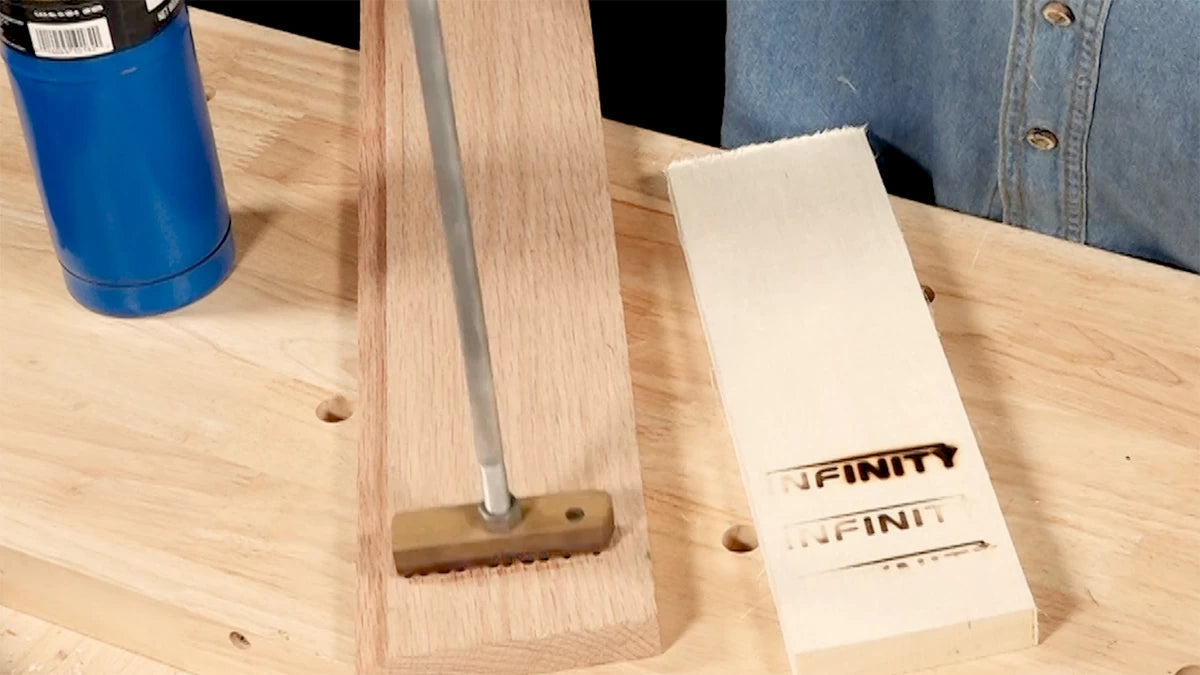
If you're using a torch, adjust the flame to a solid-blue cone for peak efficiency. Then start to heat the branding iron with the tip of the flame's cone touching the branding iron. Remember to grab the iron by the handle, as the rod will "warm up" along with the branding head! You need to keep the flame moving over the whole surface of the branding head. Rotating the brand to heat it eveningly. Think of it like cooking a steak, but you're moving the steak and the grill at the same time.
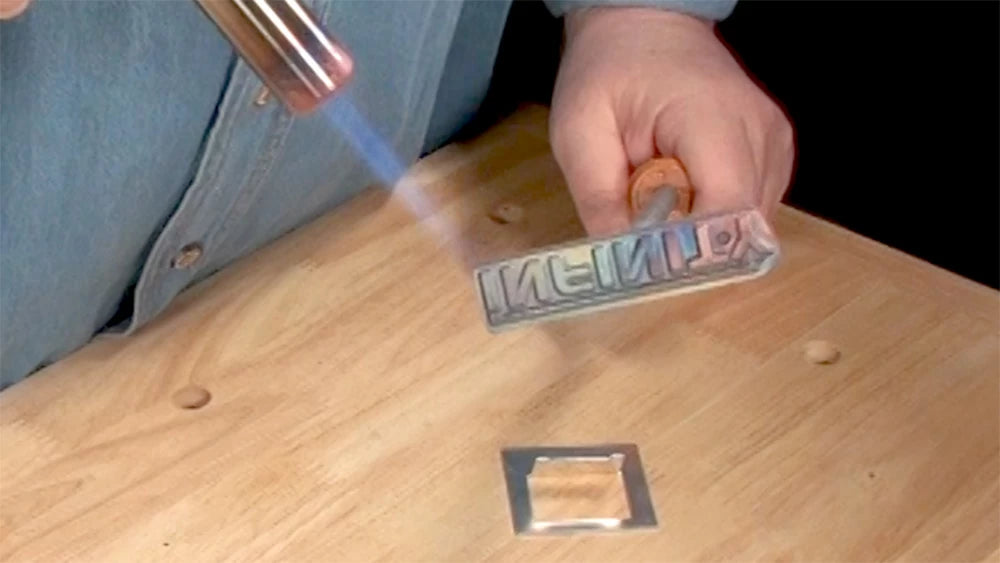
As you heat the branding head, you'll see the metal beging to change colors as you heat. After about two minutes you'll reach a point that mimics a "ranbow" of colors as you move the flame across the metal. This indicates things should be about ready.
Certainly if you're just learning to use a branding iron, it's a smart idea to test the brand on a scrap piece first. No matter how good you get, it's still a good idea. Testing doesn't just mean if you've got the head heated correctly, it also applies to how you touch the branding iron to the wood, and how long you hold it in place. Tool little time and it's too light. Too long and you can char the wood beyond the brand image.
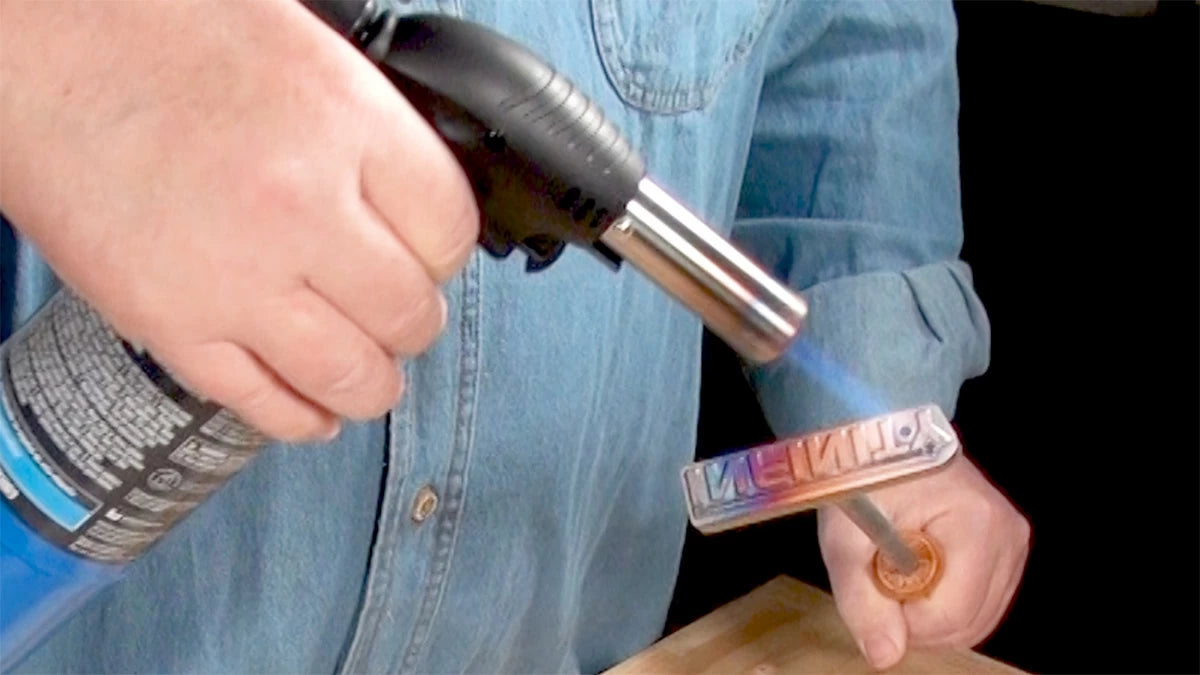
If your image was too light, it could have been not enough heat applied, or your pressure of the branding iron against the wood. No worries, fire up the torch again and enjoy the color for a couple more minutes.
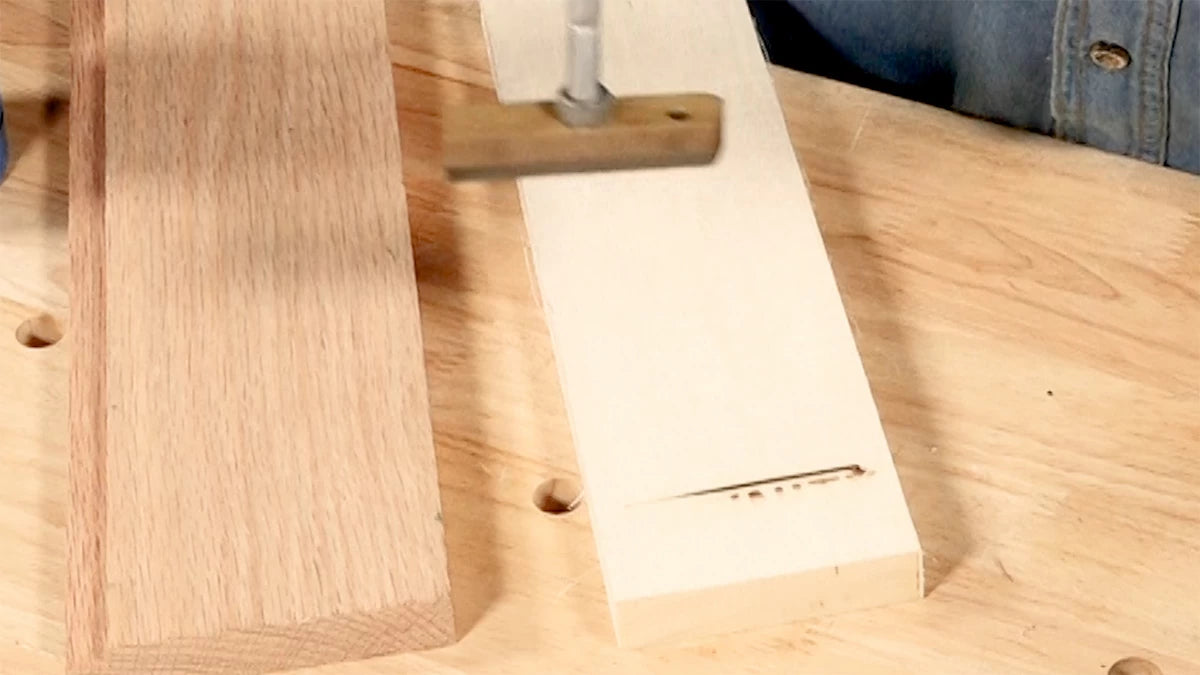
Once again, testing and practice will teach you the techniques to get an even image. The tests shown on the sample piece show the progress, with the top being a good example of either uneven heating, or applying too much weight to the one side of the branding iron.
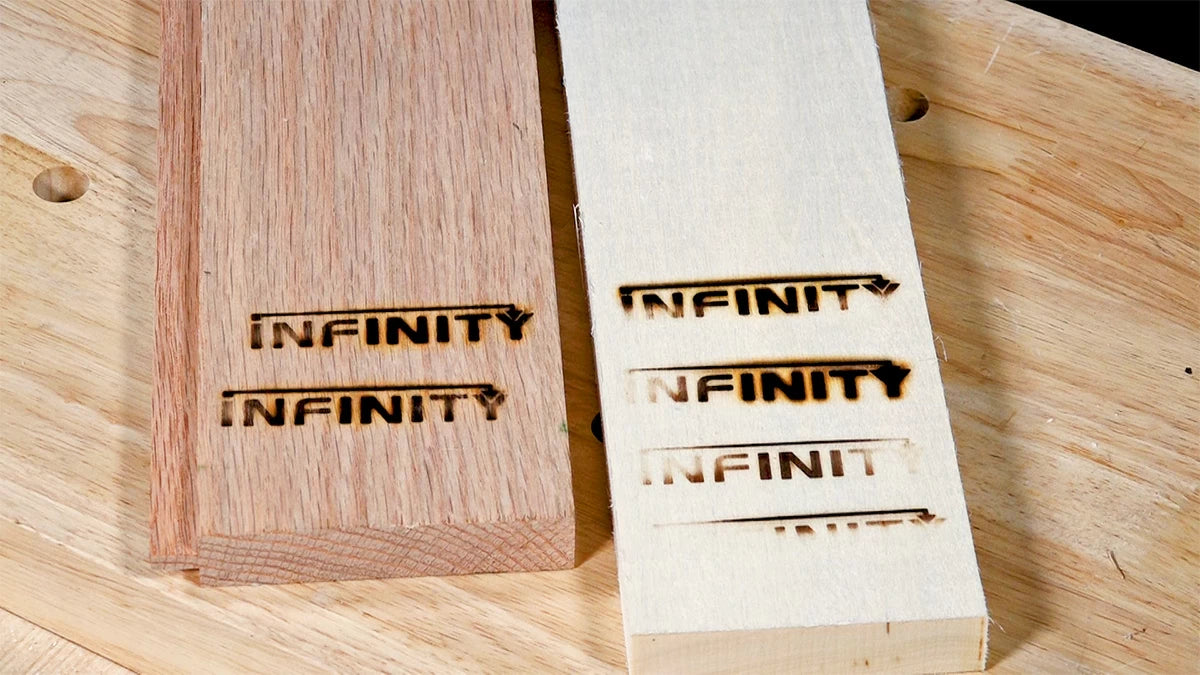
Practice makes perfect. The final version on the oak piece shows the benefits. The piece shown hasn't been sanded yet. Tat last step will take away some of the shadowing char between the letters to give the desired image better clarity. Have fun with the process, and enjoy adding a personal touch to your next project!